


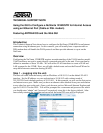

TECHNICAL SUPPORT NOTE
Using the GUI to Configure a NetVanta 1224R/STR for Internet Access
using an Ethernet Port (Cable or DSL modem)
Featuring ADTRAN OS and the Web GUI
_____________________________________________________________________________________
Introduction
This Technical Support Note shows how to configure the NetVanta 1224R/STR for an Internet
connection using an ethernet port. In this scenario, you will usually have a separate cable or
DSL modem that will handle the WAN protocol and then provide ethernet to a port on the
NetVanta.
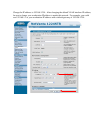
Overview
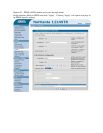
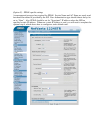
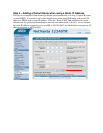
Configuring the NetVanta 1224R/STR requires an understanding of the VLAN interface model.
VLAN interfaces are used to create directly connected networks on the unit. Ports can then be
defined as members of those VLANs. We will utilize VLAN interfaces to create a WAN and
LAN segment for the 1224R. Next, we will add a default route and use the Firewall Wizard to
setup basic Internet connection sharing (NAPT).
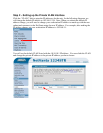
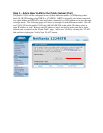
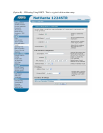
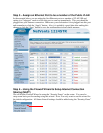
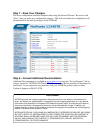
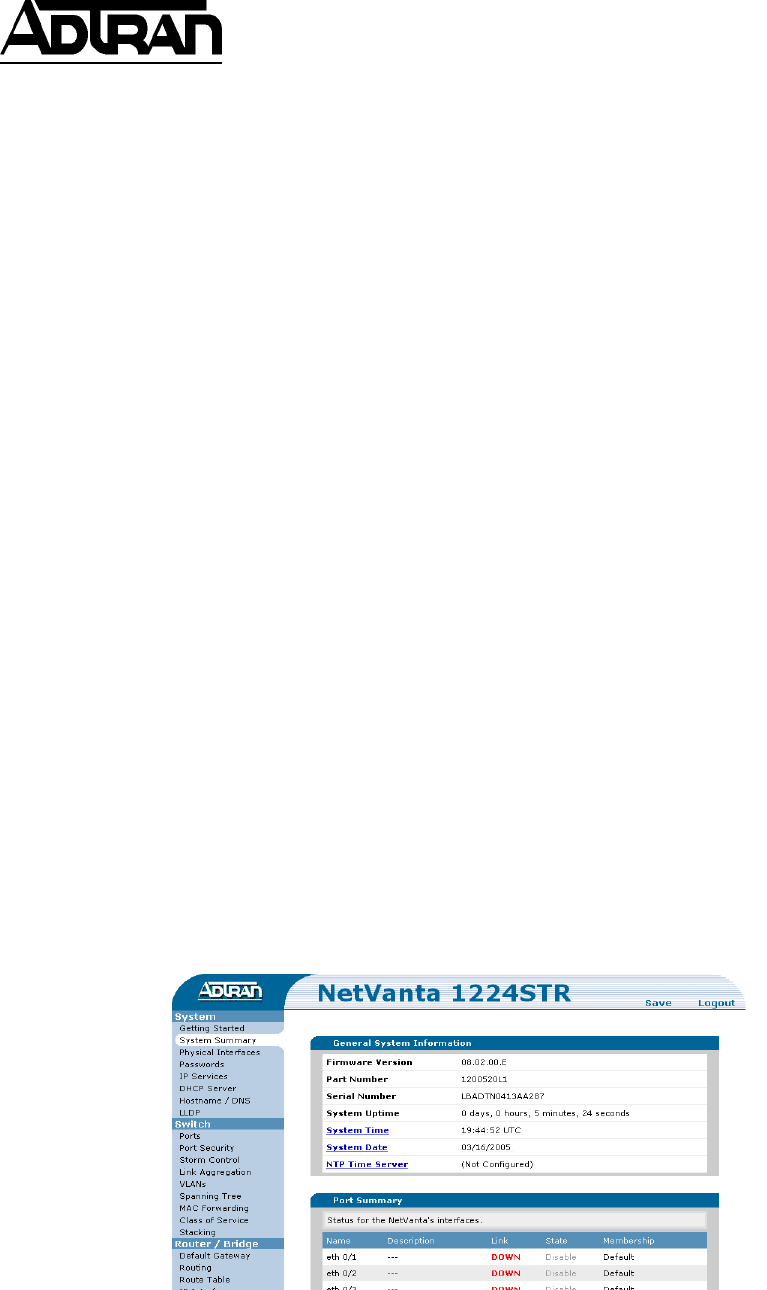
Step 1 – Logging into the unit.
The unit will come from the factory with an IP address of 10.10.10.1 on the default VLAN 1
interface. Set the IP address on your workstation to 10.10.10.2 with a subnet mask of
255.255.255.0 and a default gateway of 10.10.10.1. In this example, we will use the first port as
our Internet access port. Make sure you have an ethernet cable attached from your workstation
to any other free port on the unit. Open a web browser such as Microsoft Internet Explorer and
type in 10.10.10.1 for the URL. You will be prompted for a username and password for which
you should enter “admin” and “password” respectively since this is the factory default. After
successfully entering the username and password, the main GUI page will be displayed.