


Copyright© 2009 Agilent Technologies Incorporated
All rights reserved.
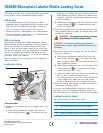
G5404B Microplate Labeler Media Loading Guide
This guide describes how to load the labels and ribbon
in the printer on the G5404B Microplate Labeler.
Getting help
• User documentation: You can search the online
knowledge base or download the latest version of any
PDF file from the Agilent Technologies website at:
http://www.agilent.com/lifesciences/automation
• Customer Service: 1.866.428.9811 or +1.408.345.8356
• Technical Support: 1.800.979.4811 or +1.408.345.8011
service.automation@agilent.com
Before you begin
Ensure that you have the G5404B Microplate Labeler
Media Kit from Agilent Technologies. The kit contains a
one-to-one quantity of thermal transfer ribbon and
labels so that you can replace them at the same time.
The kit also contains a pen for cleaning the printhead.
If you are replacing used ribbon and labels, see the
G5404B Microplate Labeler User Guide for the cleaning
procedure before you continue.
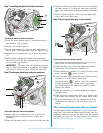
Open the printer cover to gain access for loading the
labels and ribbon.
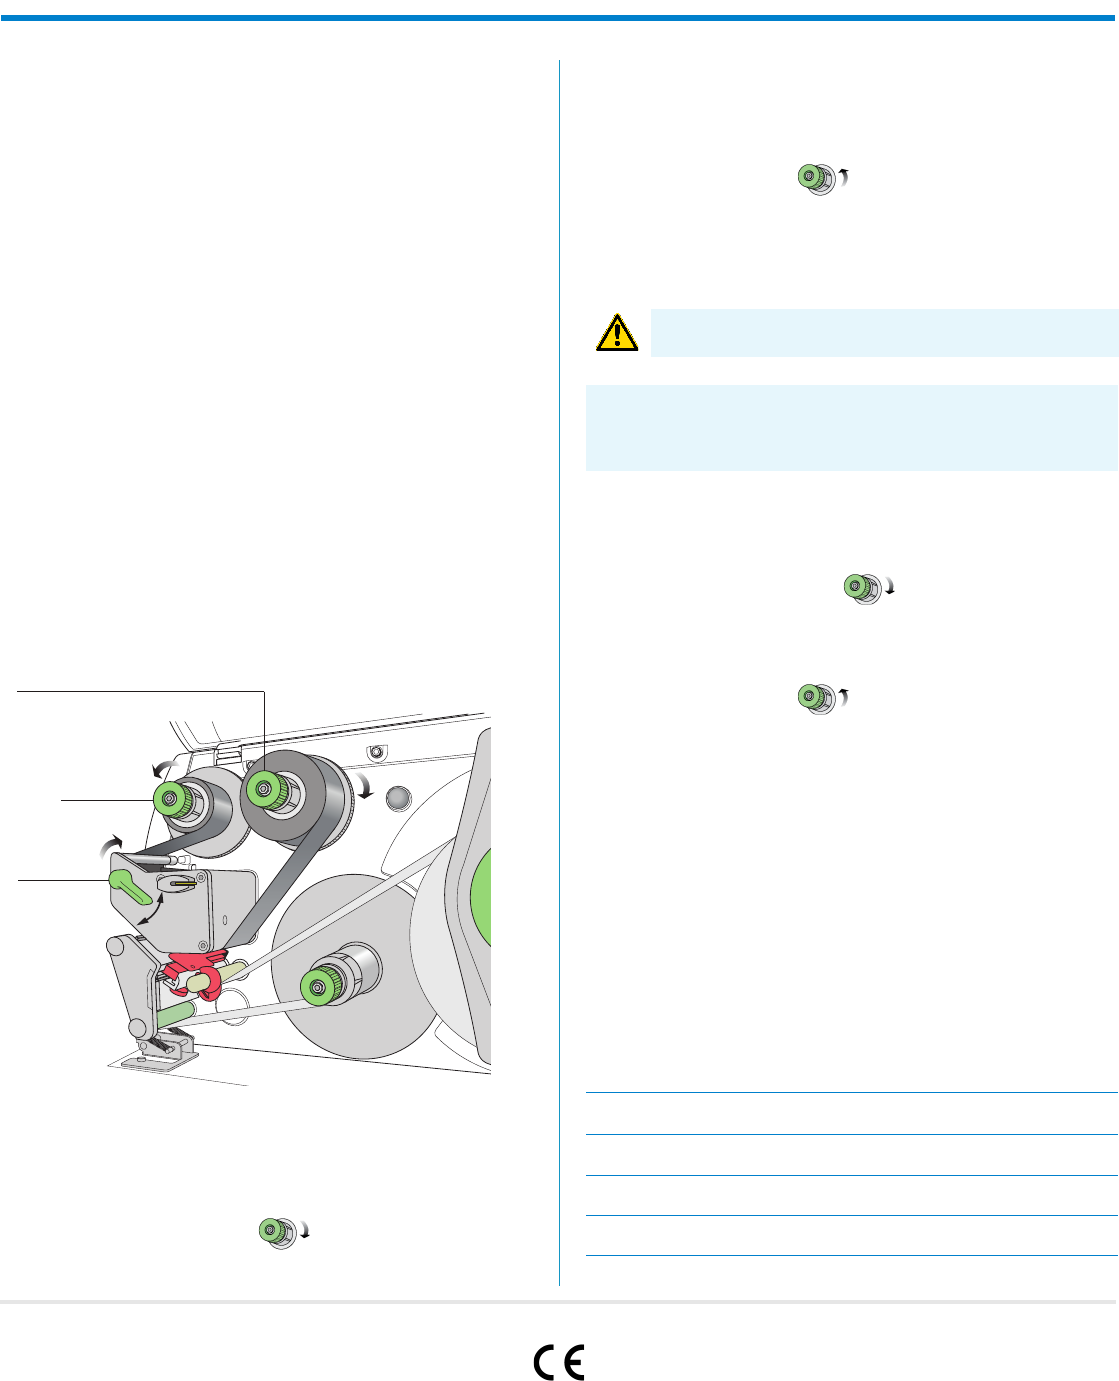
Loading the ribbon
To load new ribbon:
1 Install the new ribbon roll on the supply hub (1) as
follows:
a While firmly holding the supply hub, turn the
green knob clockwise to contract the hub.
Slide the new ribbon roll onto the hub until it is
flush against the printer. Ensure the ribbon feeds
clockwise with the coating facing downward when
being unwound.
b While firmly holding the hub, turn the green knob
counterclockwise to expand the hub and
secure the ribbon roll.
2 Turn the printhead lever (2) counterclockwise to lift
the printhead, and then guide the ribbon under and
around the printhead.
3 Feed the ribbon onto an empty core on the take-up
hub (3) as follows:
a While firmly holding the take-up hub, turn the
green knob clockwise to contract the hub.
Slide an empty ribbon core onto the hub until it is
flush against the printer.
b While firmly holding the hub, turn the green knob
counterclockwise to expand the hub and
secure the empty ribbon core.
c Guide the ribbon under and then over the take-up
hub so that it winds counterclockwise.
Use adhesive tape to secure the end of the ribbon
to the ribbon core. Make sure the edge of the
ribbon is flush with the core against the printer.
4 Turn the ribbon take-up hub (3) counterclockwise to
smooth out the ribbon slack.
If you are also loading labels, continue to the next
procedure. If you are finished loading all media, turn
the printhead lever (2) clockwise to lower the printhead.
Loading the printer labels
You load the labels in three basic steps:
2
1
3
WARNING The printhead can be hot after use. Allow
the printhead to cool before loading the ribbon.
CAUTION Do not touch the protective glass layer of the
printhead with your fingers. A dirty printhead will result in a poor
print image.
Step For this task…
1 Install the label roll on the roll retainer.
2 Feed the label strip under the printhead.
3 Secure the label strip to the rewinder.
G5404-90002 September 2009