OmniSwitch 6600 Series Chassis and Hardware Components Mounting the Switch
OmniSwitch 6600 Series Hardware Users Guide April 2004 page 2-15
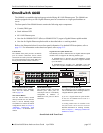
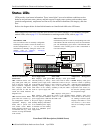
To rack-mount the switch, follow the steps below:
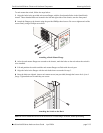
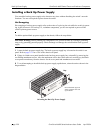
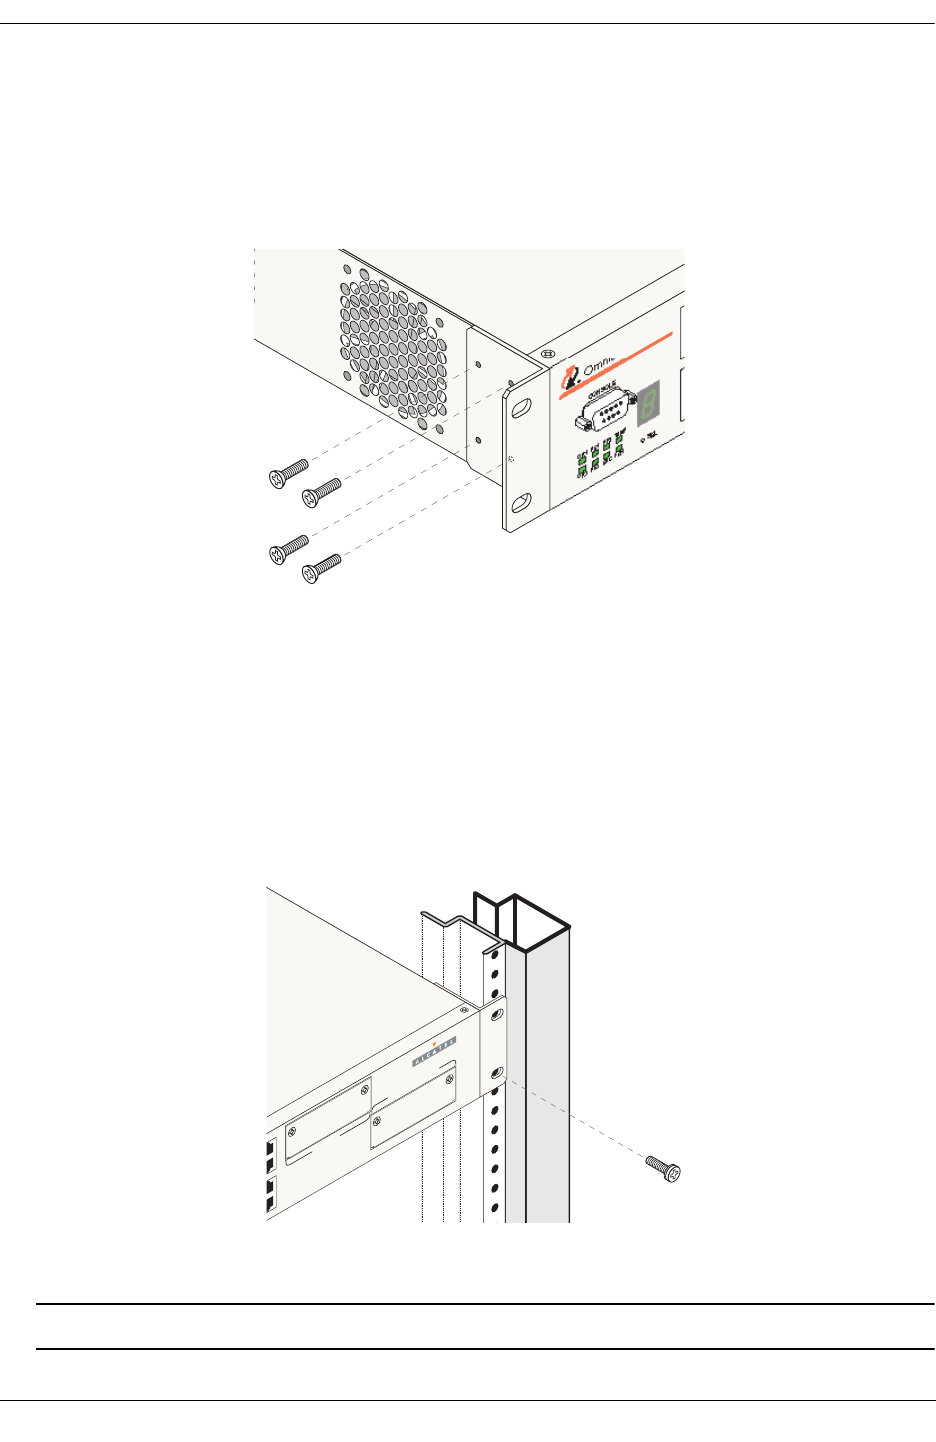
1 Align the holes in the provided rack-mount flanges with the four threaded holes in the OmniSwitch
chassis. These threaded holes are located in the left and right sides of the chassis, near the front panel.
2 Attach the flanges to the chassis using the provided Phillips-head screws. Be sure to tighten each of the
screws firmly using a Phillips screwdriver.
Attaching a Rack-Mount Flange
3 After the rack-mount flanges are secured to the chassis, mark the holes on the rack where the switch is
to be installed.
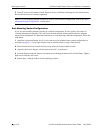
4 Lift and position the switch until the rack-mount flanges are flush with the rack post.
5 Align the holes in the flanges with the rack holes that were marked in step 3.
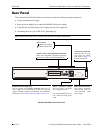
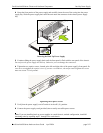
6 Once the holes are aligned, insert a rack mount screw (not provided) through the bottom hole of each
flange. Tighten both screws until they are secure.
Attaching the Switch to the Rack
Note. Be sure to install the screws in the bottom hole of each flange, as shown, before proceeding.
TM
OmniSwitch 662
4
O
K
1
O
K
2
P
S
1
P
S
2
P
R
I
S
E
C
T
E
M
P
F
A
N
CONSOLE
SEL
3
4
EXPA
N
SIO
N
/ST
A
CKIN
G
EXP
A
N
SIO
N
49
50
51
52
7
8


