


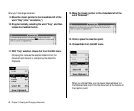

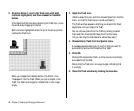
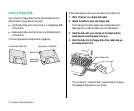
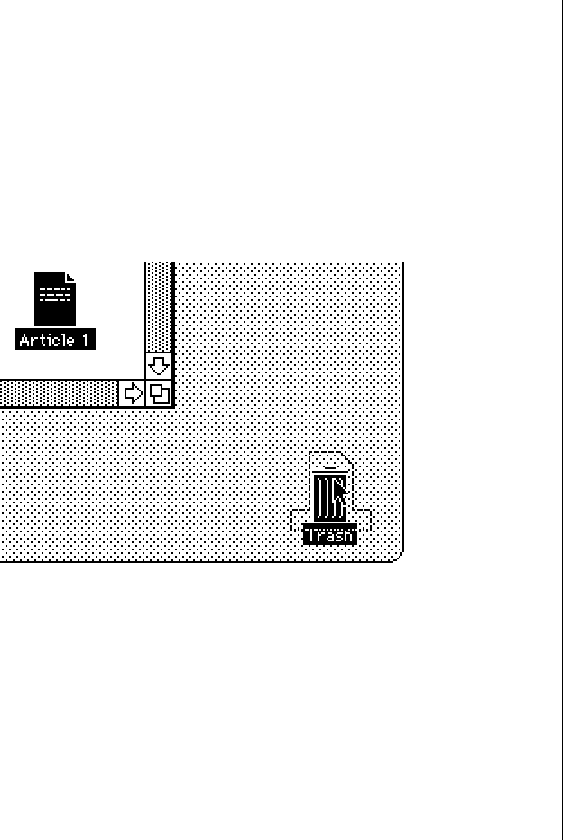
2. Drag the Article 1 icon to the Trash icon until both
icons are highlighted, and then release the trackball
button.
If the Macintosh HD window is blocking the Trash icon, move
the window by dragging its title bar.
Both icons are highlighted when the tip of the arrow pointer
reaches the Trash icon.
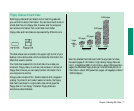
When you release the trackball button, the Article 1 icon
“disappears” into the Trash. When you put an object in the
Trash, the Trash icon bulges to indicate that it is no longer
empty.
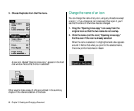
3. Open the Trash icon.
(Click to select the icon, and then choose Open from the File
menu, or click the Trash twice in quick succession.)
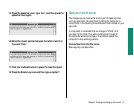
The Trash window appears. Anything you drag to the Trash
stays there until you empty the Trash.
You can retrieve items from the Trash by clicking to select
them and then choosing Put Away from the File menu.
(Or you can drag the items back to where they were.)
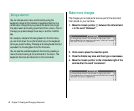
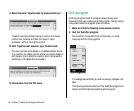
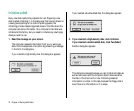
4. Choose Empty Trash from the Special menu.
A message appears asking you to confirm that you want to
permanently remove the contents of the Trash.
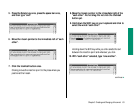
5. Click OK.
Clicking OK empties the Trash—in other words, its contents
are erased from the disk.
Notice that the Trash icon no longer bulges, indicating that
it is empty.
6. Close the Trash window by clicking its close box.
68 Chapter 3: Creating and Changing a Document