


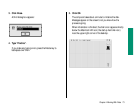


Protect the contents of a disk
You can lock a floppy disk so its contents cannot be changed in
any way. When a disk is locked, you can look at the files it
contains, but you cannot modify the files on it, delete them, or
store any new files.
Use your practice disk to practice locking and unlocking a
floppy disk.
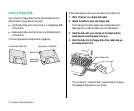
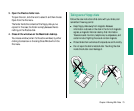
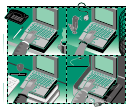
1. Hold the practice disk with your thumb on the label
and the metal shutter pointing away from you, as
though you were going to insert the disk into a drive.
2. Find the square hole in the near-left corner of the
floppy disk.
A moveable tab on the back side of the disk should be
blocking the hole, indicating that the disk is unlocked.
If you’re using a high-density disk, you’ll notice an additional
square hole, across the label from the first hole. This second
hole has no tab and is always open.
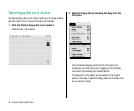
3. Turn the disk over and lock it by sliding the tab so that
the square hole is open.
Use your thumbnail or a push pin to move the tab.
4. Unlock the disk by sliding the tab back so that the
square hole is blocked.
You are unlocking your practice disk now so you can use it to
store files in the next chapter.
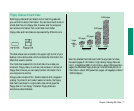
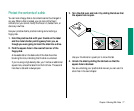
Locked
Unlocked
Chapter 4: Working With Disks 77