PRECAUTIONS
1
2
3
4
SPECIFICATION
Property Description
Monitor Type Integrated dual screen LCD
Size and Weight 19" x 27.0" x 10.0" (H x W x D) approximately
17 lbs (8 kg)
Power Requirements Line Voltage: 100 to 240 VAC, 50 - 60 Hz
Power: 18W (operating)
Resolution (per screen, multi-scan) 640 x 400, 720 x 400, 640 x 480, 800 x 600,
832 x 624, and 1024 x 768
Resolution (aggregate max.) 2048 X 768
Pixel Pitch 0.297 (H) x 0.297 (V)
Color Depth More than 16 million
Viewing Angle H +65°/-65° V+55°/-45° typical
2
Brightness 250cd/m
Contrast Ratio 400:1 typical
Screen Size and Type 15" diagonal active matrix TFT
Surface Treatment Anti-glare and hard coatings 2H
User Controls Power on/off
On Screen Control - Menu
Select up/down
Increment / decrement
Approvals FCC, CE, Entela, Energy Star
Input Connections Two x 29-pin DVI-I connectors
Support Structure Aluminum
TROUBLESHOOTING
Problem Suggested remedies
No image on one or more screens Make sure cables are properly fastened.
Check power to monitors.
Check video connection from computer to
monitors.
Check seating and bus location of video card.
Use known working monitor to check for signal.
Re-boot the computer.
Re-install driver software.
Screen viewing order is incorrect. Use driver software to re-tile monitor order.
Colors are not clear. Check color settings within the O/S controls..
Screens will not stay in one position. Check to make sure screen mounting pivots
are properly fastened and tightened.
INTERFACE DESCRIPTION
REAR CONTROL PANEL
Power Turns the monitor On/Off
Menu Displays the menu. Exits the menu or control screen.
Up/Down Select Highlights next menu item
Increment/Decrement (+/-) Changes the value of the selected item or
highlights the next menu item in a submenu.
FRONT PANEL
Green light = power on Amber light = loss of video
REAR CONTROL PANEL
FRONT PANEL
LOCATION OF CONTROLS
Power Light
Menu
Directional Select
Power
N/A
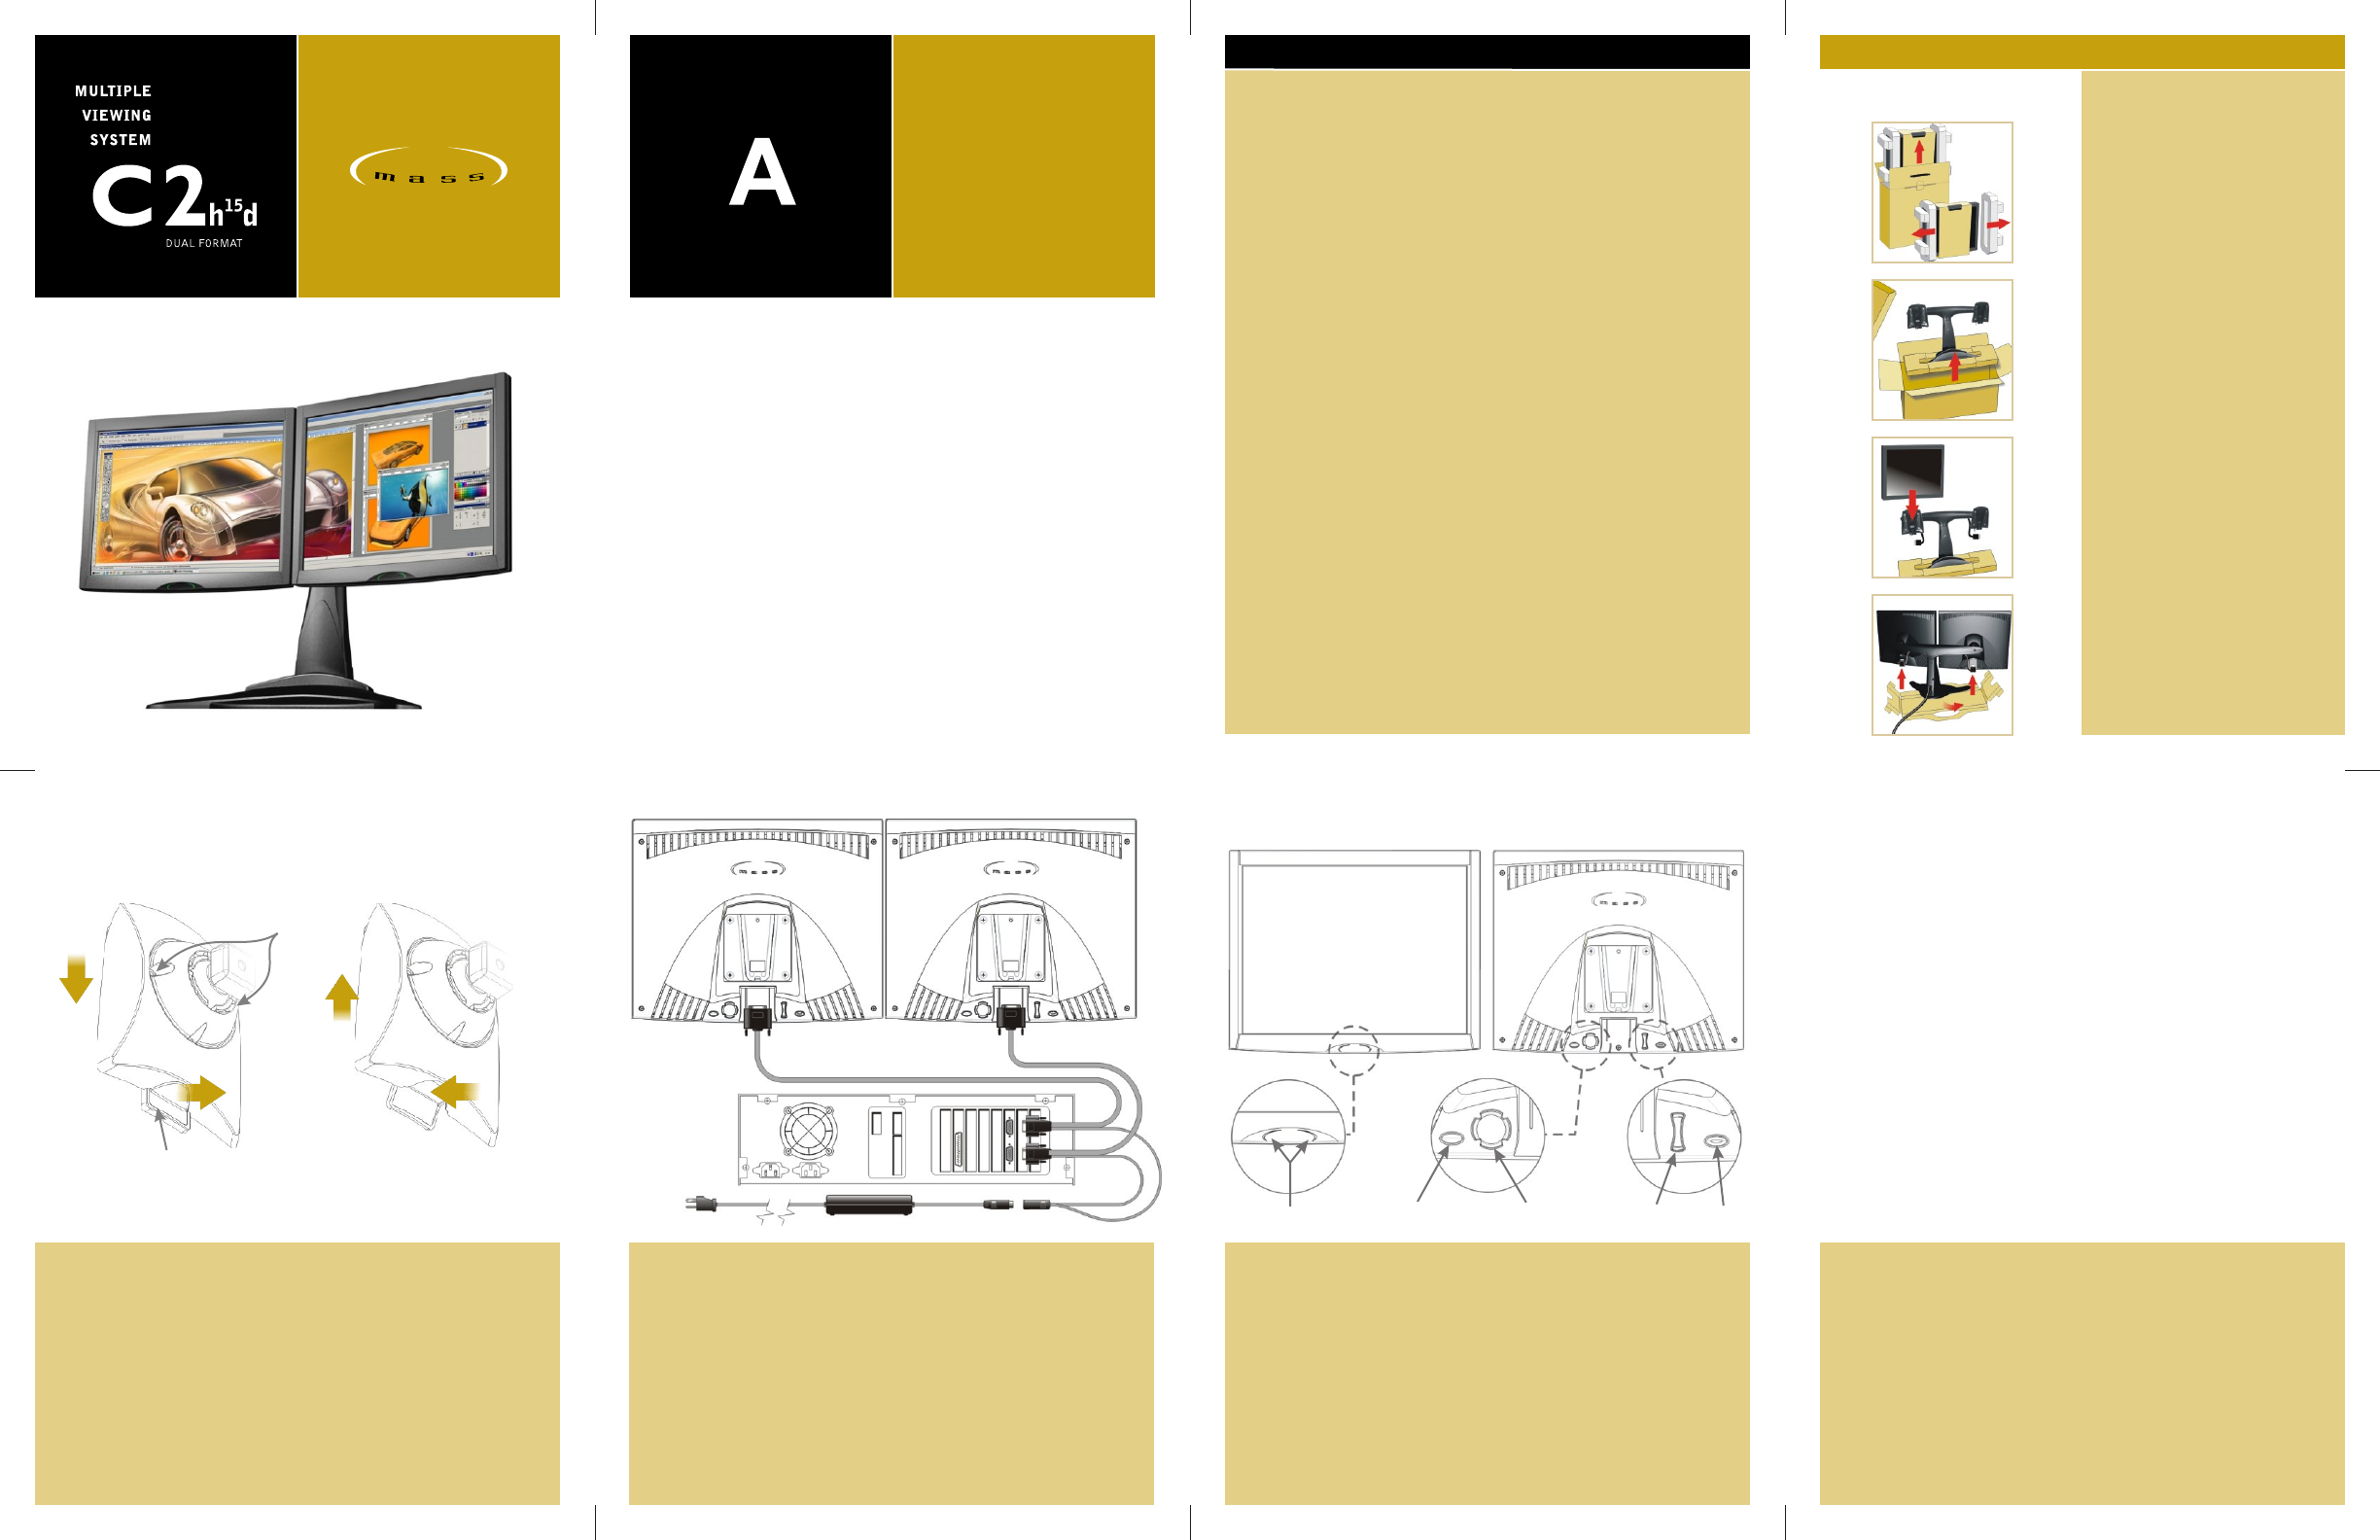
OPERATION
1. Ensure power is off before proceeding with the installation.
2. Connect the video cable marked with "A" to the first video output of your computer.
3. Similarly connect the video cable marked with "B" to the second video output of your computer.
4. Connect the output cables of the power supplies to the five pin DIN connectors.
5. Connect the power cords.
6. Turn your computer on.
7. Turn the screens on by pressing the power button located on the lower back of each
monitor. Power indicator will light.
USING THE QUICK RELEASE
‘quick release’ latch
depress latch to
release LCD
locked position
lift LCD
slide LCD
in place
To lock LCD
To unlock LCD
Note: remove connector
before depressing latch
DETAIL OF QUICK RELEASE SYSTEM
DOCKING YOUR LCD AND TIGHTENING BALL JOINT
1. Match the ‘dove tail’ to ensure that the LCD unit sits flat against the ‘ball and socket’
assembly.
2. Simply slide the two interlocking parts, while ensuring that the unit is locked in place. Now
you can proceed and install the connectors.
3. To remove the LCD head reverse the procedure. To unlock the LCD unit you must depress
the ‘quick release’ latch. Ensure a proper grip on the LCD to prevent it from slipping.
When removing the LCD panels make sure you counter the weight of the other LCD
screens to prevent the unit from tipping. Lift the LCD panel and place on a flat surface.
4. To tighten ‘ball joint’ simply turn two screws (A), turn a quarter turn until desired
position is achieved.
5. Review Detail of Quick Release System (above) for the location of the ‘quick release’ latch.
Phillips
(A) Phillips screws
CONNECTING YOUR MONITORS
ON SCREEN DISPLAY MENU
OTHER INFORMATION
OSD FUNCTION
SUB-MENU FUNCTIONS
WARRANTY STATEMENT(S)
CUSTOMER SUPPORT
OTHER LCD INFORMATION
FCC INFORMATION
B
SIDE SIDE
MAINTENANCE
Liquid Crystal Displays are highly
sophisticated pieces of equipment. Avoid
touching the screen surface with any sort of
hard object, as this may result in scratches,
which will reduce the effectiveness of the
display and are not covered by your warranty.
Always handle your monitor with care when
moving. If you move the screens around on a
frequent basis, it is also good idea to
periodically check to ensure that all fittings
and screws are tight.
STARTING THE FIRST TIME
In a multiple screen configuration, most video
cards will boot one screen first, thus allowing
you to configure your system as you see fit.
Once the appropriate drivers have been
loaded, the system will re-boot and bring up
both screens. You may then proceed to
arrange your desktop, configure any
particular environment characteristics you
wish, and start up your applications.
GETTING STARTED
PRECAUTIONS
Avoid touching or applying pressure to the
screen with your fingers as damage to the
liquid crystal layer may occur. Wipe marks
from the screen with absorbent cotton or a
soft cloth. Do not use chemical cleaners.
The monitor contains high voltage parts.
You may suffer serious injury if you touch
these parts.
Avoid exposing the monitor to direct sunlight
or another heat source. The monitor should
be facing away from direct sunlight to
reduce glare.
Do not place anything on the monitor that
blocks the flow of air through the vent which
may prevent adequate dissipation of heat.
Ensure the area around the monitor is clean
and free of moisture.
Do not place heavy objects on the monitor,
video cable or power cord.
If smoke, abnormal noise, or strange odor is
present, immediately switch the monitor off
and call your dealer. It is dangerous to
continue using the monitor.
PACKAGE CONTENTS
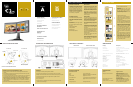
Your C2H15D dual format package includes:
A dual head monitor system with integral
video cables terminated with 29-pin DVI-I
connector.
One universal input power supply complete
with power cord.
User manual, Support Structure assembly
instructions
Support Structure fasteners
Warranty Statement
Registration Card
Macintosh adapter (optional)
GETTING STARTED
UNPACKING YOUR MASS
MULTIPLES™
CONNECTING YOUR
MONITORS
LOCATION OF CONTROLS
SPECIFICATIONS
STARTING THE FIRST TIME
PACKAGE CONTENTS
MAINTENANCE
PRECAUTIONS
OPERATION
TROUBLESHOOTING
USING THE QUICK RELEASE
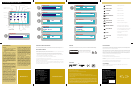
Carefully unpack the LCD monitors.
IMPORTANT:
Handle the monitors with care so that
pressure is not placed on the front surface of
the LCD panel as this may result in
permanent damage to the panel. Don’t rest
any objects on top of the screens.
After confirming that all the LCD panels are
secured, feel free to adjust the panels to the
desired position. Hold the LCD screen
without applying pressure on the LCD
surface, and adjust. Proceed to connect the
display system to your computer as detailed
in this user manual. Connect monitor to
appropriate cables provided.
Caution: secure base when installing LCD
screens. To prevent the unit from tipping
assemble screens from center out. If base
tray is available simply slide from assembly.
Once you’ve located the structure at a
desired location then simply slide the LCD
monitors onto patented ‘quick release’
system. Ensure that the LCD panel locks in
place.
Unpack the structure carefully.
If base needs to be assembled refer to
Support Structure assembly procedure on
how to assemble base using wing nut and
washers provided.
If a base tray is available use this to prevent
the unit from tipping during installation. Place
the structure and base tray on a level surface.