E-20
■ Typical Installation
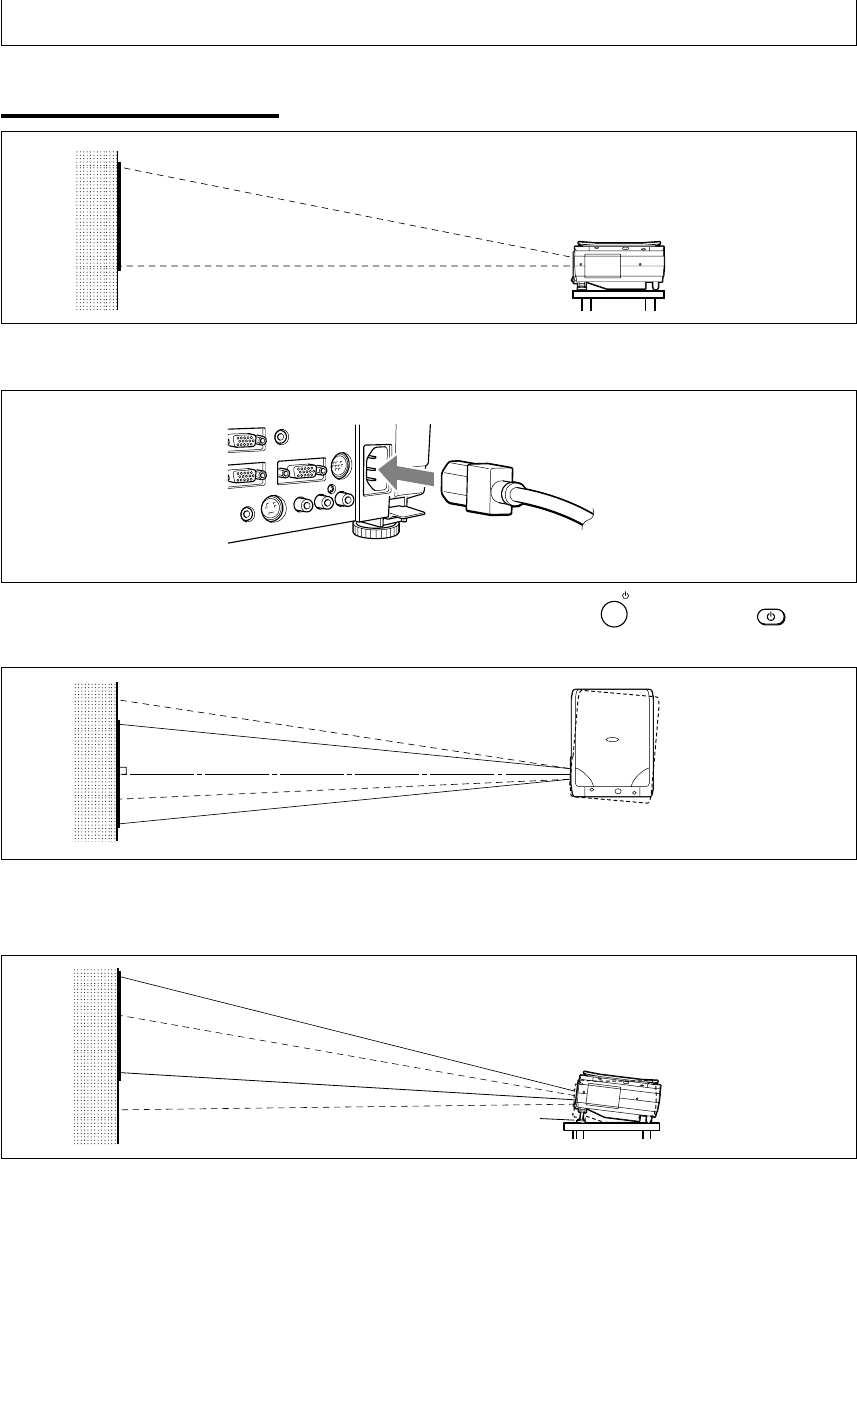
1. Select the installation site
Place the projector on an even and stable surface such as a table.
2. Connect the power cord (supplied), and press the
POWER
button (or
POWER
button.)
3. Turn the direction of the lens so that it is perpendicular to the screen.
Turn the unit to the left or right so that the top and bottom lines of the projected image
are parallel.
4. Adjust the adjustable feet to move the projected image to the desired
height. (Adjust the tilt angle between 0° to 7°.)
The position of the projected image can be moved up or down by adjusting tilt.
90°
Adjustable feet


