Chapter 3: Basic Operations 27
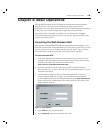
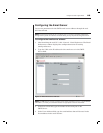
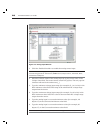
4. If desired, edit the existing name of the digital input by clicking in the
Unique name fi eld and typing a new name. The name cannot contain any
spaces. The only special character allowed is the underscore (_).
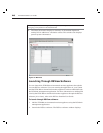
5. If desired, set the threshold for the digital input by clicking Application -
Thresholds. For instructions, refer to Setting Thresholds in Chapter 4.
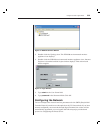
6. Click Save to save the changes made to the digital input(s).
- or -
Click Cancel to cancel the updates. Canceling displays the last saved value
for the digital input in the Current Value cell for the entire tab.
Configuring Analog Inputs and Internal Sensors
After installing the EVR1500 environmental monitor appliance and configuring
the network, you can configure, rename and test analog inputs and internal
sensors through the Configuration tab window. Before configuring analog
input sensors, be sure you have the necessary information, including input
voltage range and convert value range. Typically, each analog sensor is
shipped with the sensor’s input voltage range and a conversion table showing
the actual values interpreted from the voltages. For example, a temperature
sensor might have a voltage range of Ø to 5 volts with a conversion range of 5
degrees F (Farenheit) to 140 degrees F.
To confi gure analog inputs and internal sensors:
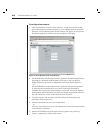
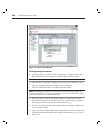
1. After launching the web GUI, click Confi guration - Analog Inputs. The
Analog Inputs table lists eight inputs, corresponding to the eight RJ-45
connectors on the back of the appliance. Also displayed are the four
internal sensors (Temperature, Humidity, Air Flow and Audio) at the
bottom of the table.
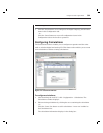
2. Click the row containing the analog input you wish to confi gure. The
analog input information displays in the dialog box.
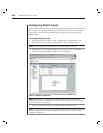
NOTE: In Figure 3.10, the last two digits in the sensor’s default name represent the port
connecting the sensor. It is good practice to use this format when naming sensors.


