1312
Setting up your Computer
Setting up your Computer
13
section
2
1
3
4
5
6
7
Your network adapter(s) are now configured for use with the Modem.
Manually Configuring Network Adapters in
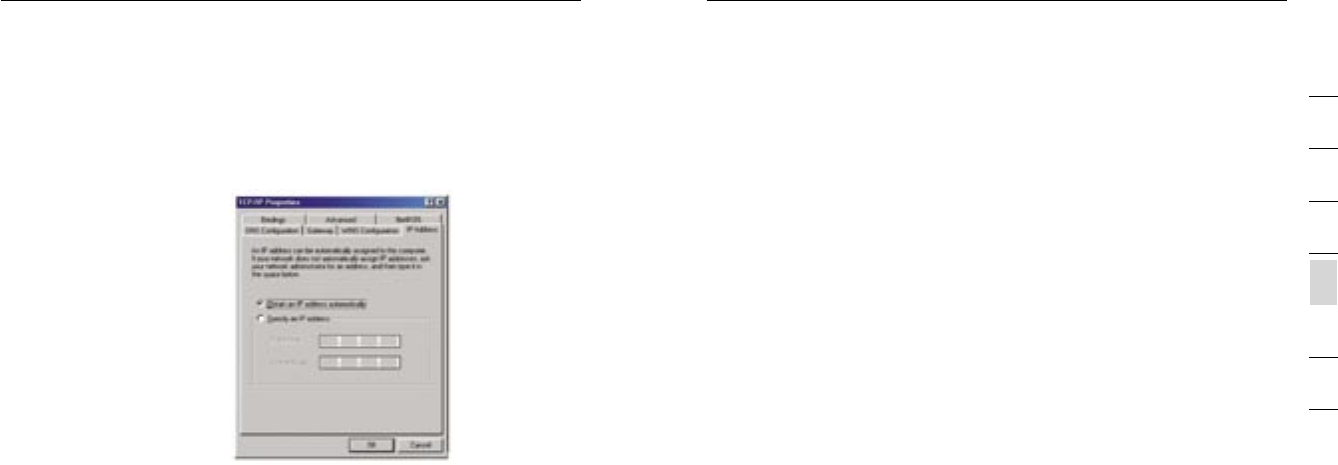
Windows 98SE or Me
1. Right-click on
“My Network
Neighbourhood” and
select “Properties”
from the drop-down
menu.
2. Select “TCP/IP ->
settings” for your
installed network
adapter.
3. If not already
selected, select
“Obtain an IP address
automatically” on the
IP address tab.
4. Click the “Gateway” tab. Highlight anything listed under “Installed
Gateways”, and click “Remove”
5. Click the “DNS Configuration” tab. Click “Disable DNS”
6. Click “OK”.
Restart the computer. When the computer restarts, your network adapter(s) are
now configured for use with the Modem.
Manually Configuring Network Adapters in Mac OS up to 9.x
In order for your computer to properly communicate with your Modem, you will
need to change your Mac computer’s TCP/IP settings to DHCP.
1. Pull down the Apple menu. Select “Control Panels” and select “TCP/IP”.
2. You will see the TCP/IP control panel. Select “Ethernet Built-In” or
“Ethernet” in the “Connect via:” drop-down menu.
3. Next to “Configure”, if not already set, choose “Using DHCP Server”. This
will tell the computer to obtain an IP address from the Modem.
Manually Configuring Network Adapters in Mac OS X
1. Click on the “System Preferences” icon.
2. Select “Network” from the “System Preferences” menu.
3. Select “Built-in Ethernet” next to “Show” in the Network menu.
4. Select the “TCP/IP” tab. next to “Configure”, you should see “Manually”
or “Using DHCP”. If you do not, check the PPPoE tab to make sure that
“Connect using PPPoE” is NOT selected.
5. If not already selected, select “Using DHCP” next to “Configure”, then click
“Apply Now”.


