


Chapter 4
4-23
2) Replace the maintenance cartridge relay PCB.
3) Reconnect the power plug and turn on the power while pressing the [Paper Source] and [Information] keys. (Start the printer in PCB replacement mode.)
4) Release the key, but not before making sure that "Initializing" appears on the display. (The message lamp lights when printer enters PCB replacement mode.)
5) Wait until "REPLACE MODE" appears on the display.
6) Select MC BOARD and press the [OK] key.
7) Turn off the power, but not before making sure that "Power off" appears on the display.
8) Turn on the power.
9) Check the firmware version. If the firmware is not the latest version, upgrade the firmware to the latest version.
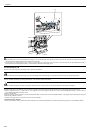
b) Replacing the main controller PCB
1) Turn off the power and disconnect the power plug.
2) Replace the main controller PCB.
3) Reconnect the power plug and turn on the power while pressing the [Paper Source] and [Information] keys. (Start the printer in PCB replacement mode.)
4) Release the key, but not before making sure that "Initializing" appears on the display. (The message lamp lights when printer enters PCB replacement mode.)
5) Wait until "REPLACE MODE" appears on the display.
6) Select CPU BOARD and press the [OK] key.
7) Turn off the power, but not before making sure that "Power off" appears on the display.
8) Turn on the power.
9) Check the firmware version. If the firmware is not the latest version, upgrade the firmware to the latest version.
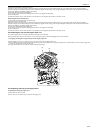
4.3.14 Opening the cap and moving the wiper unit
0014-8991
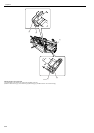
This section explains how to uncap the carriage and ink supply valves manually.
Moving carriage when the power of the printer is off, releasing carriage lock pin and uncapping must be done manually.
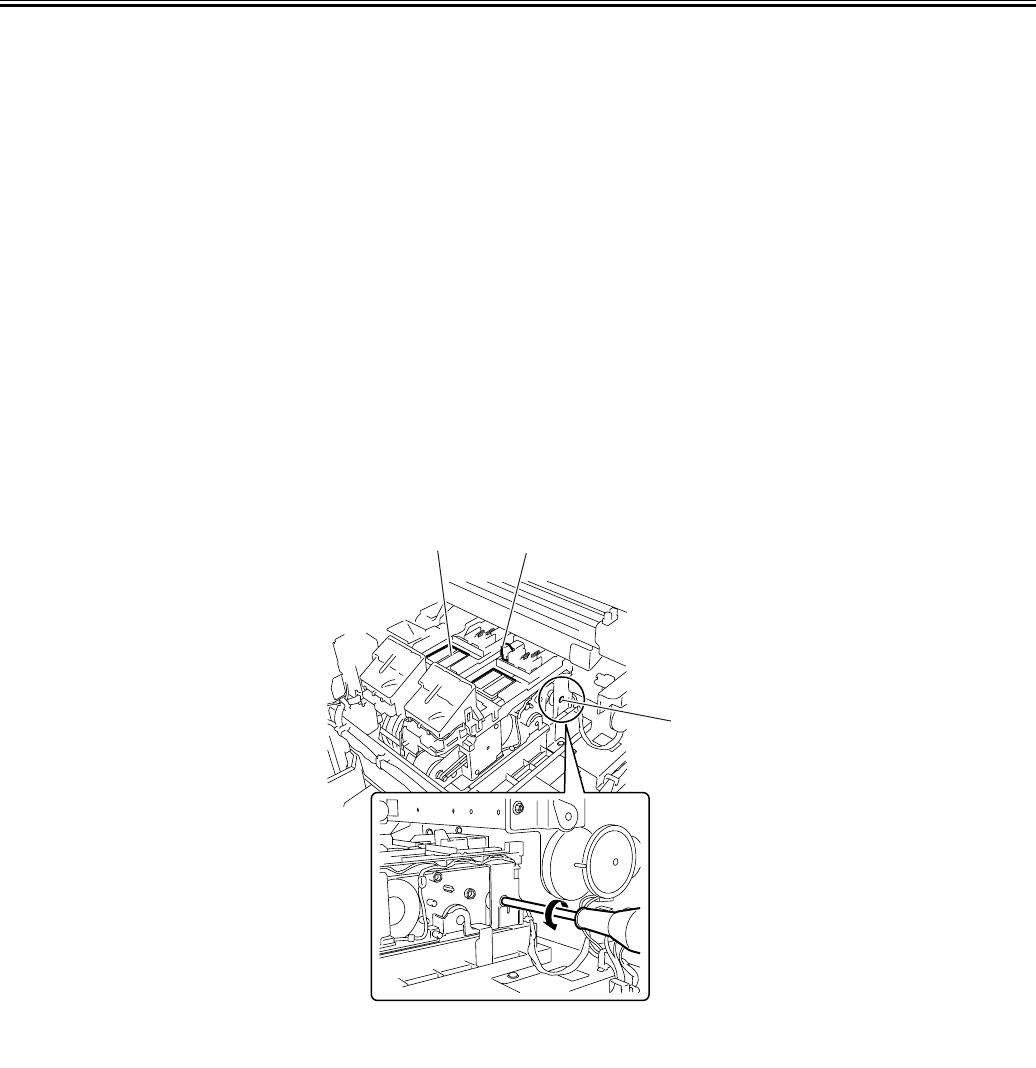
1. Uncapping, releasing the carriage lock pin and moving the wiper unit
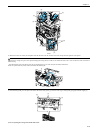
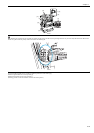
1) Remove right circle cover (L), right circle cover (S), right side covers and upper right cover.
2) Insert a Phillips screwdriver from the right side into hole [1] in the shaft of the lift unit in the purge unit and turn it counterclockwise. This will lower cap [2] and
lock pin [3], allowing the carriage to be moved.
The wiper unit will move in sync with the motion of the cap and lock pin.
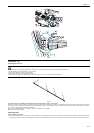
F-4-49
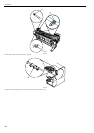
4.3.15 Opening and closing ink supply valves
0014-8992
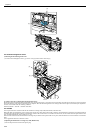
a) Opening and closing ink supply valves
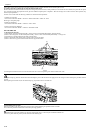
1) Remove the ink tank cover unit.
2) Press valve lever [1] with a finger to open the ink supply valve.
[1]
[3]
[2]