Note
• If
streaks seem least noticeable in two patterns but you cannot decide which one is better, choose an
intermediate value. For example, choose 11 if you cannot decide whether pattern 10 or 12 is better.
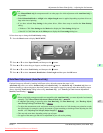
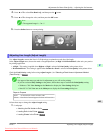
7. Press ▲ or ▼ to display the number selected in step 6, and then press the OK button.
Test pattern B is printed for band adjustment.
8. Examine test pattern B for band adjustment. Determine the pattern in which streaks are least noticeable.
9. Press ▲ or ▼ to display the number selected in step 8, and then press the OK button.
The adjustment value is now registered, and adjustment is complete.
Banding Adjustment During Printing (Fine Band Adj.)
If, during printing, the contrast is uneven sideways across the paper or banding in different colors appears at 50 mm (2 in.)
intervals, try adjusting the feed amount as follows. The results of adjustment are applied to printing in progress, enabling
you to check the results immediately. However, note that because printing is paused, colors may be slightly different.
Use Fine Band Adj. after Auto Band Adj. or Manual Band Adj if finer adjustment is required. (See "Auto Band Adjust-
ment (Auto Band Adj.).") →P.677 (See "Manual Band Adjustment (Manual Band Adj).") →P.678
Note
• The Fine Band Adj. value is reset to 0 if you use Auto Band Adj. or Manual Band Adj.
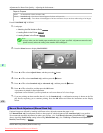
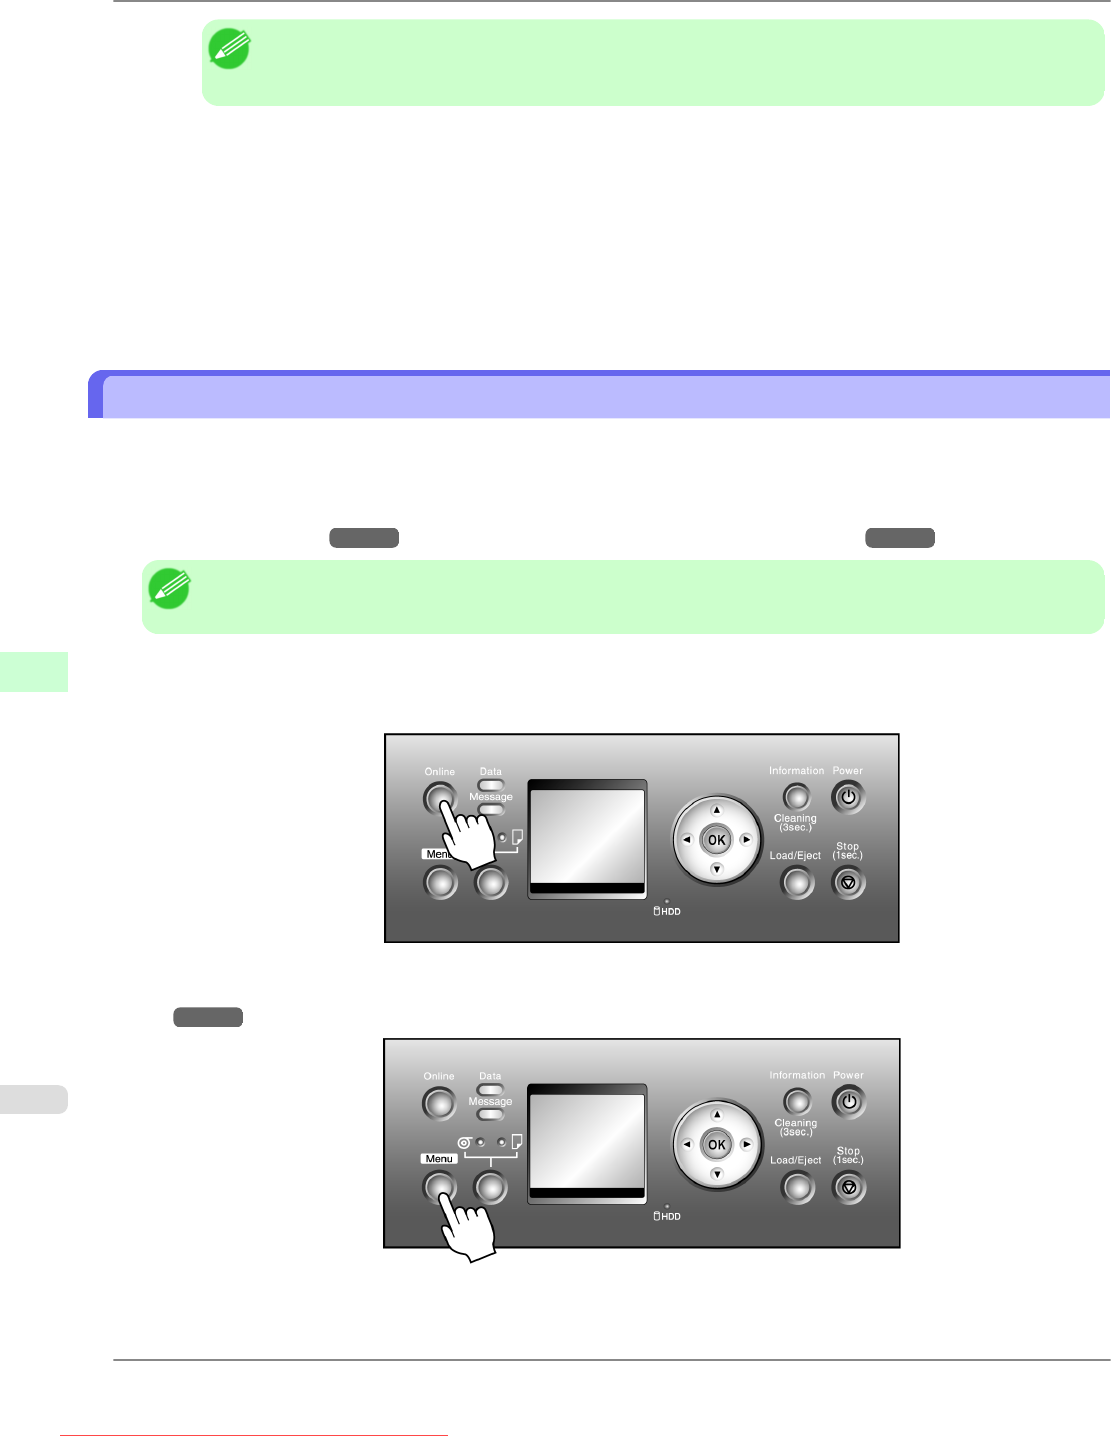
Execute Fine Band Adj. during printing as follows.
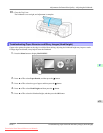
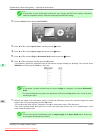
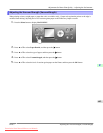
1. Press the Online button to pause printing.
2. Press
the Menu button to display the menu during printing. (See "Main Menu Settings (During Printing).")
→P.734
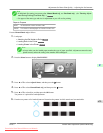
3. Press ▲ or ▼ to select Menu Durng Prtng, and then press the OK button.
Adjustments for Better Print Quality
>
Adjusting the feed amount
>
Banding Adjustment During Printing (Fine Band Adj.) iPF815
8
680
Downloaded from ManualsPrinter.com Manuals


