


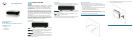
Quick Start Guide
Cisco Small Business
Model SD208P
8-Port 10/100 Unmanaged Switch with PoE
Package Contents
• SD208P Switch
• Power Adapter
• Quick Start Guide
Product Overview
Thank you for choosing the SD208P 8-Port 10/100 Mbps switch. It is compliant
with most popular network standards, and migrates Ethernet and Fast Ethernet
networks seamlessly. It is equipped with 8 auto-negotiating 10/100 Mbps
ports, capable of identifying and determining the best transmission speed to
build the connection.
The SD208P supports IEEE 802.3af Power over Ethernet on ports 1 through 4
with a total power budget of 32 Watts. This provides power over Cat-5 cabling
to PoE end devices such as wireless access points, IP phones or other PoE
powered devices to help eliminate the need for dedicated electrical outlets.
Furthermore, auto MDI/MDI-X on each port makes your network configuration
easier than ever.
The SD208P has a built in feature to aid network performance at times of
excessive load called Port Priority. This feature integrates Port Based QoS on
all 8 ports to meet different service requirements on voice, video and data
transformation. This feature can be useful during excessive loads, for example,
when one type of traffic may require priority over another.
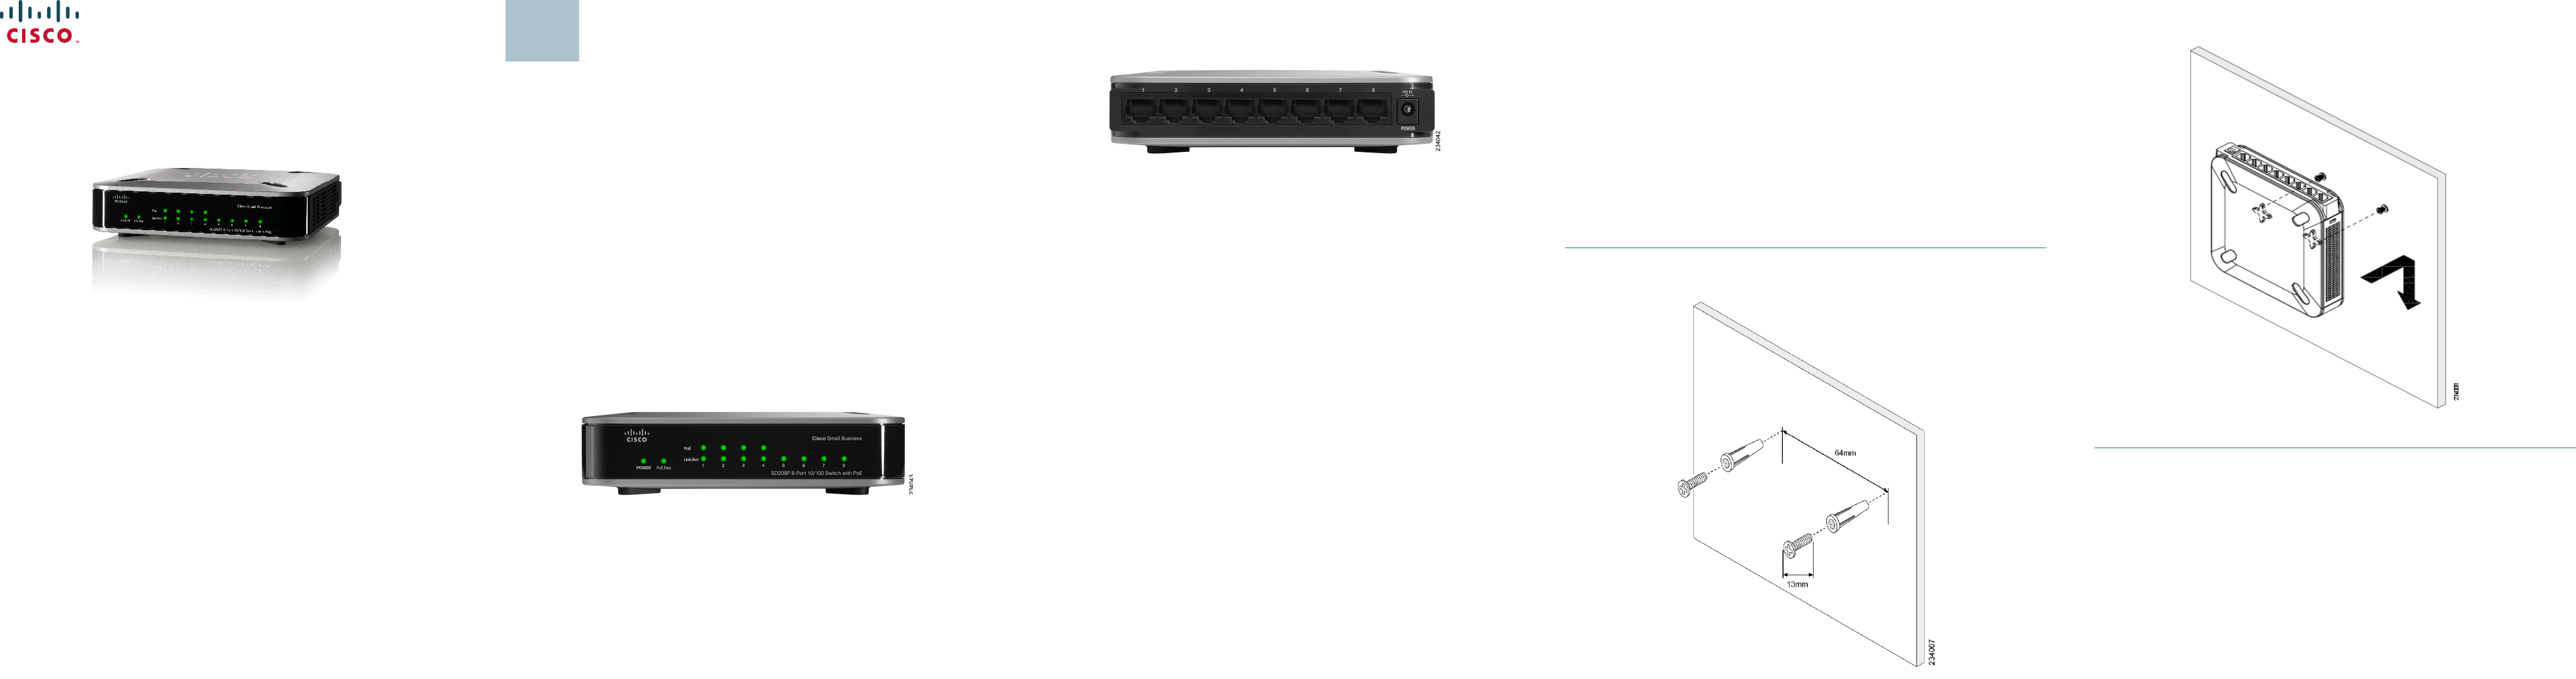
Front Panel
The LEDs are located on the front panel of the Switch.
Power—(Green) This LED lights up and remains lit when the Switch is powered
on.
Link/ACT (1-8)—(Green) One LED per port, lights up when a connection is made
(Link up) through the corresponding port. The LED will flash when there is
activity (Tx or Rx) on the corresponding port.
PoE Status (1-4) (Green) These LEDs light up and remain lit when the switch is
providing PoE power on the port (only for ports 1-4).
PoE Max (Yellow) This LED lights up and remains lit when the switch is providing
more than 80% maximum PoE power (when the total power supplied reaches
the 25.6 W level across ports 1-4)
1
Back Panel
The Ethernet network ports are located on the back panel of the Switch. All
ports are auto-negotiating and have automatic MDI/MDI-X crossover detection.
Ethernet Ports—Ports 1-4 are high priority PoE ports with a total power budget
of 32 watts. Ports 5-8 are low priority ports without PoE. The priority ratio of
ports 1-4 to ports 5-8 is 4:1.
Power—Port for an external power adapter with 48V/1.25A DC output that
supports 100/240 V and 50/60 Hz inputs.
Side Panels
There is a physical security slot located on the side of the Switch. The security
slot is where you can attach a lock to protect the Switch from theft.
Placement Options
Set the Switch on its four rubber feet, or mount the Switch on a wall.
Before mounting the switch onto a wall, it is important to consider the following:
• Ensure the wall is strong enough to support the switch, a minimum of 1/2” of
sheet rock is recommended.
• Do not operate the switch in an area that has reduced air flow, or exceeds
an ambient temperature of 104 degrees (40 C).
• The switch can be mounted either horizontal or vertical.
• Mounting screws should have a head 5.5mm wide, 2mm deep, and the shaft
of the screw should be at least 13mm long and 2.9mm wide.
To use the wall-mount option, follow these instructions:
STEP 1 The wall-mount slots are two crisscross slots on the Switch’s
bottom panel. Attach two screws to the wall 64mm apart.
STEP 2 Maneuver the Switch to insert the screws into the two slots, then slide
the switch downward onto the screws.