Getting Started
9
E
Step 1
Remove the printer cover.
Step 2
Open the platen arm.
Step 3
Ensuring the paper is being
fed from the bottom of the
roll, lower the roll into the
space behind the printer.
Complete
Replace the printer cover,
passing the leading end of
the paper through the
cutter slot. Tear off the
excess paper.
Step 5
Close the platen arm
slowly until it locks
steadily.
Step 4
Put the leading end of the
paper over the printer.
To install receipt paper
Important!
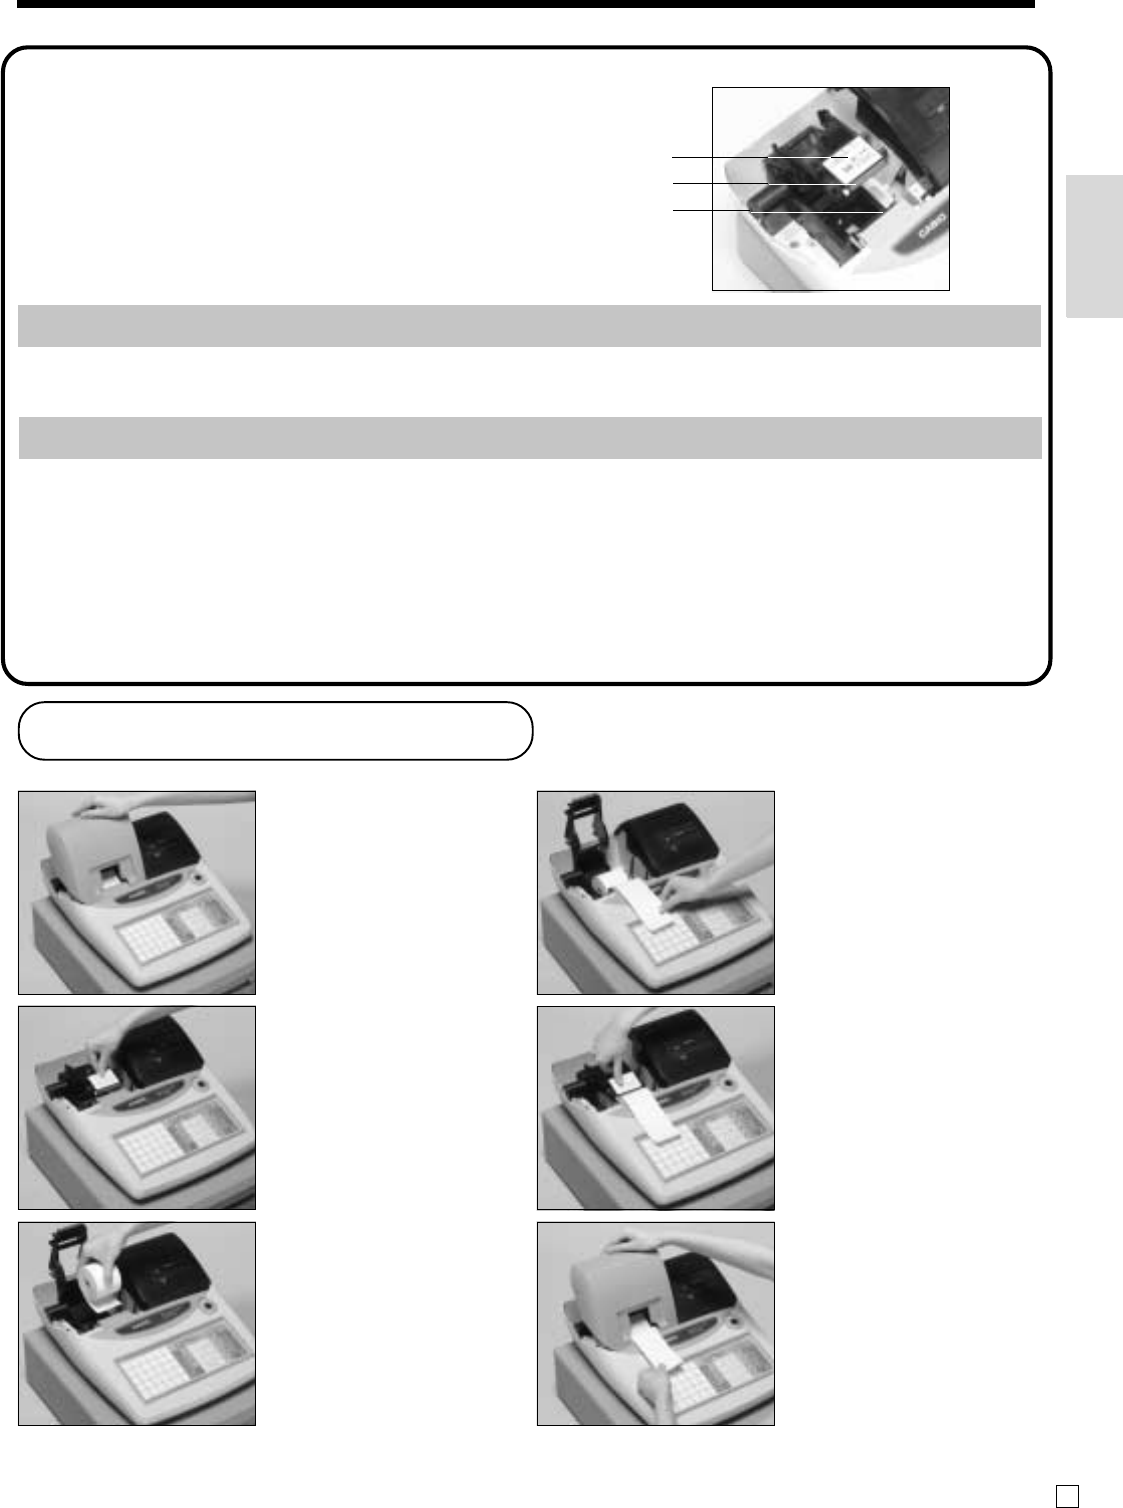
Take away the head protection sheet from the printer and close the platen arm.
Caution! (in handling the thermal paper)
• Never touch the printer head and the platen.
• Unpack the thermal paper just before your use.
• Avoid heat/direct sunlight.
• Avoid dusty and humid places for storage.
• Do not scratch the paper.
• Do not keep the printed paper under the following circumstances:
High humidity and temperature/direct sunlight/contact with glue, thinner or a rubber eraser.
Install receipt/journal paper.
4.
Platen arm
Platen
Printer


