


4–20 Maintenance and Service Guide
Removal and replacement procedures
Display assembly
Before removing the display assembly, follow these steps:
1. Shut down the computer. If you are unsure whether the computer is off or in Hibernation, turn the computer on,
and then shut it down through the operating system.
2. Disconnect all external devices connected to the computer.
3. Disconnect the power from the computer by first unplugging the power cord from the AC outlet and then
unplugging the AC adapter from the computer.
4. Remove the battery (see “Battery” on page 4-6).
5. Disconnect the wireless antenna cables from the WLAN module (see “WLAN module” on page 4-13).
6. Remove the keyboard (see “Keyboard” on page 4-15).
7. Remove the keyboard cover (see “Keyboard cover” on page 4-17).
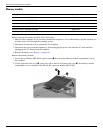
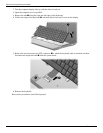
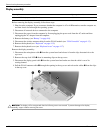
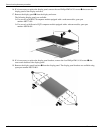
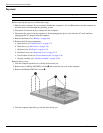
Remove the display assembly:
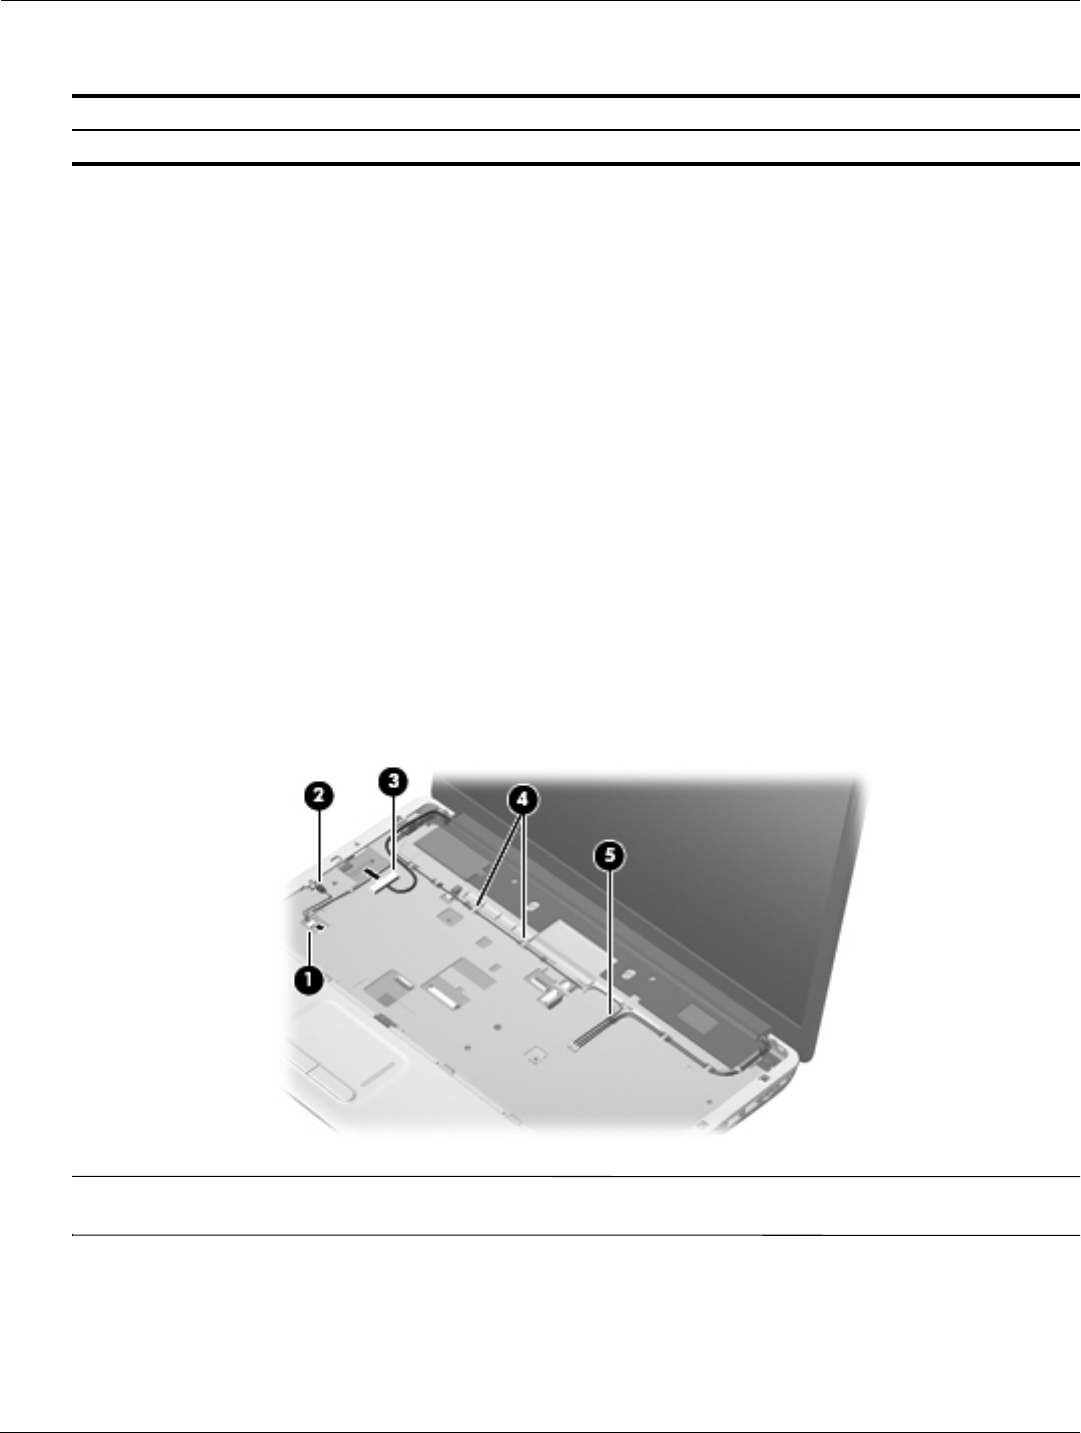
1. Disconnect the microphone cable 1 from the system board and release it from the clips that attach it to the
top cover.
2. Remove the caps lock LED 2 from its mounting clips on the top cover.
3. Disconnect the display panel cable 3 from the system board and make sure that the cable is out of its
routing channel.
4. Pull the WLAN antenna cables 4 through the opening in the top cover and release the cables 5 from the clips
in the top cover.
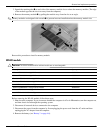
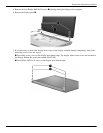
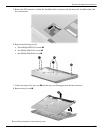
Ä
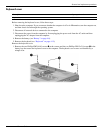
CAUTION: The display will be unsupported when the following screws are removed. To prevent damage to the display
assembly, support it before removing the screws.
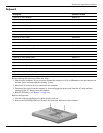
Description Spare part number
17-inch WXGA display assembly with webcam 485418-001