PRO-12UL User Guide
PRO-12UL is a 2-port USB KVM switch that allows KVM control over 2 USB computer
Connecting the KVM Switch:
Operating the KVM Switch:
1. Nothing needs to be installed on any computer to be operated with the KVM Switch. Once it’s all
plugged in – you should be ready to go.
2. To switch ports manually, you can hit the button on the top of the KVM switch.
3. To operate the KVM with keyboard hotkeys, there are several commands listed below. They will
allow you to switch ports, auto-scan, and turn the beep on or off.
1. To install your KVM Switch, you’ll want to
first connect the included power adapter. In
many cases the power adapter will be
unnecessary, though it’s use is recommended
to provide stability.
2. Next you’ll want to connect your monitor,
keyboard, and mouse. All these will plug
into the ports on the right side of the switch,
that are labeled ‘Console’.
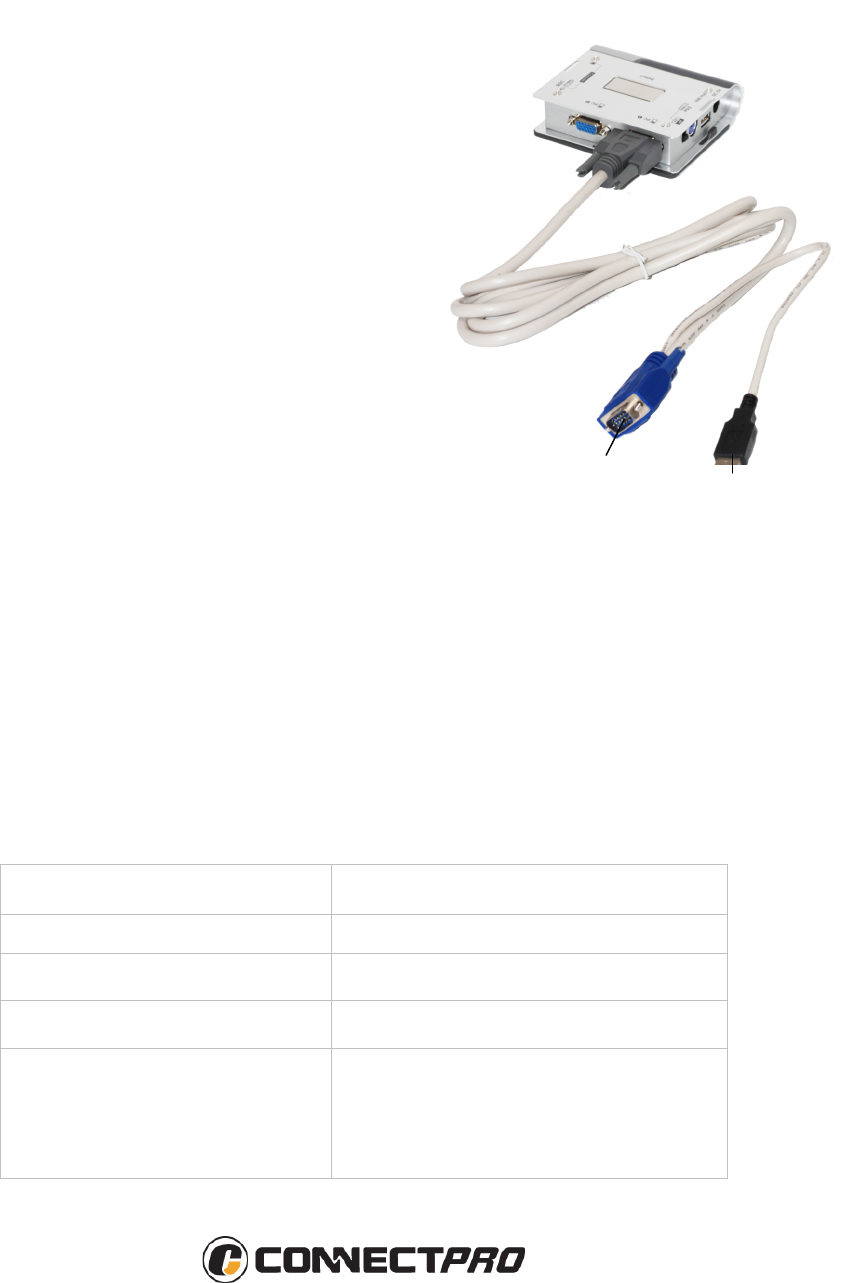
3. Included with the USB KVM Switch are 2
KVM cables which are used to connect your
computers to the switch on ports PC1 and
PC2. For each cable – the side with a 15-pin
connector will plug into the KVM switch, and
the side that splits out will connect to your
computer’s video port and an open USB port.