


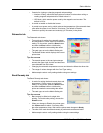
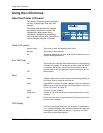
Using the LCD menus
36 RP90 Plus E and RL90 User Guide
Press the MENU key and "User Mode" is displayed on the LCD
panel. The LCD panel changes to read "Display" within 0.5
seconds.
Press the ENTER key when "Display" is shown to access display
settings which include the card counter, LCD contrast, and LCD
background color.
Press the MENU key when “Ready” is displayed to access other
printer settings.
Press the EXIT key at any time to exit the menu system and return
to "Ready" status.
Speaker
Provides an electronic beep that indicates:
• An error has happened.
• Fewer than 20 cards remain in the card hopper.
• Confirms that settings have been saved.
The speaker function can be turned on or off using the LCD panel.
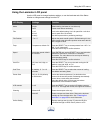
Using the Printer LCD panel
Many printer settings can be changed using the Status Monitor. See “Status Monitor” on
page 25
.
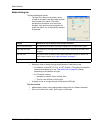
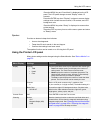
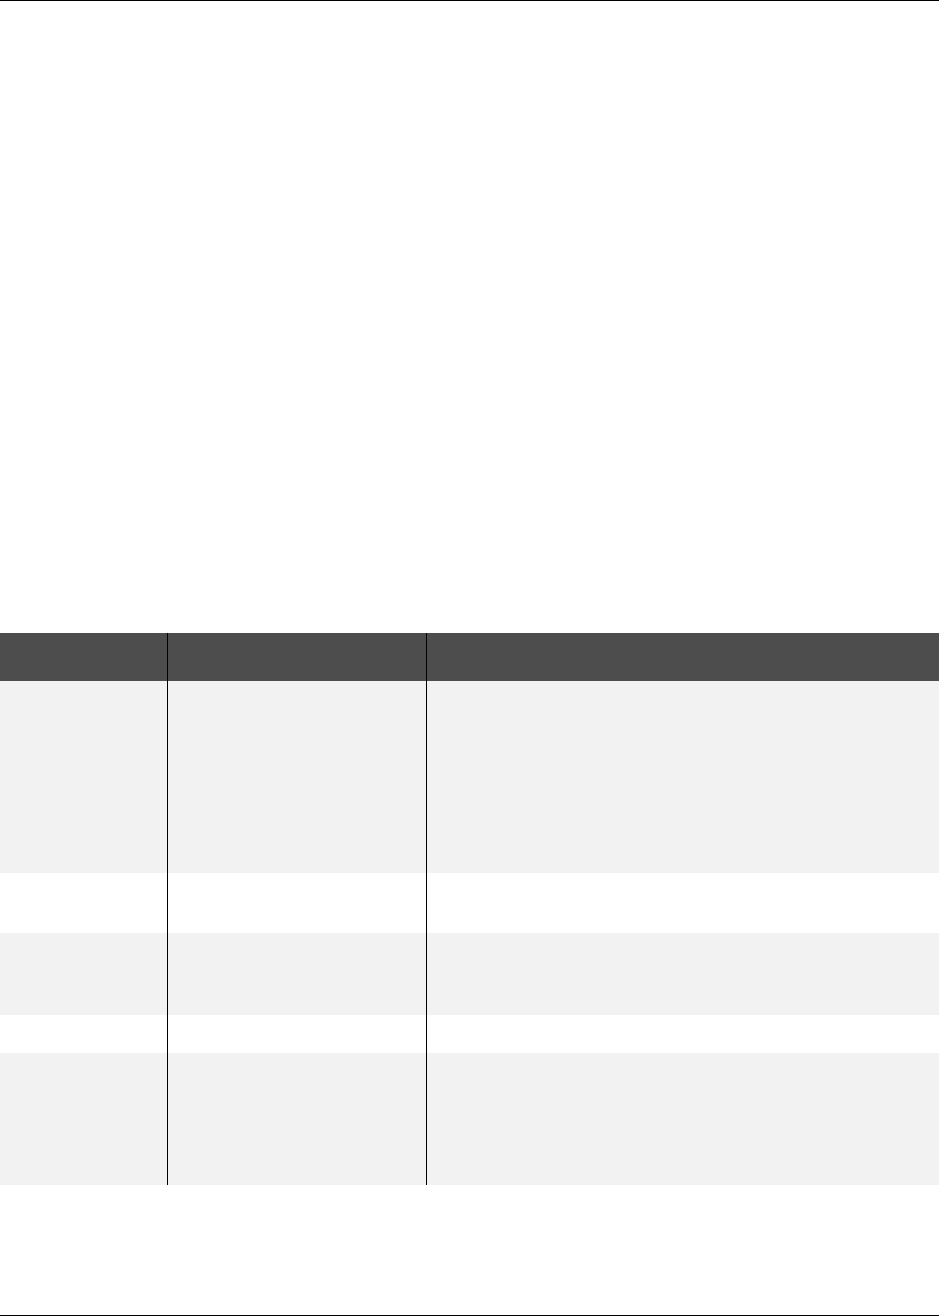
Menu Display Settings Function
Display Counter
• Total
• Head
•Free
Use the up and down arrow keys to select the card counter type:
• Total is the default setting, and displays the number of
cards printed. The Total counter cannot be reset.
• Head displays the number of complete dye panels. The
Head counter cannot be reset, however, it automatically
resets itself when the print head is replaced.
•The Free counter displays the number of cards that have
printed. The Free counter can be reset by the user.
Contrast
0
Set the LCD panel contrast using 7 gradations from
-3 (low contrast) to +3 (high contrast). The default setting is 0.
Back Color
SKY BLUE
Choose from eight LCD background colors. Sky blue is the
default color. Other selections are blue, light blue, green,
bright green, yellow, purple, and pink.
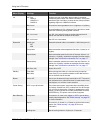
Counter Reset OK? Press ENTER to reset the Free counter.
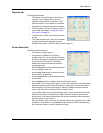
Cleaning Rollers
OK?
Magnetic Stripe (MG)
Head
Start the cleaning function to clean the card feed rollers and
heated rollers, and to clean the magnetic head when using
magnetic stripe cards. See
“Cleaning the card feed rollers
and heat roller” on page 45
or “Cleaning the magnetic
head” on page 46
for the steps to follow.