


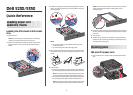
Dell 5230/5350
Quick Reference
Loading paper and
specialty media
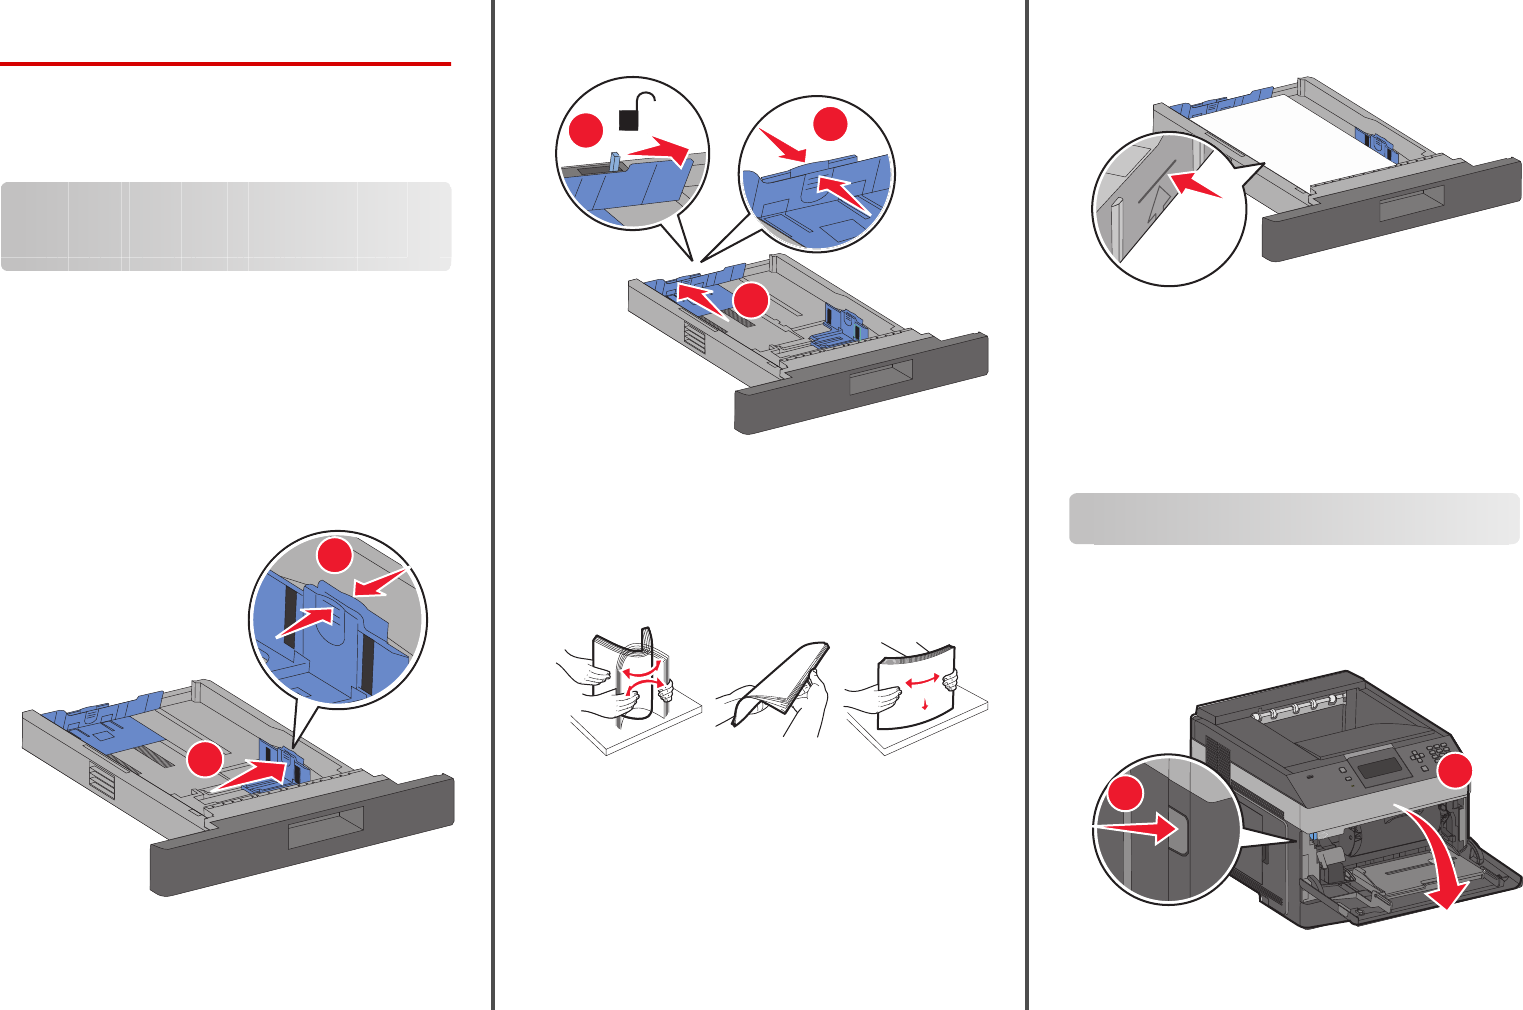
Loading the 250-sheet or 550-sheet
tray
1 Pull the tray out.
Note: Do not remove trays while a job prints or while Busy
appears on the display. Doing so may cause a jam.
2 Squeeze the width guide tab inward as shown, and move the
width guide to the correct position for the paper size being
loaded.
2
1
3 Unlock the length guide, squeeze the length guide tab inward as
shown, and slide the guide to the correct position for the paper
size being loaded.
3
1
2
Notes:
• Use the size indicators on the bottom of the tray to help
position the guides.
• For standard paper sizes, lock the length guide.
4 Flex the sheets back and forth to loosen them, and then fan them.
Do not fold or crease the paper. Straighten the edges on a level
surface.
5 Load the paper:
• For single-sided printing, load the paper print side facedown
with the leading edge of the paper toward the front of the tray.
Note: For print jobs using an optional Staple Finisher, place
the leading edge of the paper toward the back of the tray.
• For two-sided or duplex printing, load the paper faceup with
the leading edge of the paper toward the back of the tray.
Note: For print jobs using an optional Staple Finisher, place
the leading edge of the paper toward the front of the tray.
Note: Notice the maximum fill line on the side of the tray which
indicates the maximum height for loading paper. Do not
overload the tray.
6 If necessary, adjust the paper guides to lightly touch the sides of
the stack, and lock the length guide for the paper sizes indicated
on the tray.
7 Insert the tray.
8 If a different type of paper was loaded than the type previously
loaded in the tray, then change the Paper Type setting for the tray
from the printer control panel.
Clearing jams
200 and 201 paper jams
1 Push the release latch, and then lower the multipurpose feeder
door.
1
2
1