


Back to Contents Page
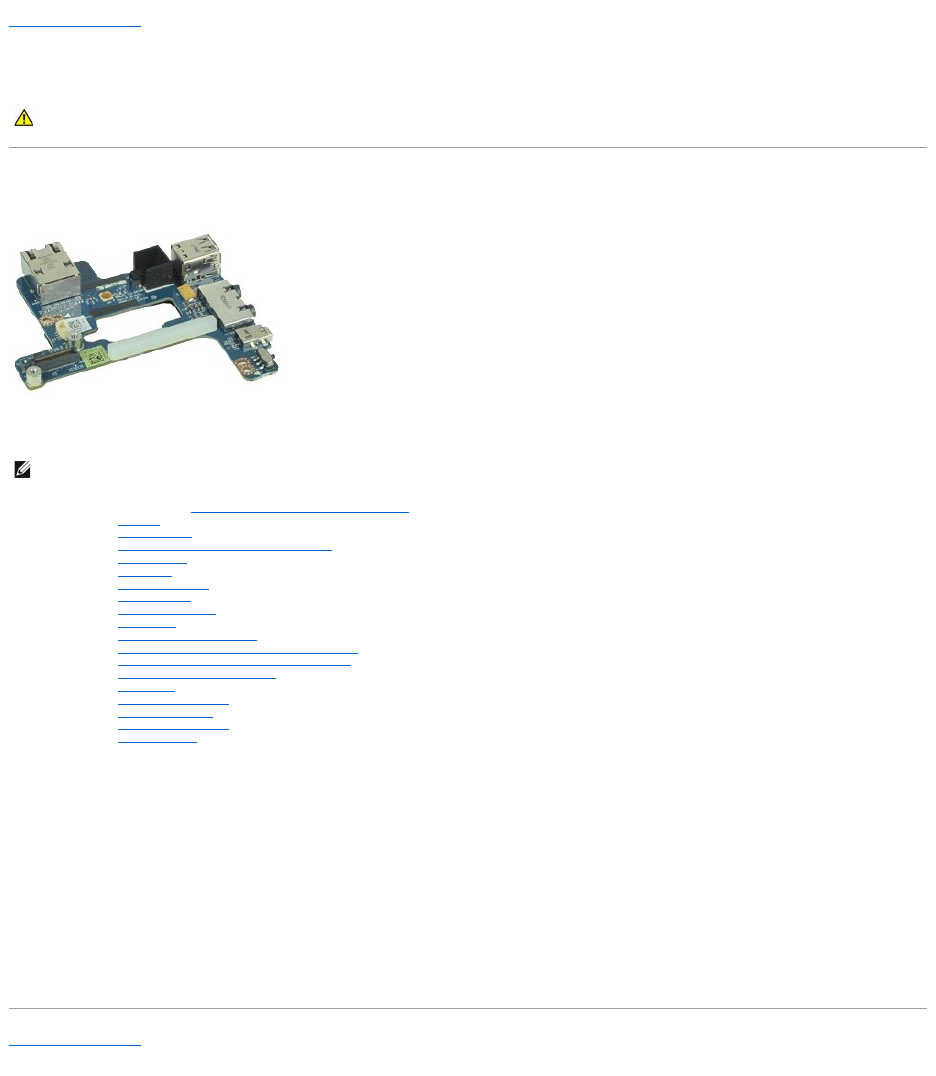
I/O Board
Dell™Latitude™E6510ServiceManual
Removing the I/O Board
1. Follow the procedures in Before Working Inside Your Computer.
2. Remove the battery.
3. Remove the access panel.
4. Remove the subscriber identity module (SIM) card.
5. Remove the optical drive.
6. Remove the keyboard.
7. Remove the coin-cell battery.
8. Remove the hinge covers.
9. Remove the display assembly.
10. Remove the hard drive.
11. Remove the LatitudeON™flashcard.
12. Remove the wireless wide area network (WWAN) card.
13. Remove the wireless local area network (WLAN) card.
14. Remove the heat sink and fan assembly.
15. Remove the processor.
16. Remove the palm rest assembly.
17. Remove the Bluetooth®card.
18. Remove the ExpressCard board.
19. Remove the system board.
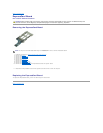
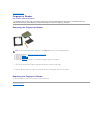
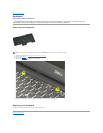
20. Remove the screw (labeled 'I') that secures the I/O board to the computer.
21. Remove the screws that secure the I/O board to the computer.
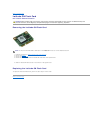
22. Remove the I/O board from the computer.
Replacing the I/O Board
To replace the I/O board, perform the above steps in reverse order.
Back to Contents Page
WARNING: Before working inside your computer, read the safety information that shipped with your computer. For additional safety best
practices information, see the Regulatory Compliance Homepage at www.dell.com/regulatory_compliance.
NOTE: YoumayneedtoinstallAdobe™FlashPlayer™fromAdobe.com in order to view the illustrations below.