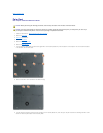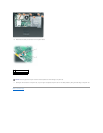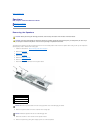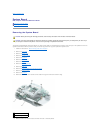
7. Replace the palm rest.
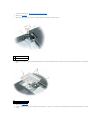
8. Replace the microprocessor thermal-cooling assembly.
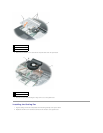
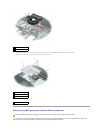
9. Replace the cooling fan.
10. Replace the display assembly.
11. Replace the keyboard.
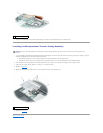
12. Replace the Mini PCI card, modem, and memory module that you removed from the old system board.
13. Replace the optical drive.
14. Replace the hard drive.
15. Insert the battery into the battery bay.
16. Connect the AC adapter to the computer and to an electrical outlet.
17. Turn on the computer.
18. Insert the CD that accompanied the replacement system board into the appropriate drive, and turn on the computer. Follow the instructions on the
screen.
Back to Contents Page
NOTICE: Before turning on the computer, replace all screws and ensure that no stray screws remain inside the computer. Failure to do so may result in
damage to the computer.
NOTE: After replacing the system board, enter the computer Service Tag into the BIOS of the replacement system board.


