Wireless Enhanced G Desktop Card
Carte sans l G amélioré pour ordinateur
Tarjeta Inalámbrica G Mejorado para PC de Escritorio
DX-EBDTC
P75509-A 07-721
QUICK INSTALL GUIDE
Guide d’installation rapide • Guía de instalación rápida
3
Connect to a network
Connectez à un réseau • Conecte a una red
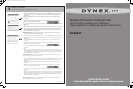
1. Select your network from the Available Networks list, then click Connect. If you do not have security
enabled, you will connect to your network automatically. If you do have security enabled, go to
Step 2 below.
Note: Only click Connect once. The connection process will begin even though the button appears
unselected.
Note: If the Dynex Wireless Networking Utility did not open automatically, double-click the Wireless
Utility icon in the system tray near the clock.
2. A. If you have security enabled and you have a Dynex wireless router, you will be prompted to enter
a password
OR
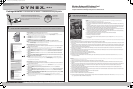
B. If you have security enabled and you do not have a Dynex wireless router, the Connect to a secure
network screen opens. Enter the encryption key you created when you set up your wireless router,
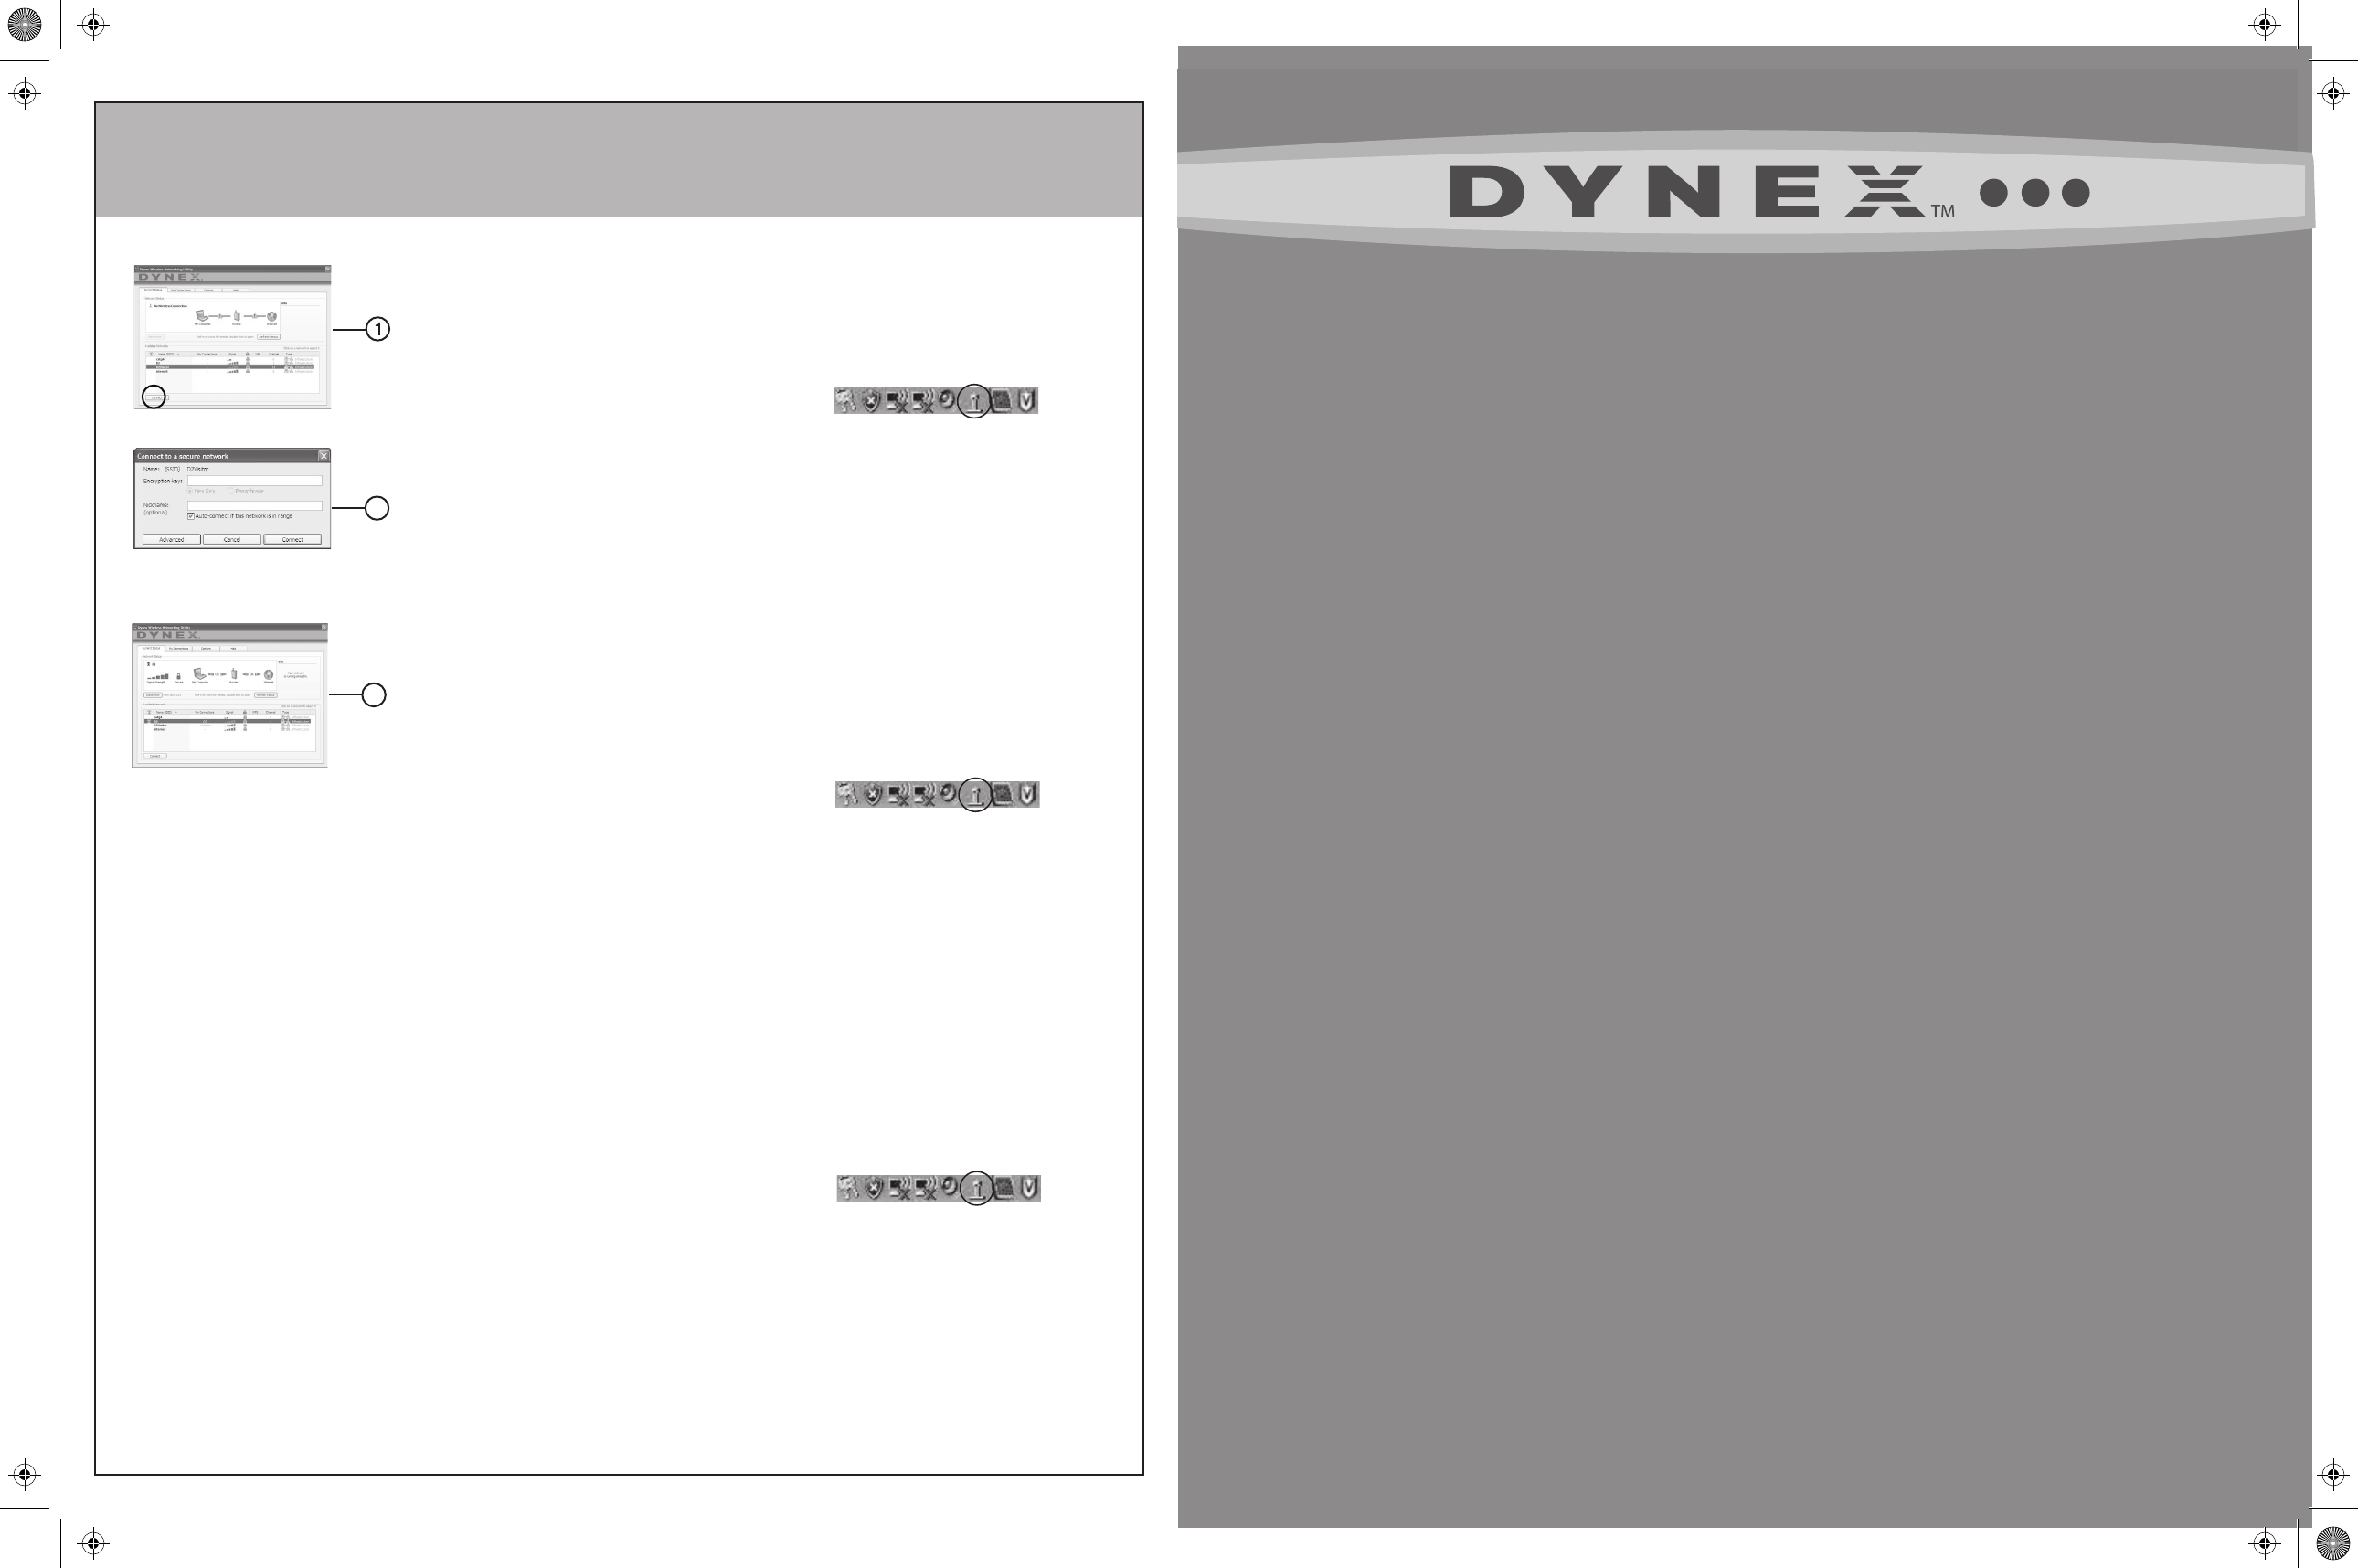
then click Connect. The computer will connect to the network and the Dynex Wireless Networking
Utility will display the connection status.
Windows Vista® Users: Connect to a wireless network through the Network and Sharing Center,
accessible through your computer’s Control Panel.
1. Select your network from the Available Networks list, then click Connect. If you do not have security
enabled, you will connect to your network automatically. If you do have security enabled, go to
Step 2 below.
Note: Only click Connect once. The connection process will begin even though the button appears
unselected.
Note: If the Dynex Wireless Networking Utility did not open automatically, double-click the Wireless
Utility icon in the system tray near the clock.
2. A. If you have security enabled and you have a Dynex wireless router, you will be prompted to enter
a password
OR
B. If you have security enabled and you do not have a Dynex wireless router, the Connect to a secure
network screen opens. Enter the encryption key you created when you set up your wireless router,
then click Connect. The computer will connect to the network and the Dynex Wireless Networking
Utility will display the connection status.
Windows Vista® Users: Connect to a wireless network through the Network and Sharing Center,
accessible through your computer’s Control Panel.
2B
2B