3. Press the Operate
button.
Attach the paper
support
Make sure you check the system and location
requirements and follow all the safety instructions in
your User’s Guide. Plug the printer into a properly grounded outlet. If you need
help in setting up your printer, see “Solving Problems” in your User’s Guide.
CAUTION
To avoid damaging the EPSON Stylus Scan, be sure to
lock the transportation lock before you move it.
CAUTION
Remove any tape and packing materials.
Make sure you have all the parts. If any parts are missing, contact EPSON as described in your User’s Guide.
You’ll also need a cable to connect the printer to your computer.
If you have the EPSON Stylus Scan 2500 Pro model, you should also have
these parts:
star t here
Unpack your
EPSON Stylus Scan
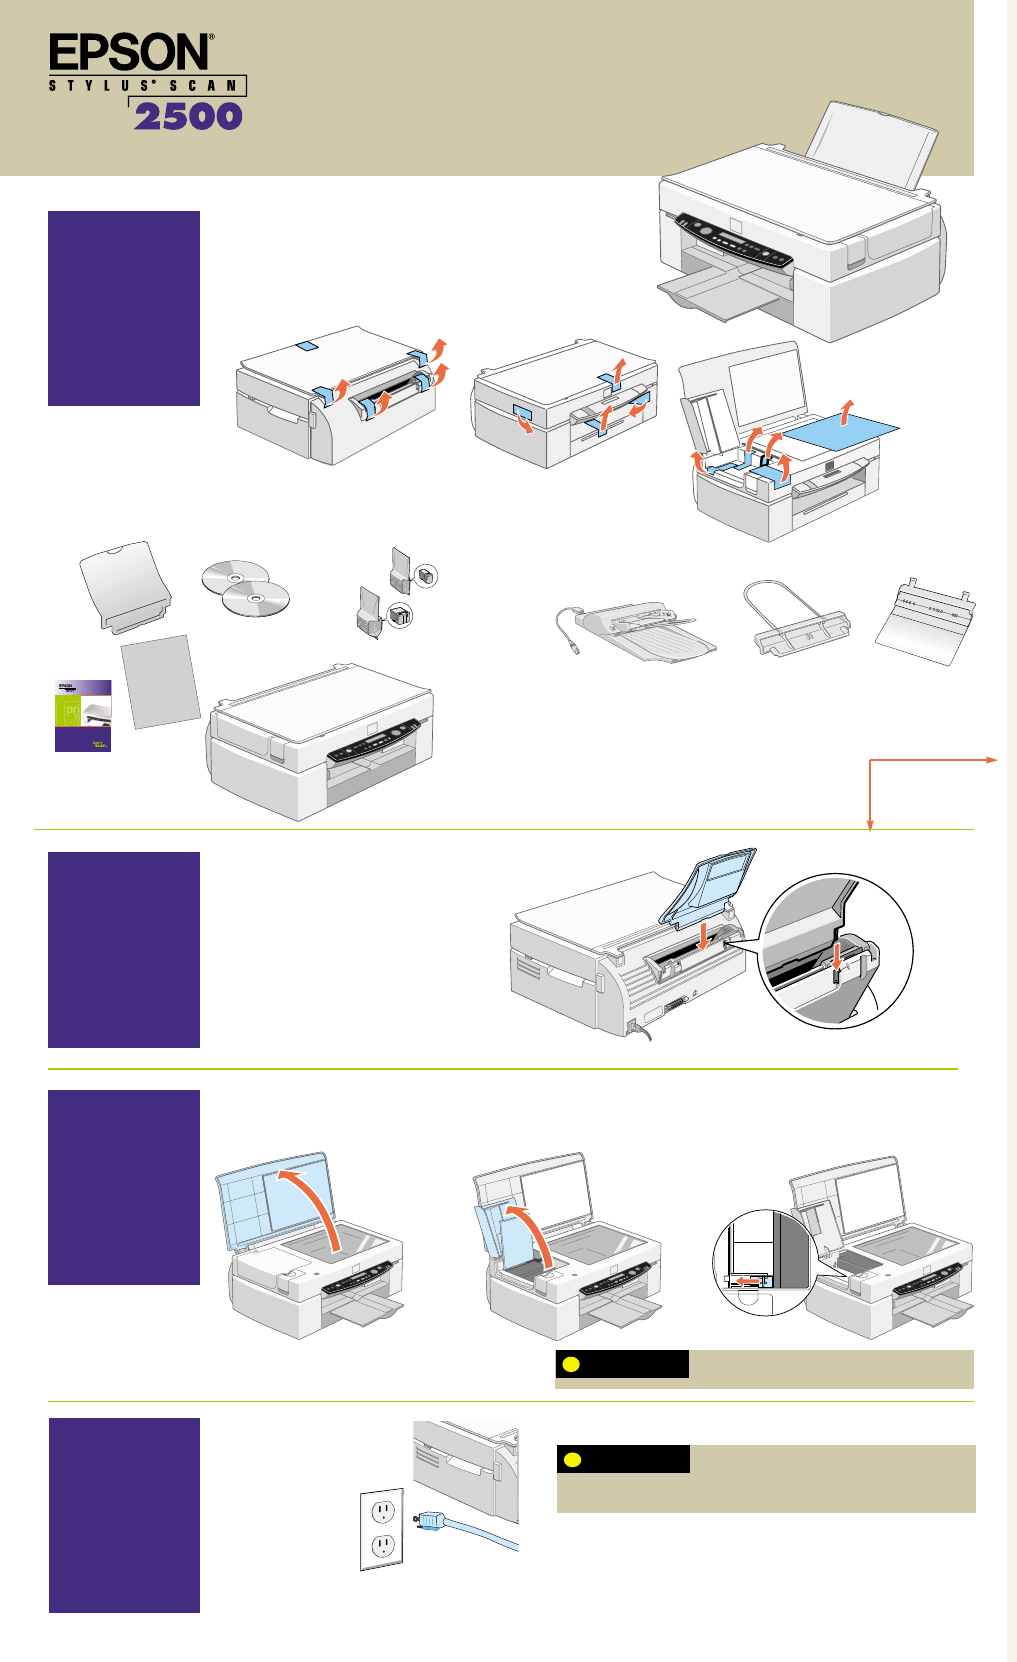
Release the transportation lock
Plug in your
EPSON Stylus
Scan
3
4
2
5
7
Install the ink cartridges
1. Open the document cover.
2. Open the document and
maintenance covers, if
necessary.
1. Press the Operate button.
The Operate light comes on and
the print head moves.
3. Slide the transportation lock out to
release the scanner carriage.
3. Unwrap the ink cartridges. Then
pull off only the yellow part of
the tape seal on top. Don’t pull
off the blue portion or remove
the clear seal on the bottom of
the cartridge.
7. Close the maintenance and document covers.
8. Press the cleaning button to
begin charging the ink delivery
system.
5. Insert the ink cartridges with
the labels face-up. Don’t
press down on the cartridges.
When you release the buttons, the nozzle check page starts to print. This is
what it should look like:
If it doesn’t look right, you may need to run a print head cleaning cycle. See
your User’s Guide for instructions. If it doesn’t print, see “Solving Problems”
in your User’s Guide.
1. Turn off the printer.
2. Hold down the load/eject button.
oovveerr
➱
Test your
EPSON Stylus Scan
6
Load paper in the tray
1
uunnffoolldd
turn
here
paper
support
User’s Guide
software
media pack
printer
automatic document feeder (ADF)
ADF paper support
ADF paper guide
ink cartridges
If ink gets on your hands, wash them thoroughly with
soap and water. If ink gets in your eyes, flush them
immediately with water. Keep ink cartridges out of the reach of children.
WARNING
2. Open the maintenance cover.
Charging takes about 2 minutes. The Operate light flashes and the printer
makes various sounds. Don’t turn off the printer yet. Wait until the Operate
light stops flashing and stays on.
2. Slide out the tray
extension.
3. Place a stack of
paper against the
right side of the
feeder.
4. Make sure the paper fits under the
arrow mark inside the edge guide. Slide
the edge guide against the paper.
1. Slide out the edge guide.
user’s
guide
4. Lift up the ink cartridge clamps.
6. Press down on the ink
cartridge clamps until they
lock into place.
Don’t open the clamps to remove a cartridge except to
replace it with a new one. Once you remove a cartridge,
you can’t reuse it, even if it contains ink. You must install both cartridges and leave
them installed for all types of printing. To avoid damaging the printer, never move
the print head by hand.
CAUTION
ss2500Poster.QX3.3 9/22/99 4:01 PM Page 1
