


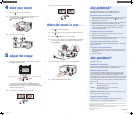


Turn over
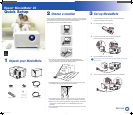
1 Unpack your MovieMate
2 Choose a location
You can use your MovieMate just about anywhere—in the living room, bedroom,
or even outside. You can use it with the subwoofer and screen, or simply project
on a wall and use the built-in audio system without the subwoofer.
The following pictures show three different setups.
If you want an image that fills the screen, place MovieMate about
6
1
⁄
2 feet away from it. The following diagram shows the approximate
image size (measured diagonally) at various distances.
MovieMate doesn’t have to be directly in front of the screen, but it has to
face straight ahead (at a 90-degree angle to the screen).
If the image is too low, too high, or off to the side, you can use the lens
shift dials to adjust the position. See section 5 on the back of this sheet.
Make sure you have a grounded electrical outlet, power strip, or extension
cord with two sockets available: one for MovieMate and one for the
subwoofer.
For the best sound, make sure the subwoofer faces toward you and away
from the screen.
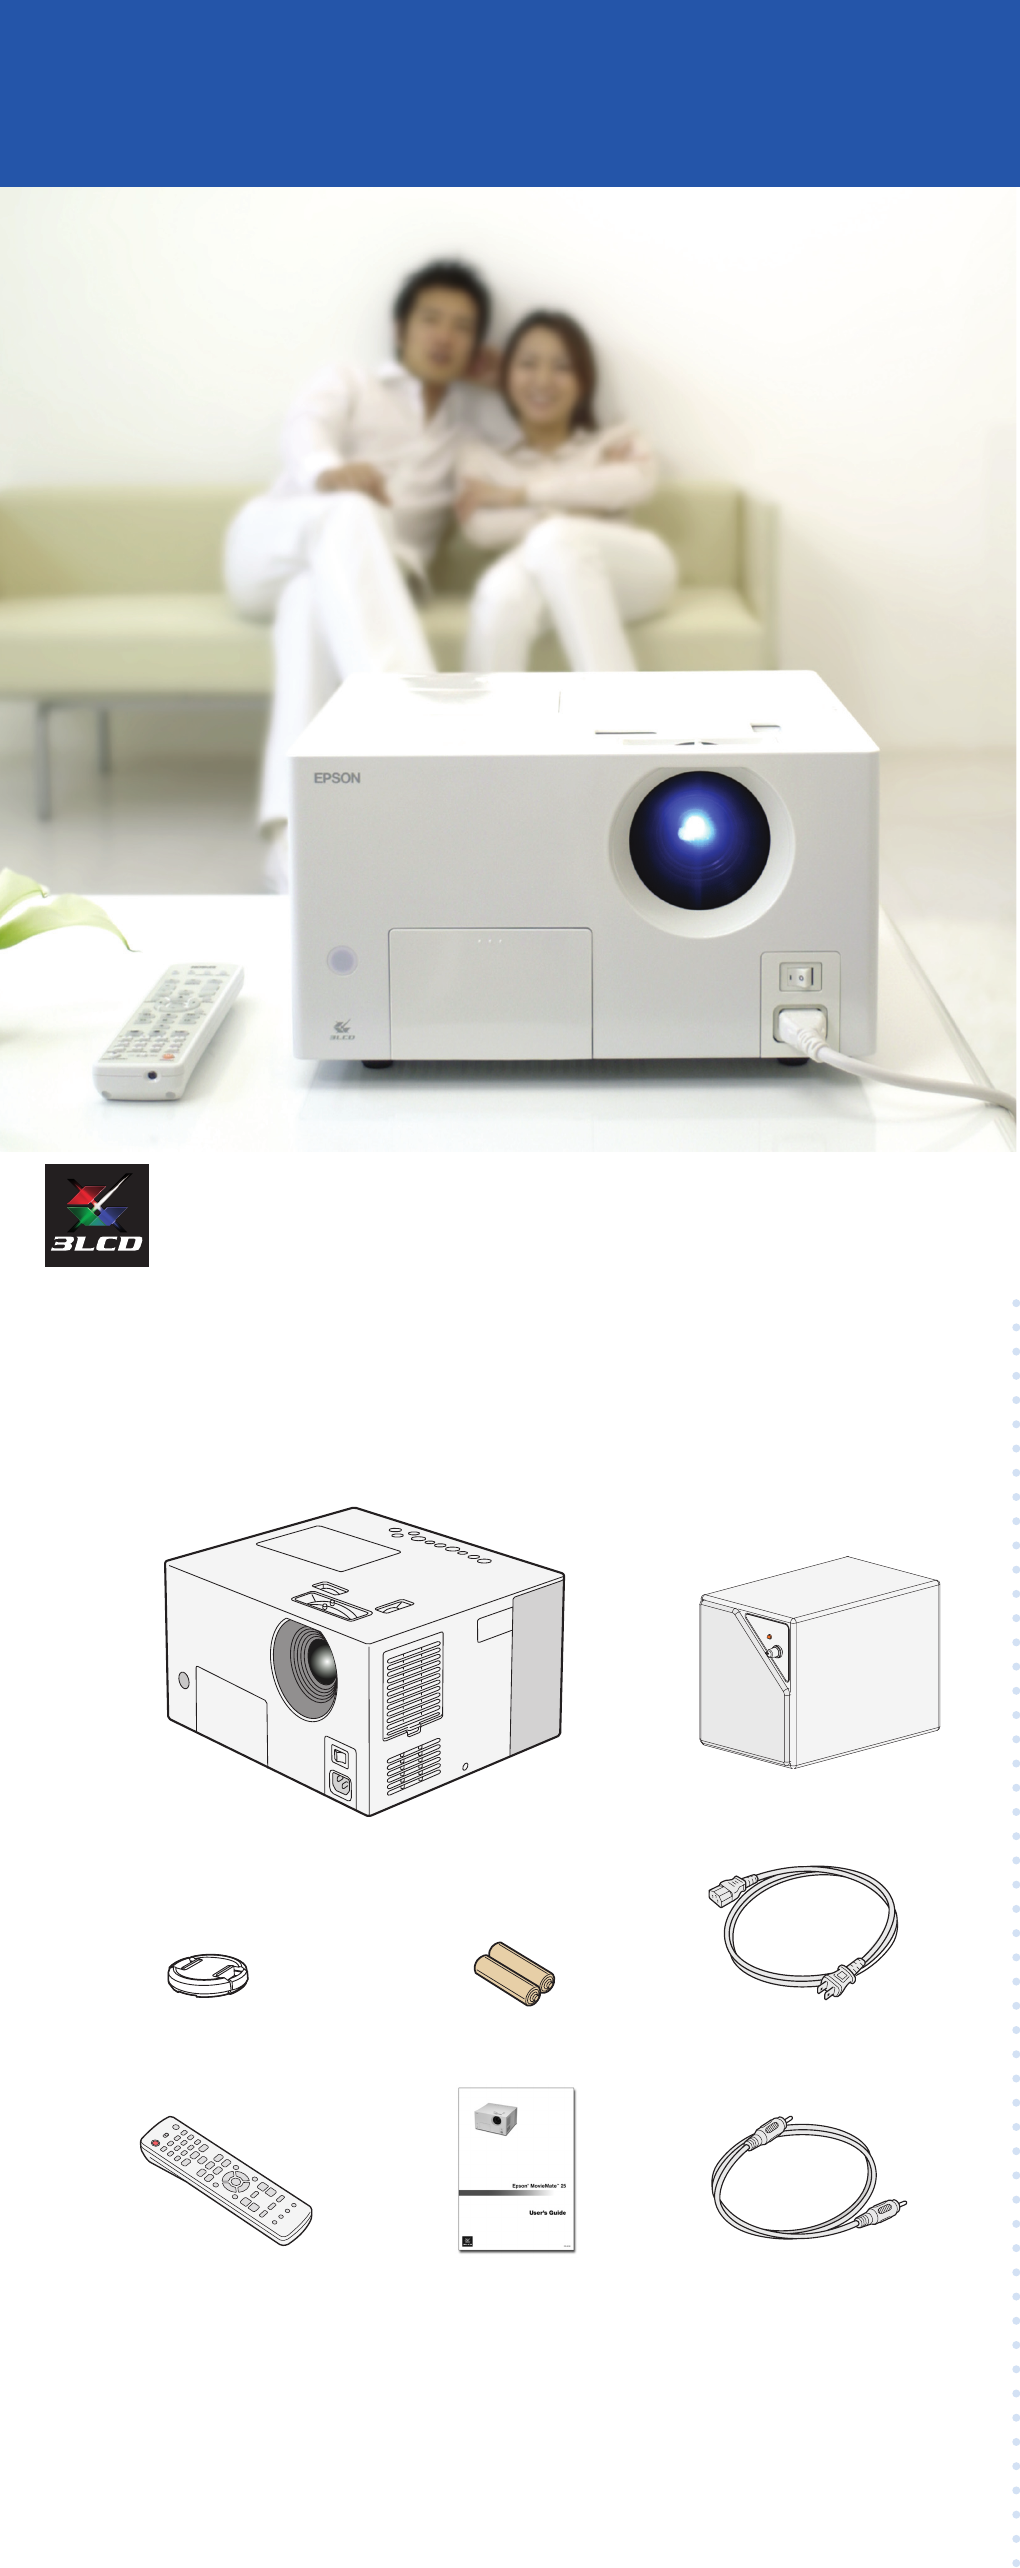
Projector
Subwoofer
Power cord
Batteries
Epson
®
MovieMate
™
25
Lens cap
FPO
User’s Guide
Quick Setup
Quick Setup
Subwoofer audio cable
Remote control
3 Set up MovieMate
1 If your MovieMate came with a screen, set it up following the
instructions included in the screen box.
2 Put the batteries in the remote control.
3 Connect the subwoofer. See the instructions included
with the subwoofer for more information.
4 Plug in MovieMate and the subwoofer.
For best results, make sure the subwoofer faces toward you and away
from the screen.
5 Turn on the power switches on MovieMate and the subwoofer.
NOTE
Pepper_QS_CPD20182.indd 1 12/22/05 10:45:52 AM