FortiGate-5001FA2 Security System Guide
14 01-30000-0379-20080606
Inserting a FortiGate-5001FA2 board into a chassis Hardware installation
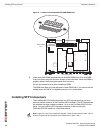
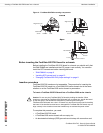
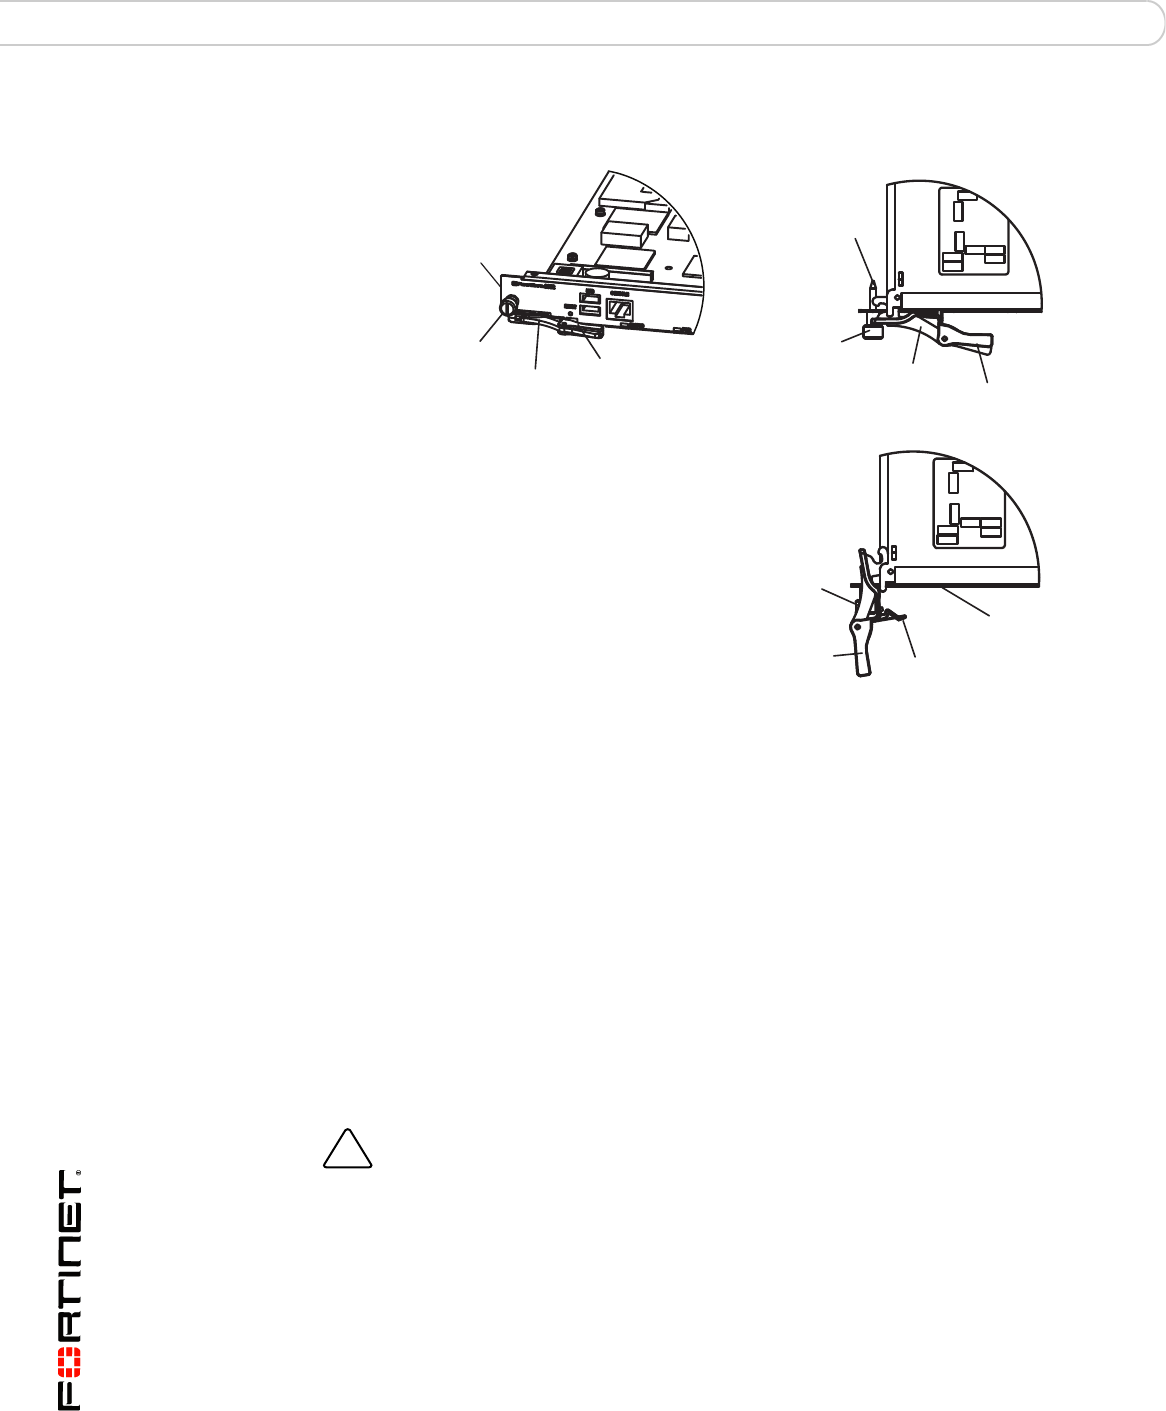
Figure 4: FortiGate-5001FA2 mounting components
Before inserting the FortiGate-5001FA2 board in a chassis
Before installing the FortiGate-5001FA2 board in a chassis you should verify that
the RAM DIMMs are installed and the JP3 jumper is set correctly. You can also
install the SFP transceivers before inserting the board.
• “RAM DIMMs” on page 9
• “Installing SFP transceivers” on page 10
• “Changing FortiGate-5001FA2 jumper settings” on page 11
Insertion procedure
FortiGate-5001FA2 boards are hot swappable. The procedure for inserting the
FortiGate-5001FA2 board into a FortiGate-5000 series chassis slot is the same
whether or not the FortiGate-5000 series chassis is powered on.
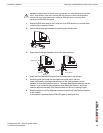
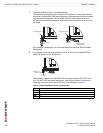
To insert a FortiGate-5001FA2 board into a FortiGate-5000 series chassis
To complete this procedure, you need:
• A FortiGate-5001FA2 board
• A FortiGate-5000 series chassis with an empty slot
• An electrostatic discharge (ESD) preventive wrist strap with connection cord
Closed
Open
Alignment Pin
Retention
Screw
Lock
Handle
Alignment Pin
Retention
Screw
Lock
Handle
Switch Contact
Power
Switch
Lock
Left Handle
!
Caution: Do not carry the FortiGate-5001FA2 board by holding the handles. When
inserting or removing the FortiGate-5001FA2 board from a chassis slot, handle the board
by the front panel. The handles are designed for positioning and locking the
FortiGate-5001FA2 board into a slot in a chassis only and should not be used for handling
the board. If the handles become bent or damaged the FortiGate-5001FA2 board may not
align correctly in the chassis slot and the handles may not activate the power switch.


