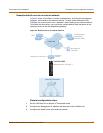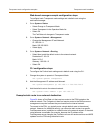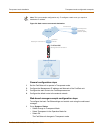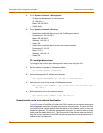
Transparent mode installation Connecting the FortiGate unit to your networks
FortiGate-4000 Installation and Configuration Guide 73
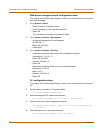
3 Select Anti-Virus & Web filter to enable antivirus protection for this policy.
4 Select the Scan Content Profile.
5 Select OK to save the changes.
Registering your FortiGate unit
After purchasing and installing a new FortiGate unit, you can register the unit by going
to the System Update Support page, or using a web browser to connect to
http://support.fortinet.com and selecting Product Registration.
To register, enter your contact information and the serial numbers of the FortiGate
units that you or your organization have purchased. You can register multiple
FortiGate units in a single session without re-entering your contact information.
For more information about registration, see “Registering FortiGate units” on
page 133.
Configuring virus and attack definition updates
You can configure the FortiGate unit to automatically check whether new versions of
the virus definitions and attack definitions are available. If it finds new versions, the
FortiGate unit automatically downloads and installs the updated definitions.
The FortiGate unit uses HTTPS on port 8890 to check for updates. The FortiGate
external interface must have a path to the FortiResponse Distribution Network (FDN)
using port 8890.
For information about configuring automatic virus and attack updates, see “Updating
antivirus and attack definitions” on page 123.
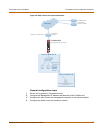
Connecting the FortiGate unit to your networks
After you complete the initial configuration, you can connect the FortiGate unit
between your internal network and the Internet.
• To connect the FortiGate-4000P, see “FortiGate-4000P network connections” on
page 39
• To connect the FortiGate-4000S, see “FortiGate-4000S network connections” on
page 39


