


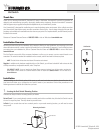
Unit Switch
1
531871-1_A
Thank You
Thank you for choosing Humminbird®, America's #1 name in fishfinders. Humminbird® has built its reputation by
d
esigning and manufacturing top-quality, thoroughly reliable marine equipment. Genuine Humminbird® accessories
offer the opportunity to upgrade and expand the capabilities of your Humminbird® product.
Your Humminbird® is designed for trouble-free use in even the harshest marine environment. In the unlikely event that
your Humminbird® does require repairs, we offer an exclusive Service Policy - free of charge during the first year after
purchase, and available at a reasonable rate after the one-year period. For complete details, see the Warranty section
included in this manual.
Contact our Customer Resource Center at 1-800-633-1468 or visit our Web site at humminbird.com.
Installation Overview
Following are instructions for the installation of this accessory. Before you start installation, we encourage you to read
these instructions carefully in order to get the full benefit from your Humminbird® accessory. If you find that any items
are missing from your installation kit, call our Customer Resource Center at 1-800-633-1468 or visit our Web site at
humminbird.com.
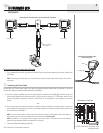
The Unit Switch comes with all the necessary hardware to allow you to connect your two control heads to one
transducer. The switch is intended for installation on the console, and will work well on almost any boat.
NOTE: The Unit Switch will not allow the six beam-3D transducer to be shared.
Supplies: In addition to the hardware supplied with your Unit Switch, you will need a hand drill with various size bits,
a Phillips screwdriver, an adjustable wrench, and a 3 amp fuse.
700 SERIES™ NOTE: If you are installing the Speed Sensor accessory (optional), you will also need to purchase the
Sonar/Speed Y-Cable. Contact our Customer Resource Center for details at 1-800-633-1468 or visit our Web site at
humminbird.com.
Installation
Before installing the Unit Switch, gather all the parts you will need, and make sure that the planned location of the
Unit Switch will allow you to connect the two control heads to your transducer. Perform the procedures in the
following sections to install the Unit Switch on your boat.
1. Locating the Unit Switch Mounting Position
There are two ways to find the mounting location, as follows:
Switch Panel: If your console already contains a switch panel with an available slot, slide the Unit Switch into the
slot until it snaps into place. Then skip ahead to procedure two.
In-Dash: If your console does not have a switch panel or a pre-made mounting location, you will need to create
one yourself.
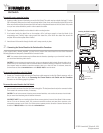
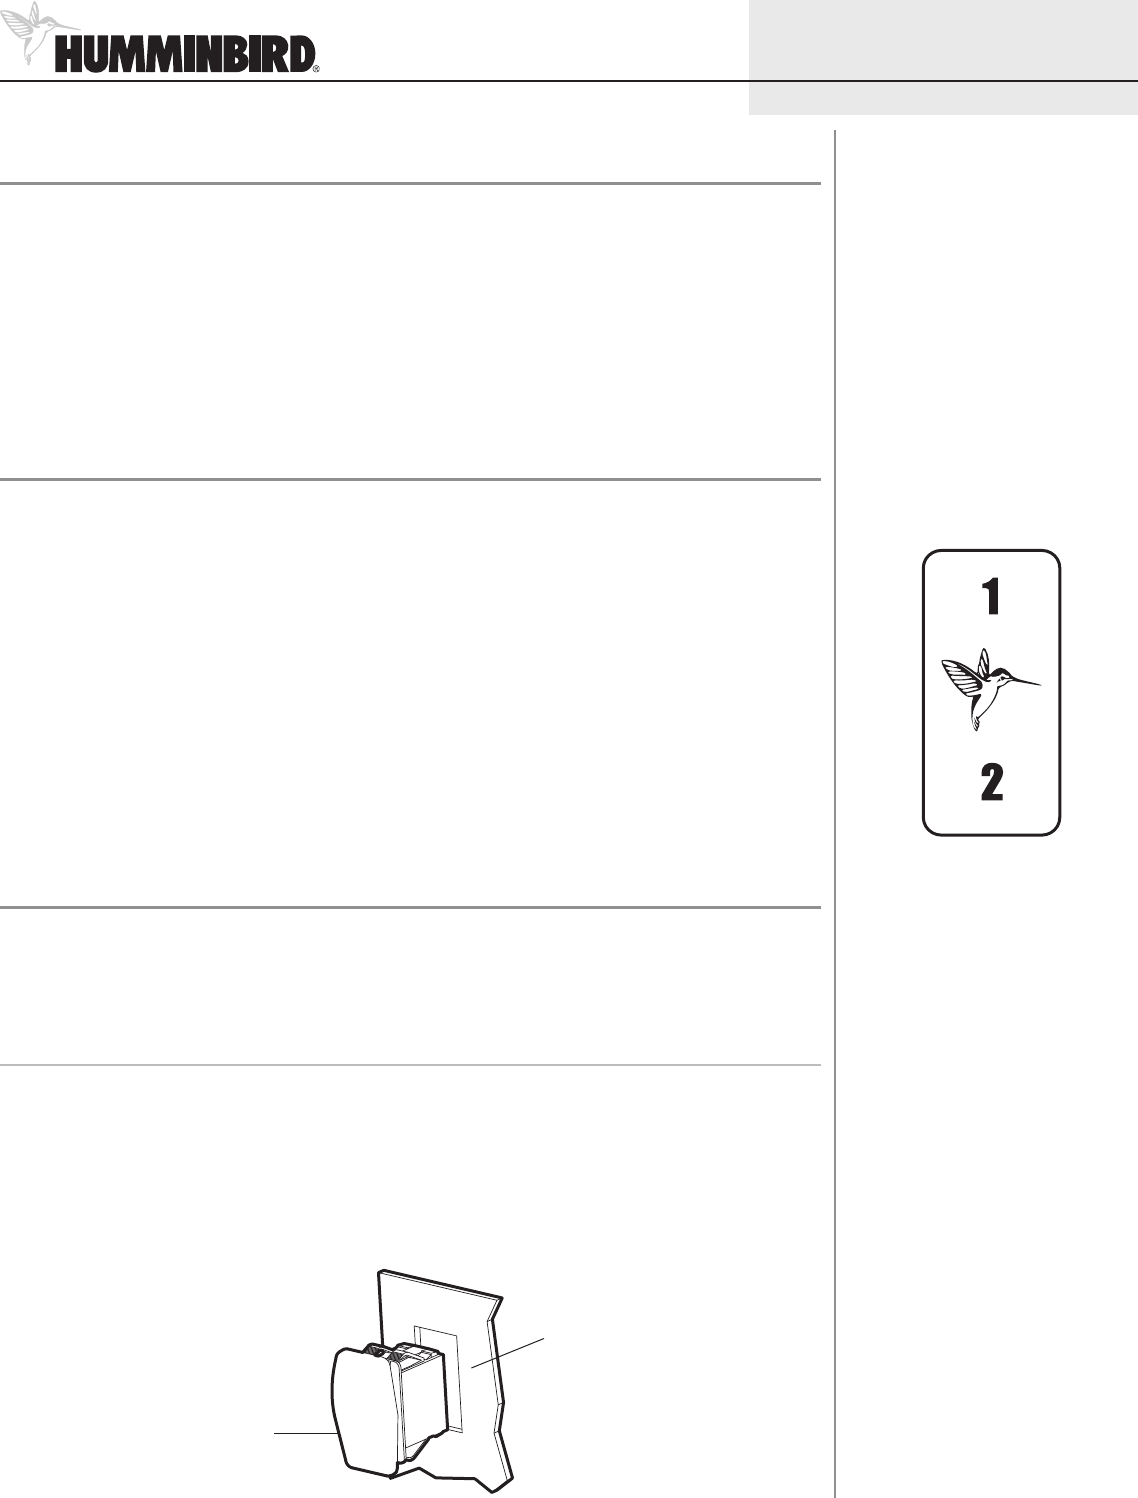
Mounting the Switch
Boat Console
Switch
© 2011 Humminbird®, Eufaula AL, USA.
All rights reserved.
Unit Switch