Print Server Administration User’s Guide
62 EtherP Admin Administration
2. EtherP Admin will ask for confirmation for the reset.
3. Click Yes to confirm. The print server will reset itself. If you selected
Factory Reset, all of the print server’s default configuration values will be
restored.
Upgrading the Print Server’s Internal Firmware
The print server’s internal software is stored in Flash memory, which allows you to
upgrade it to an updated version without shipping the print server back to your
distributor. Consult your dealer for information about when updated print server
firmware versions are available.
You will also need to have copies of the updated firmware. Firmware updates are
contained in to related files, a larger one with a .bin extension, and a smaller one
having a
.dwl
extension. Both of these files are necessary for the download to be
completed successfully.
To perform the download:
1. Make sure you have backup copies of the previous version of the firmware
image files before overwriting them with the new ones.
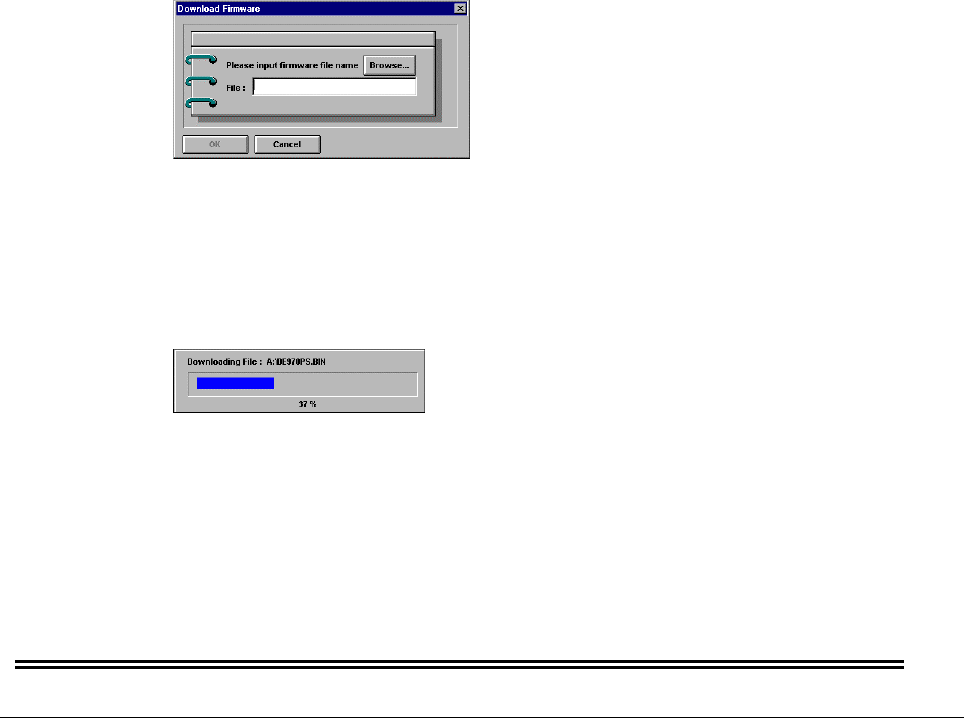
2. Choose Download Firmware... from the EtherP Admin Tools menu. The
print server will ask for the filename of the updated .bin image file.
3. Type in the pathname of the .bin file, or click the Browse... button to locate the
file using a standard dialog box.
4. Click OK. EtherP Admin will display an informational warning message.
5. Click OK. The download will begin. EtherP Admin will display the progress
of the download.
6. When downloading is complete, EtherP Admin will display an informational
message.
WARNING:
When downloading the image file, be very careful not to interrupt the transfer by
powering down the print server or disconnecting it from the network. The print server
should be able to recover from an interrupted transfer in most cases, However, in some
situations it may be necessary to return your print server for servicing in order to recover
from an interrupted download.


