


51
ENGLISH
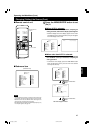
Cleaning and Replacing the Filter
Clean the filter periodically. If the filter is heavily stained and does not get clean, or if it is damaged, replace the filter
with a new filter (part No.: LC30208). Otherwise, dirt may get inside and appear on the screen, possibly preventing you
from enjoying the video image fully. If dirt gets inside or if you need information about the filter, consult a authorized
dealer where you have purchased the projector or Service center.
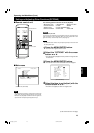
1
Turn off the MAIN POWER switch.
After the projector goes into stand-by state with the STAND BY indicator on, turn off the main power switch and pull out the
power cord from the projector and the wall outlet.
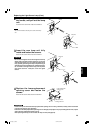
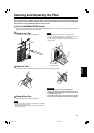
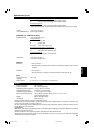
2
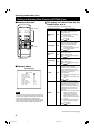
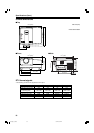
Remove the filter.
Loosen the screw with a flat-end screwdriver.
Screw
Filter
Be careful not to
damage the claws.
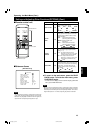
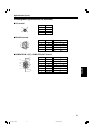
3
Clean the filter.
Clean the filter with a neutral detergent, wash it in water, and then dry it in the shade.
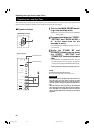
4
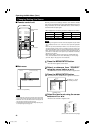
Reinstall the filter.
Fasten the screw with a flat-end screwdriver.
Notes
• Install the filter correctly. Otherwise, the projector does not operate.
(Goes into an emergency mode.)
• If the filter’s claws are damaged, the projector may not operate. Then,
replace with a new filter.
CAUTIONS
• Put on rubber gloves when using neutral detergent.
• After you have washed the filter in water, make sure the filter is
completely dry before reinstalling it. Otherwise, electric shock
or malfunction could occur.
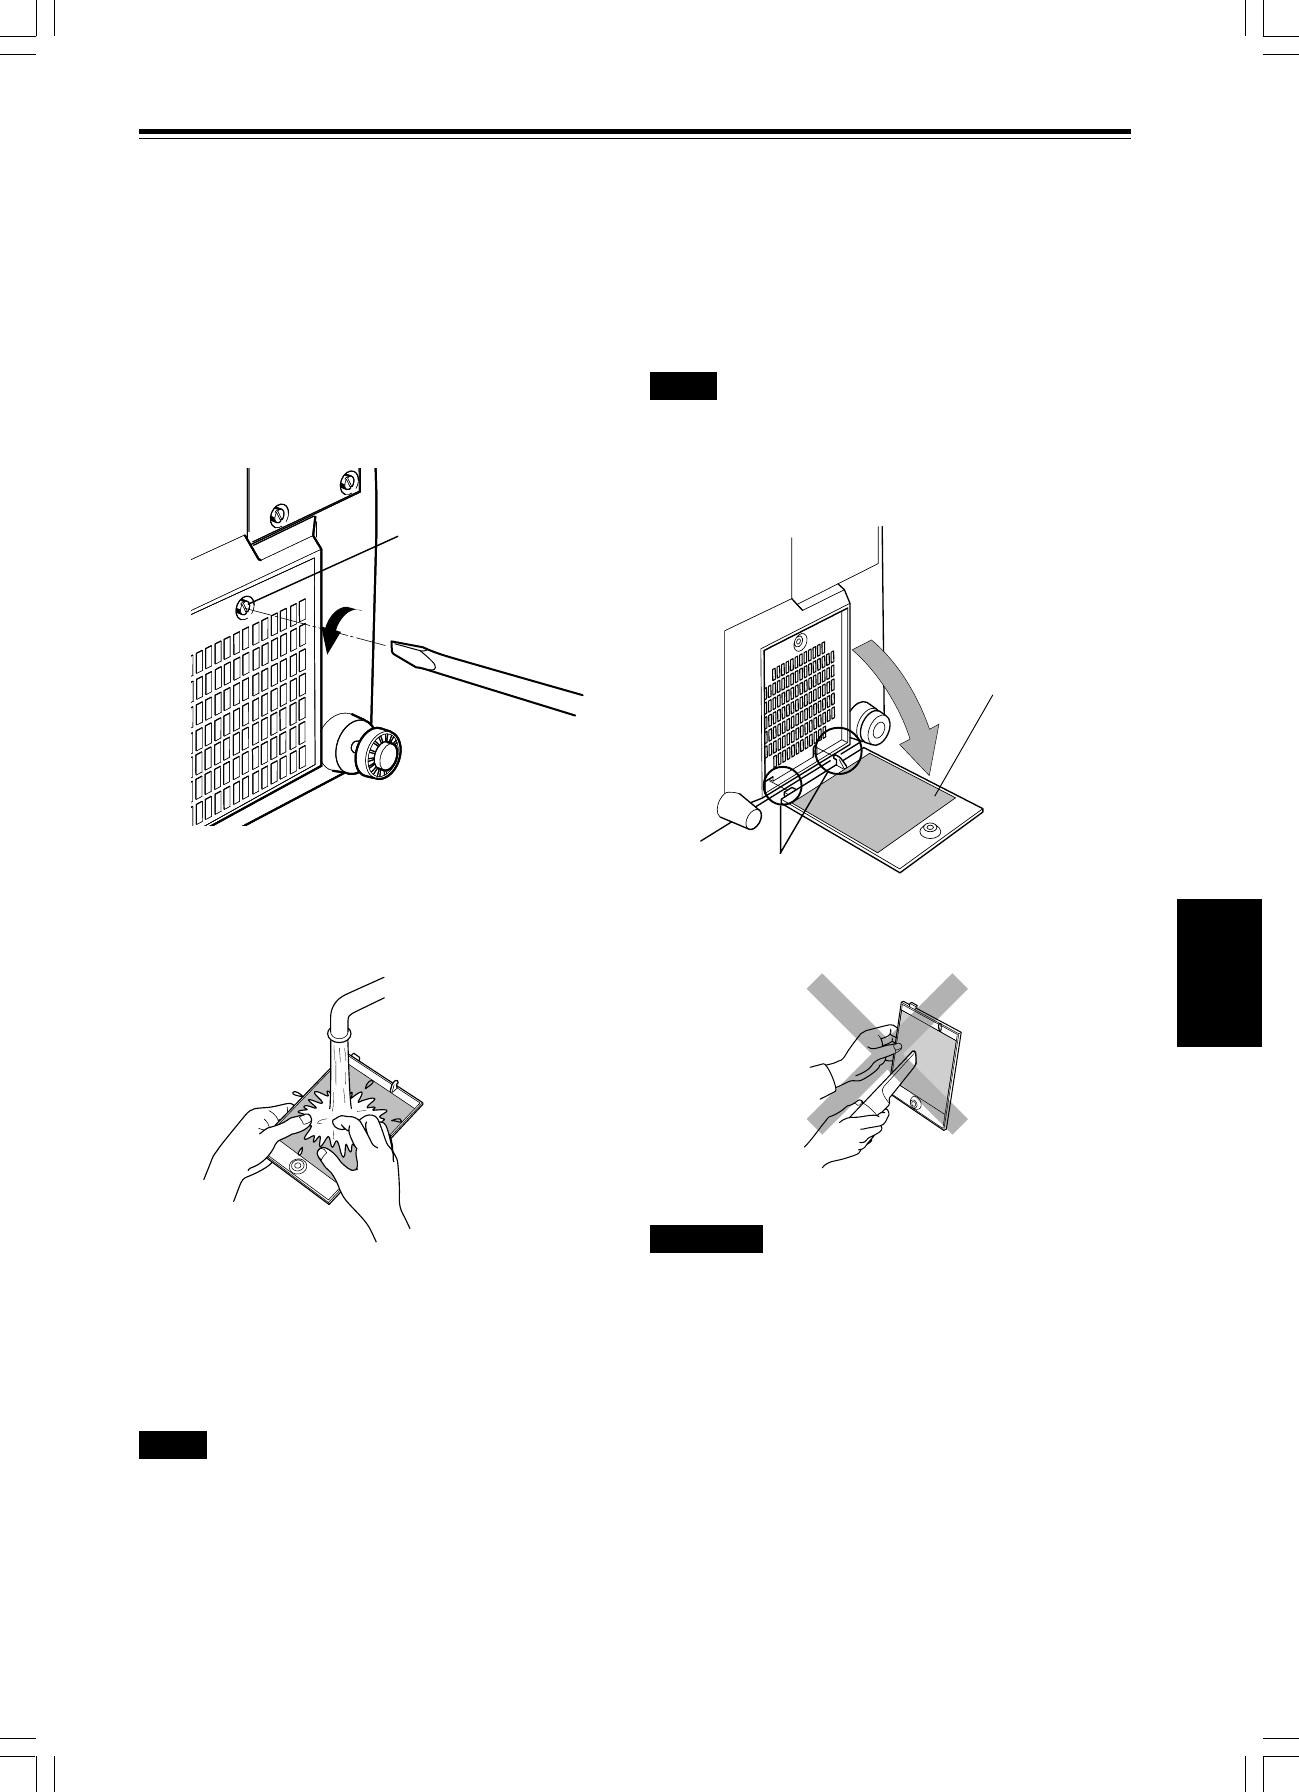
• Do not clean the filter using a vacuum cleaner. Since the filter
is soft, it may be sucked into the vacuum cleaner or damaged.
Notes
• The screws are fitted so that they do not come off the filter.
• If the filter is clogged with dirt, etc., the projector goes into an
emergency mode (the EMERGENCY indicator blinks).
So, clean the filter periodically. For the emergency mode, refer to
pages 9 and 25.
G1000[D] p.46-59 99.2.24, 5:52 PM51