


14 EN
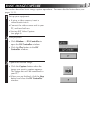
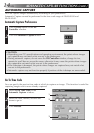
Automatic Capture Preferences
1
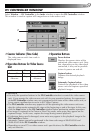
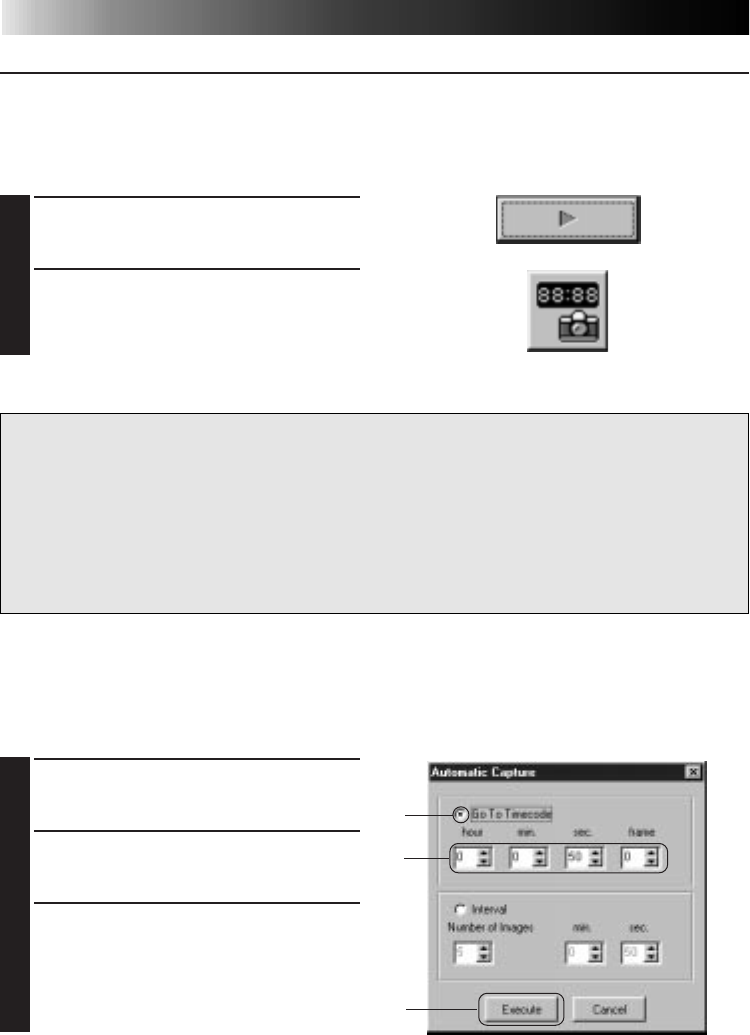
Click the Play button in the DV
Controller window.
2
Click the Automatic Capture button.
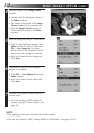
CAUTION
• Depending your PC’s specifications and operating environment, the points where images
are captured may not match what was set in the preferences.
• During automatic capture, do not move the DV Controller window, change its size,
operate its scroll bars or access the menu, otherwise it may cause the points where images
are captured to not match what was set in the preferences.
• If the videotape is damaged, the points where images are captured may not match what
was set in the preferences.
• Automatic capture may not function properly if portions of the videotape are unrecorded.
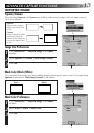
Go To Time Code
You can specify the precise time code at which to capture an image. This function is useful for
capturing images next to ones already captured.
1
Select Go To Time Code in the
Automatic Capture window.
2
Select the hour, minute, second and
frame to go to.
3
Click Execute.
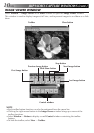
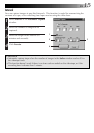
ADVANCED CAPTURE FUNCTIONS (cont.)
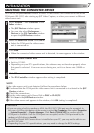
AUTOMATIC CAPTURE
You can capture images automatically according to your preferences.
Automatic Capture cannot be performed in the time code range of 00:00:00:00 and
00:00:30:00.
1
2
3