


Installing the Densitometer
This section describes how to install the X-RITE DTP 36 Densitometer, including
changing some of the attributes on the Edit Configuration screen to accommodate
the densitometer.
IMPORTANT: The supported densitometers use a RS-232 interface for
communication to the host. Each platform uses different
designations to identify the RS-232 ports.
To install the densitometer:
1. Connect the appropriate cable (provided by the user, supplier or with the
densitometer) between the densitometer and the host computer.
NOTE: For the X-RITE DTP 36 Densitometer:
• Remove the protective strip (for shipping) from the densitometer.
• Verify that the densitometer is configured with the factory defaults. (Refer
to the densitometer manual for this information.)
• Perform an initial calibration of the densitometer. (Refer to the
densitometer manual.)
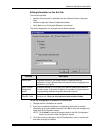
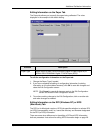
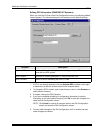
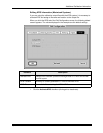
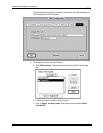
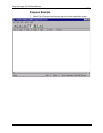
2. Run the calibration software for the printer and click the Edit icon to access
the Edit Configuration screen; see “Editing the Calibration Configuration”
beginning on page C-20.
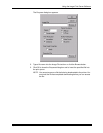
3. Click the Density Source tab.
4. Edit the attribute for the Density Source. Select the appropriate choice for
your densitometer from the list.
5. Edit the attribute for the Density Source Port. Enter the name of the port that
the RS-232 cable is connected to on the host computer system.
6. Click OK to save the changes to the configuration.
IMPORTANT:Densitometers require calibration at regular intervals. Refer to
your densitometer manual or instructions on how to calibrate your
densitometer and perform a calibration.
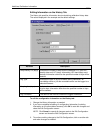
Host System Default Port
MACINTOSH Printer
WINDOWS NT COM 1