


Using the System
September 2000 2-5
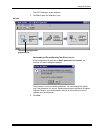
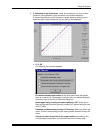
The system automatically downloads the LUT file to the printer to create a test
print. When the test print has been sent to the printer, the Scanning
Processed Print with Densitometer status icon on the KODAK LED Printer
Calibration screen is highlighted.
Obtaining Densities
Obtaining Densities from a File
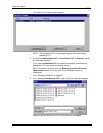
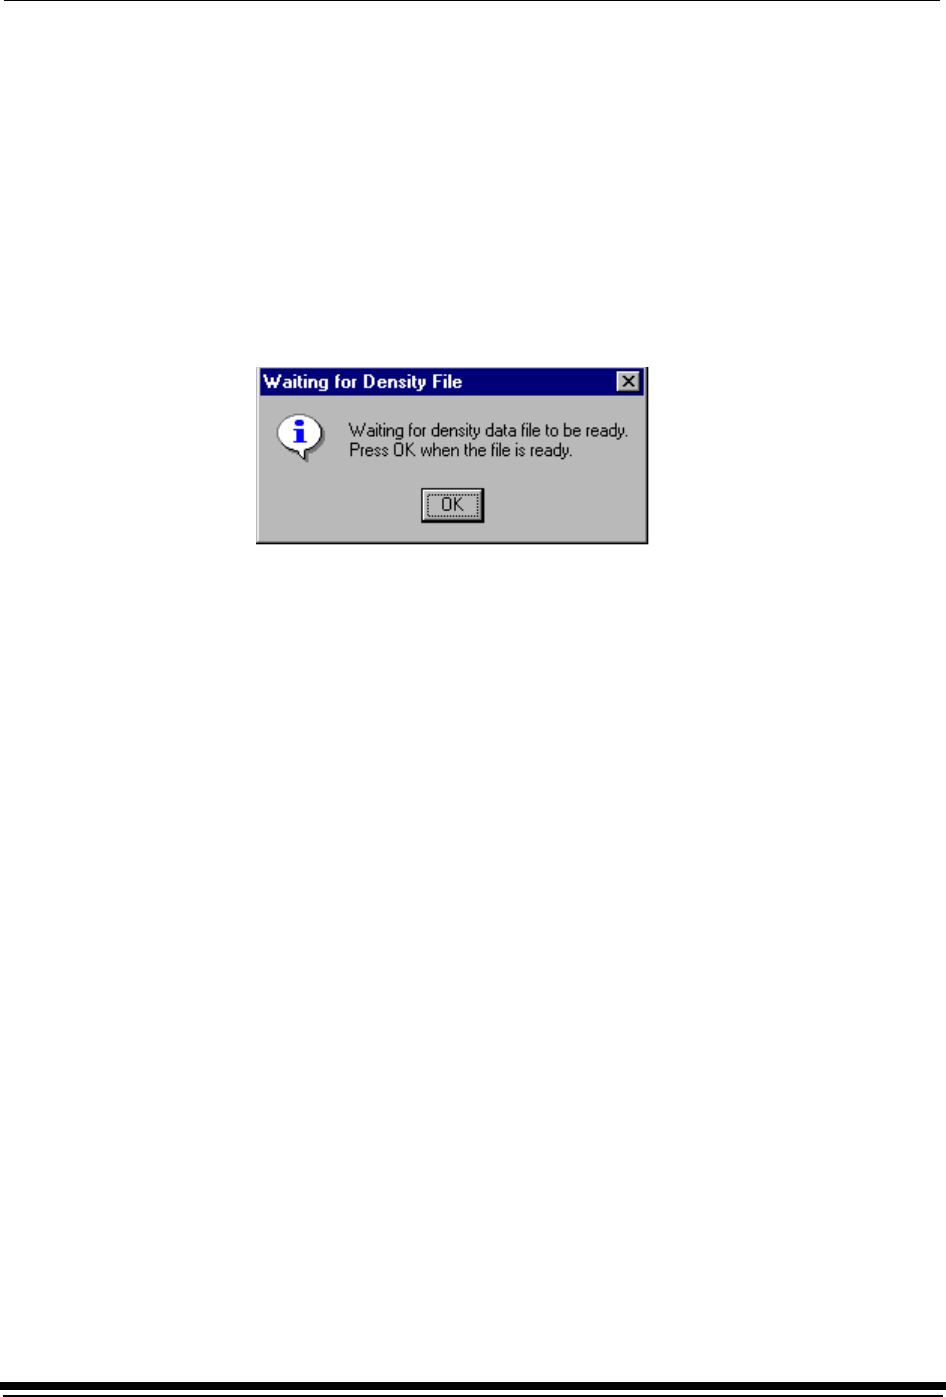
If the configuration settings include obtaining the density data from a file, the
Waiting for Density File dialog box appears. Otherwise, go to “Using the
Densitometer to Read Densities.”
NOTE: To create a density file, see “Creating a Density File for Use with Calibration”
on page C-32.
1. Click OK to continue with the calibration process.
2. Go to “Completing the Calibration” on page 2-6.
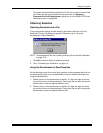
Using the Densitometer to Read Densities
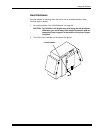
Do the following to scan the neutral (gray) patches on the processed test print into
the densitometer (refer to your densitometer manual for detailed instructions on
using the densitometer):
1. Slide the lever on the densitometer to position 15. Align the edge of the test
print with the lever on the densitometer. Gently feed the test print through the
densitometer to scan the patches labeled “even”.
2. Slide the lever on the densitometer to position 20. Align the edge of the test
print with the lever on the densitometer. Gently feed the test print through the
densitometer to scan the patches labeled “odd”.