


Operating Procedures
September 2000 3-13
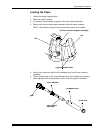
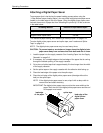
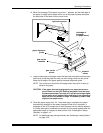
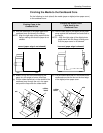
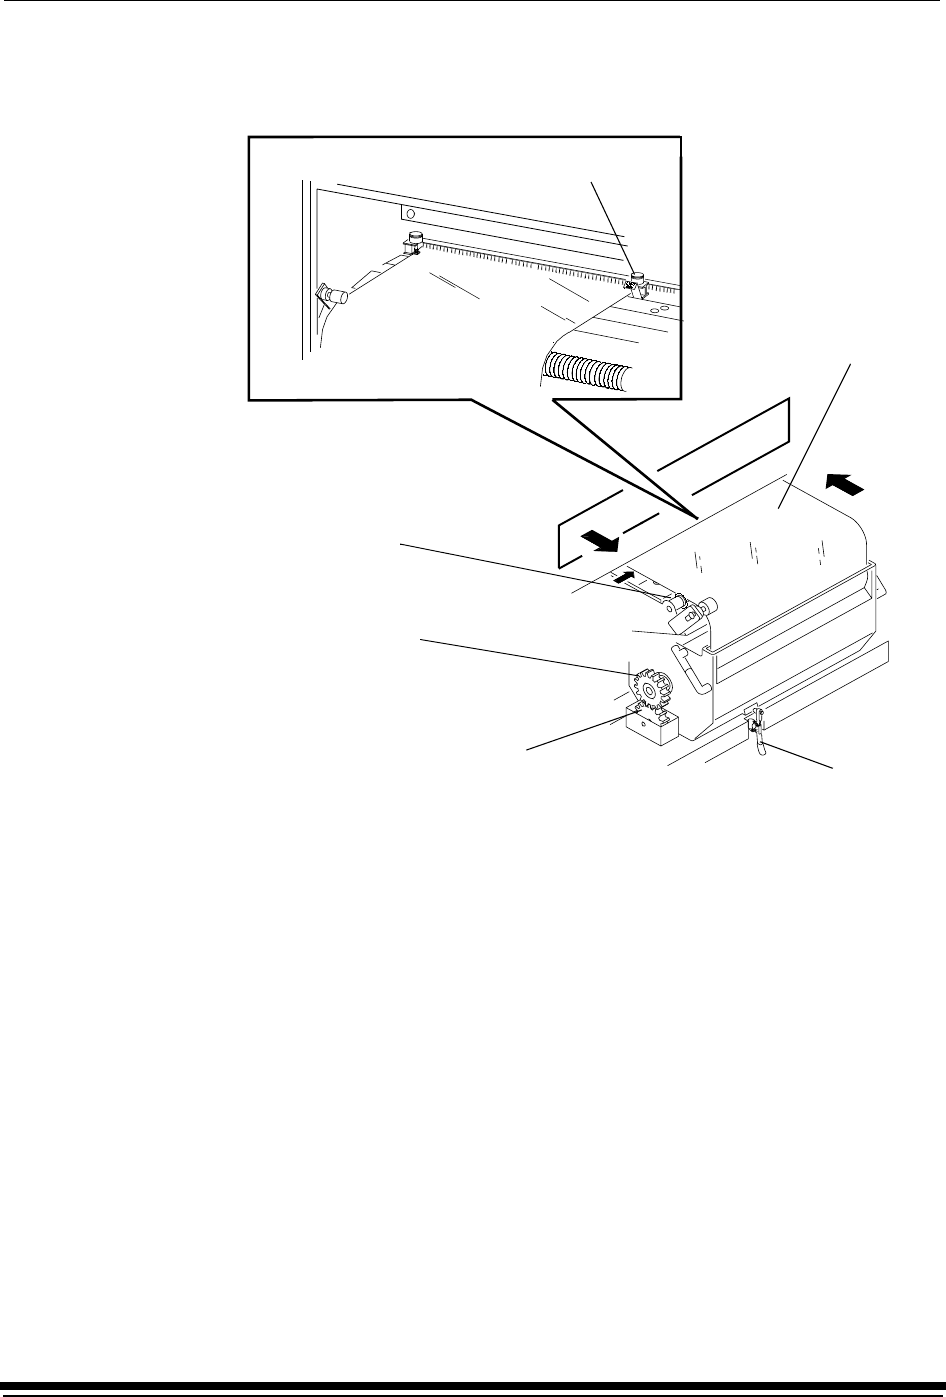
10. When the message “Feed paper into printer...” appears, pull the lead edge of
the paper (or digital printer paper saver) out of the paper cassette and place
the lead edge of the paper into the punch slots.
11. Slide the lead edge of the paper under the feed roller and static brushes using
both hands. Keep the paper flat until you feel it being pulled into the printer.
Keep the left edge of the paper against the paper alignment guide.
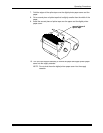
NOTE: The sound from the printer will change when the printer is ready to
advance the paper.
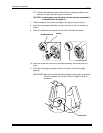
CAUTION: If the paper does not load properly or a paper jam occurs,
press Cancel on the OCP. Remove any paper from the shoe
area and repeat steps 7 through 10. If you are not using a digital
printer paper saver, make sure the lead edge is cut square and
does not have any bends or dings. If necessary, install a new
digital printer paper saver.
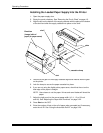
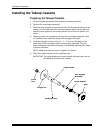
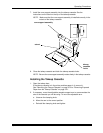
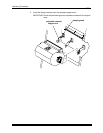
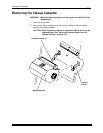
12. Close the paper supply door. If a 1-step load option is selected, the paper
automatically advances to the takeup cassette. When this is complete, a
message on the OCP prompts you to load the paper into the takeup cassette.
If a 2-step load option is selected, the prompt to cinch paper appears after the
appropriate length of images has been printed. See “Installing the Takeup
Cassette” on page 3-14.
NOTE: For additional paper saving methods, see “Selecting a Loading Option”
on page 3-24.
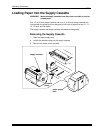
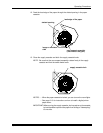
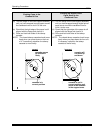
cassette
gear on the
lead edge of
the paper
cassette
printer
gear on the
clamp
(or paper saver)
right hole puncher
guide
paper alignment