


Networking Your Printer
22 www.kodak.com/go/aiosupport
On a computer with MAC OS:
1. Select Apple > System Preferences.
2. Under Hardware, select Print & Fax.
3. In the Print & Fax dialog box, click +.
4. Select your printer from the list, then click Add.
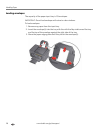
Adding a wireless network connection to a USB-connected computer
You can change the way you connect to your printer at any time.
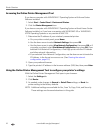
Changing from USB to a wireless connection
To change the printer connection type from USB to a wireless (Wi-Fi) network:
If your printer is connected to a computer with WINDOWS OS:
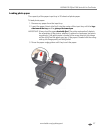
1. Unplug the USB cable from your printer and computer.
2. On the printer control panel, press Home.
3. Press to select Network Settings, then press OK.
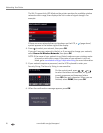
4. Press to select View Network Configuration, press OK, then confirm
that the
IP Address is not 0.0.0.0.
5. If you have not already done so, connect your printer to your wireless network.
See Connecting to a wireless network, page 15.
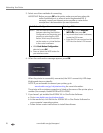
6. Select Start > All Programs > Kodak > Kodak Printer Network Setup Utility.
• If your wireless all-in-one printer (example: KodakESPOffice2150+0034) is
not listed:
a. Select No, my printer is not listed, then click Next.
b. Select your printer from the list.
c. Select Network - Wireless/Wi-Fi, then click Next.
When your printer is detected, driver installation begins.
• If your wireless all-in-one printer (example: KodakESPOffice2150+0034) is
listed:
a. Highlight the all-in-one printer that is connected to your network.
b. Select Yes, my printer is listed, then click Next.
When your printer is detected, driver installation begins.
7. When driver installation is complete, click Done.
The printer with a wireless connection is listed as the name of the printer plus a
number (for example, KodakESPOffice2150+0034).