


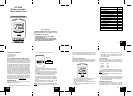
WT-9300
Radio-controlled
Travel Alarm Clock
Instruction Manual
INVENTORY OF CONTENTS
1. The travel alarm
2. Instruction manual
3. Warranty card
ABOUT RADIO-CONTROLLED TIME - WWVB
The NIST (National Institute of Standards and
Technology-Time and Frequency Division) WWVB radio
station is located in Ft. Collins, Colorado, and transmits
the exact time and date signal continuously throughout
the United States at 60 kHz. The signal can be received
up to 2,000 miles away through the internal antenna in
the alarm clock. Due to the nature of the Earth’s
Ionosphere, reception is very limited during daylight
hours. The alarm clock will search for a signal every
night when reception is best. The WWVB radio station
derives its signal from the NIST Atomic clock in Boulder,
Colorado. A team of atomic physicists is continually
measuring every second, of every day, to an accuracy
of ten billionths of a second per day. These physicists
have created an international standard, measuring a
second as 9,192,631,770 vibrations of a Cesium-133
atom in a vacuum. More information on the atomic clock
and WWVB can be found at
www.nist.gov.
PROGRAM MODE
Following is a list of steps to set up your new La Crosse
Technology travel alarm clock.
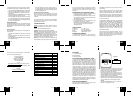
• Please begin by removing the battery cover on the
rear of the travel alarm shown in figure one.
• Next insert one AA alkaline battery into the battery
compartment making sure to observe the correct
polarity.
• When inserting the battery be sure not to press any
of the buttons on the travel alarm as this will interrupt
the WWVB search and may cause the travel alarm
to not pick up the radio-controlled time signal.
• Now replace the battery cover and face the travel
alarm with the back of the unit towards Colorado (this
has been found to help the unit pick up the WWVB
signal).
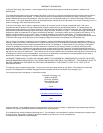
• When the WWVB signal is received a tower icon will
appear on the left side of the LCD display.
NOTE
: Due to the nature of the WWVB signal it may
take overnight for the travel alarm to receive the signal
and set. Adverse weather conditions may also affect
the travel alarms’ ability to receive the signal. In some
cases it may take several nights for the travel alarm to
set.
Manual Time Setting Option
You can also manually set the time on your travel alarm
by pressing and holding the “MODE/MIN” button (figure
two) on the front of your travel alarm for 3 seconds.
• The time zone abbreviation will appear in the LCD.
• Press and release the “Snooze” button once.
• The time will now flash in the LCD.
• Press and release the “AL/HR” button to advance the
hours.
• Press and release the “MODE/MIN” button to advance
the minutes.
• Press and release the “Snooze” button to return the
normal display mode or wait 20 seconds and the travel
alarm will time out and automatically return to the
normal display mode.
Time Zone Setting
You can select from four U.S. time zones (Eastern,
Central, Mountain and Pacific) on your travel alarm. The
time zones are abbreviated with three letters as follows:
Eastern EST
Central CST
Mountain MST
Pacific PST
• Press and hold the “MODE/MIN” button for 3 seconds.
• The time zone abbreviation will appear in the LCD.
NOTE
: The default (factory) time zone setting is Eastern
time zone.
• Press and release the “AL/HR” button to select the
desired time zone.
• Press and release the “Snooze” button twice to return
to the normal display mode or wait 20 seconds and
the travel alarm will time out and automatically return
to the normal display mode.
Daylight Saving Time Setting
You can select whether or not your alarm recognizes
the daylight saving time changes twice a year and
automatically changes. Some areas do not change time
FCC ID: OMO-01RX
THIS DEVICE COMPLIES WITH PART 15 OF THE FCC
RULES. OPERATION IS SUBJECT TO THE
FOLLOWING TWO CONDITIONS:
1. THIS DEVICE MAY NOT CAUSE HARMFUL
INTERFERENCE, AND
2. THIS DEVICE MUST ACCEPT INTERFERENCE
RECEIVED, INCLUDING INTERFERENCE THAT
MAY CAUSE UNDESIRED OPERATION.
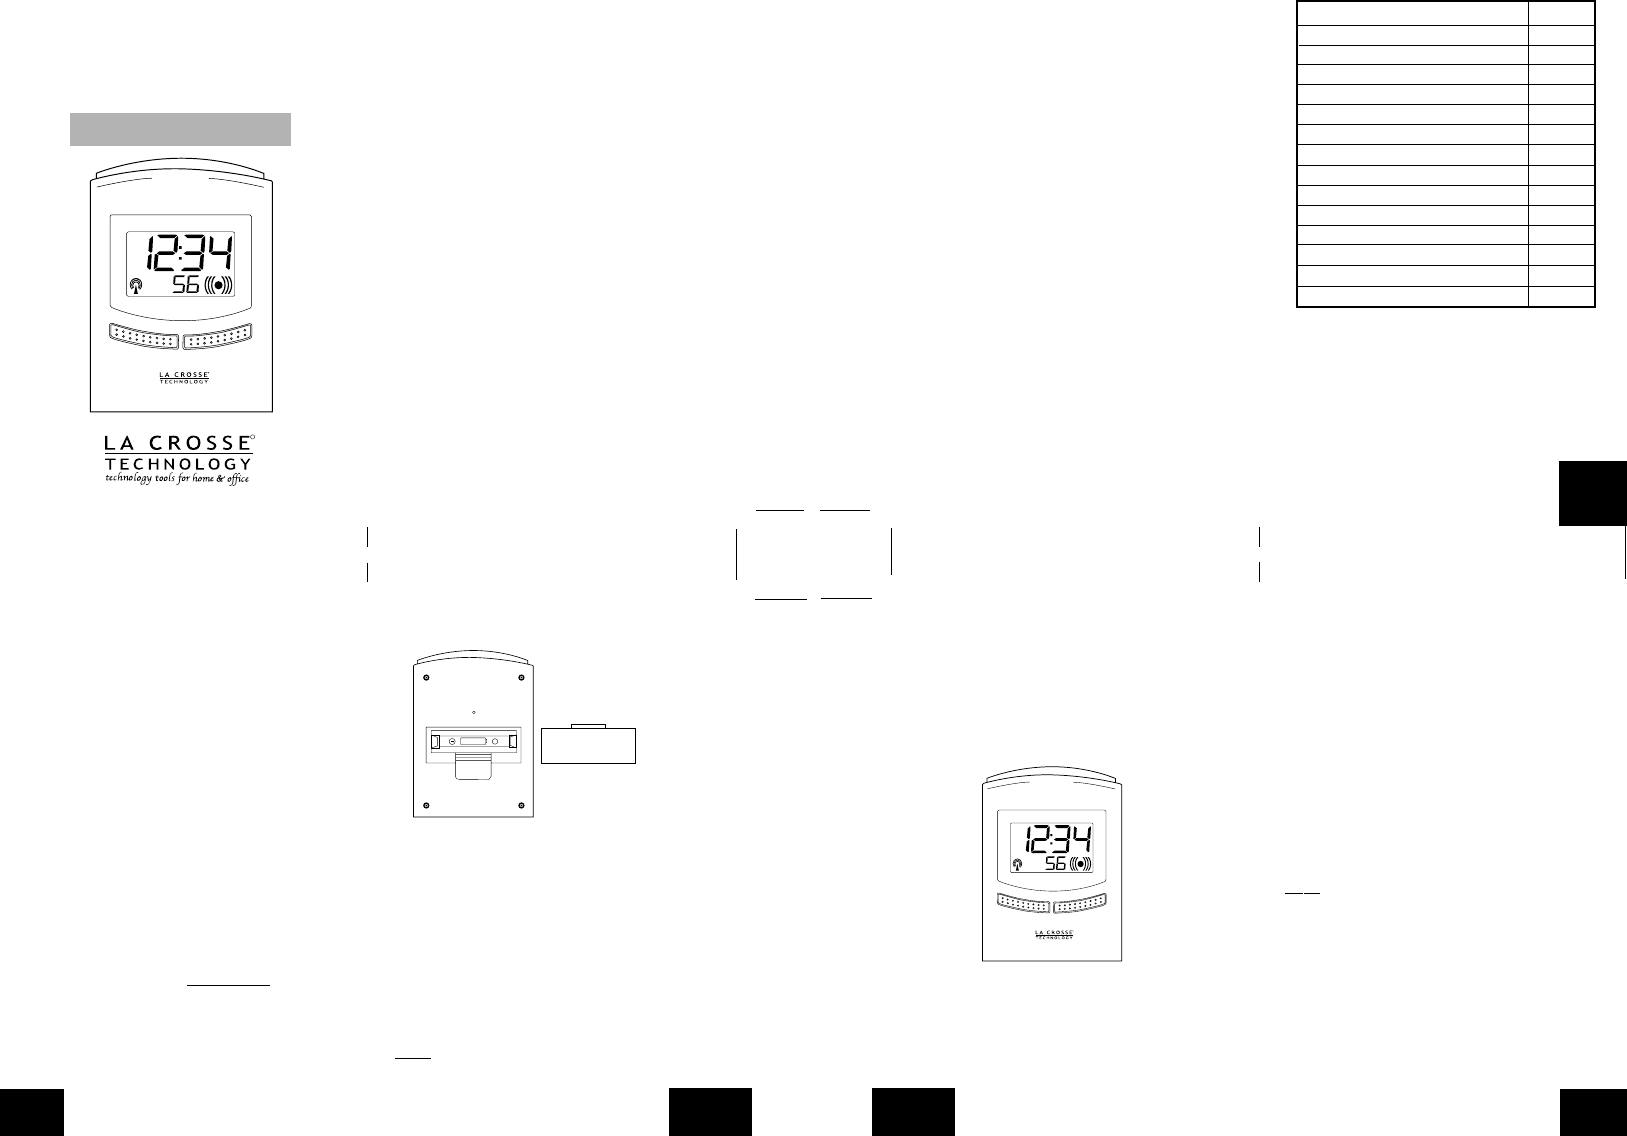
Topic Page
Inventory of Contents 2
About WWVB 2
Program Mode
Initial Set-up 2
Manual Time Setting Option 4
Time Zone Setting 5
Daylight Savings Time (DST) 5
Display Mode Setting 6
Setting the Alarm 6
Operating the Alarm and Snooze 7
Troubleshooting 7
Maintenance and Care 8
Specifications 8
Warranty Information 8
P.1
GB
P.2
GB
P.3
GB
P.4
GB
P.5
GB
RADIO CONTROLLED
SNOOZE
A
L
/
H
R
/M
I
N
M
O
D
E
R
Figure One
+
SIZE AA LR6
RADIO CONTROLLED
SNOOZE
A
L
/
H
R
/M
I
N
M
O
D
E
R
R