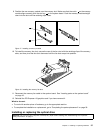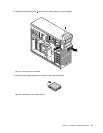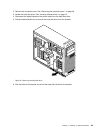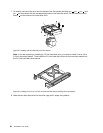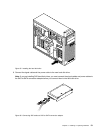
9. Follow the following sequence to install the four screws to secure each new heat sink and fan assembly.
Do not over-tighten the screws.
a. Partially tighten screw 1 , then fully tighten screw 2 , and then fully tighten screw 1 .
b. Partially tighten screw 3 , then fully tighten screw 4 , and then fully tighten screw 3 .
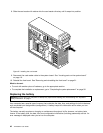
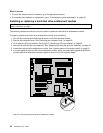
10. Connect the heat sink and fan assembly cables to the microprocessor fan connectors on the system
board. See “Locating parts on the system board” on page 10.
What to do next:
• To work with another piece of hardware, go to the appropriate section.
• To complete the installation or replacement, go to “Completing the parts replacement” on page 56.
Replacing the hard disk drive fan assembly
Attention: Do not open your computer or attempt any repair before reading and understanding the “Important
safety information” on page v
.
This section provides instructions on how to replace the hard disk drive fan assembly.
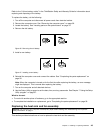
To replace the hard disk drive fan assembly, do the following:
1. Turn off the computer and disconnect all power cords from electrical outlets.
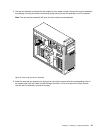
2. Remove the computer cover. See “Removing the computer cover” on page 30.
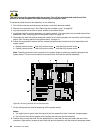
3. Disconnect the hard disk drive fan assembly cable from the system board. See “Locating parts on the
system board” on page 10.
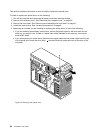
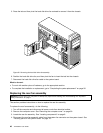
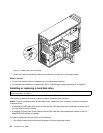
4. Remove any parts that might prevent your access to the hard disk drive fan assembly. Depending on
your computer model, you might need to remove the PCI Express x16 graphics card for easier access to
the hard disk drive assembly. See “Installing or replacing a PCI card” on page 32
.
Chapter 5. Installing or replacing hardware 45


