


44
Lenovo IdeaTab A2109A-F Hardware Maintenance Manual
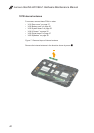
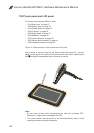
1100 Touch panel and LCD panel
For access, remove these FRUs in order:
• “1010 Rear cover” on page 27
• “1020 Battery pack” on page 30
• “1030 System board” on page 32
• “1040 IO board ” on page 35
• “1050 Digital board” on page 37
• “1060 Speakers” on page 39
• “1070 Internal antenna” on page 40
• “1080 Volume button bracket” on page 41
• “1090 Integrated camera” on page 42
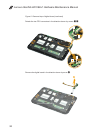
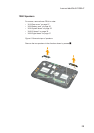
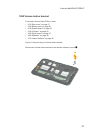
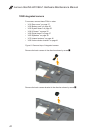
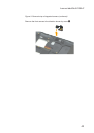
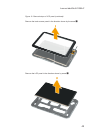
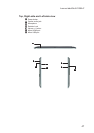
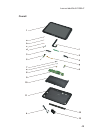
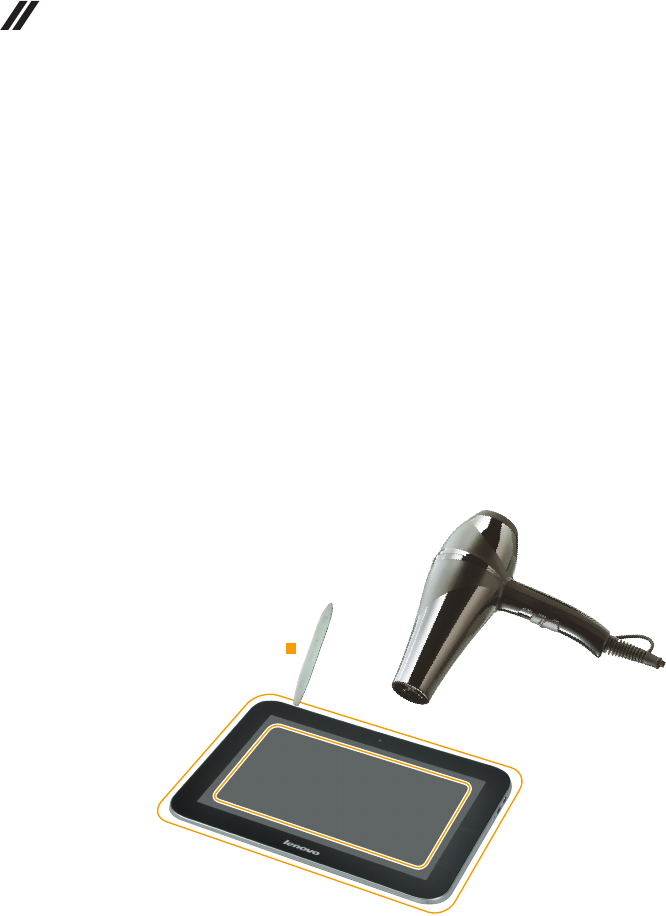
Figure 10. Removal steps of touch panel and LCD panel
Use a heater or dryers to heat up the bezel of the touch panel for 1 minute,
Make a small gap in the location of the power button, then insert a plastic plate
tool
1
and gently disassemble the touch panel by the tool.
1
Note:
Do not insert to deep when disassemble the side with touchpad FPC. •
Otherwise, it might cause a damage to the FPC.
The volume button should remain to the last disassembly step to avoid •
cracking that button during the operation