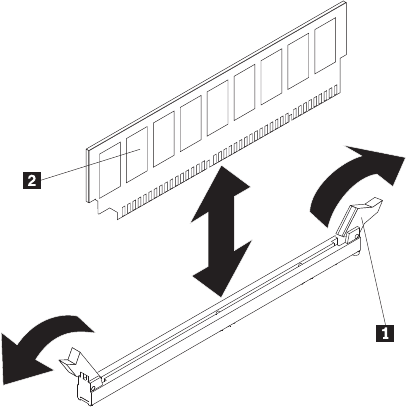
Removing a memory module
To remove a dual inline memory module (DIMM), complete the following steps.
1. Read the safety information that begins on page vii and “Installation guidelines”
on page 73.
2. Turn off the server and all attached devices; then, disconnect all power cords
and external cables.
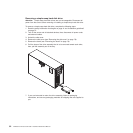
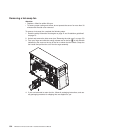
3. Unlock and remove the side cover (see “Removing the side cover” on page 78).
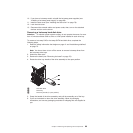
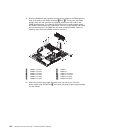
4. Rotate the power-supply cage assembly out of the chassis:
v Hot-swap models:
a. Remove the hot-swap power-supply. Press down on the orange release
lever and pull the power supply out of the bay, using the handle.
b. Lift up the power-supply cage handle and pull the power-supply cage
assembly all the way up until the retainer latch locks the cage in place on
the chassis.
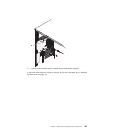
v Non-hot-swap models, lift up the power-supply cage handle and pull the
power-supply cage assembly all the way up until the retainer latch locks the
cage in place on the chassis.
5. Disconnect any cables that impede access to the DIMMs.
6. Locate the DIMM connector that contains the DIMM that is to be replaced (see
“System-board option connectors” on page 12 for DIMM slot locations).
Attention: To avoid breaking the DIMM retaining clips or damaging the DIMM
connectors, open and close the clips gently.
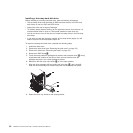
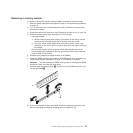
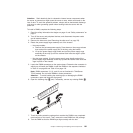
7. Carefully open the retaining clips 1 on each end of the DIMM connector and
remove the DIMM2.
8. If you are instructed to return the DIMM, follow all packaging instructions, and
use any packaging materials for shipping that are supplied to you.
Chapter 4. Removing and replacing server components 97


