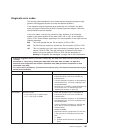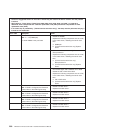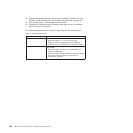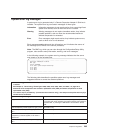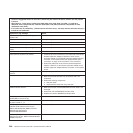
v Follow the suggested actions in the order in which they are listed in the Action column until the problem
is solved.
v See Chapter 3, “Parts listing, TD100 Types 6398, 6399, 6419, 6429, 4203, and 4206,” on page 25 to
determine which components are customer replaceable units (CRU) and which components are field
replaceable units (FRU).
v If an action step is preceded by “(Trained service technician only),” that step must be performed only by a
trained service technician.
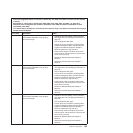
Error code Description Action
180-xxx-005 Failed SCSI backplane LED test.
1. Reseat the following components:
a. SAS/SATA hard disk drive
b. SAS/SATA hard disk drive backplane cable
c. RAID adapter
2. Replace the following components one at a time,
in the order shown, restarting the server each
time:
a. SAS/SATA hard disk drive backplane
b. SAS/SATA hard disk drive backplane cable
c. RAID adapter
d. (Trained service technician only) System
board
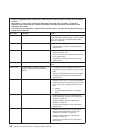
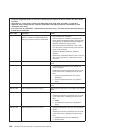
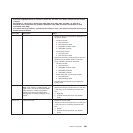
180-xxx-006 Failed memory LED test.
1. Reseat the DIMM.
2. Replace the following components one at a time,
in the order shown, restarting the server each
time:
a. DIMM
b. (Trained service technician only) System
board
180-xxx-007 Failed power supply fan LED test.
1. Reseat the power supply.
2. Replace the following components one at a time,
in the order shown, restarting the server each
time:
a. Power supply
b. (Trained service technician only) System
board
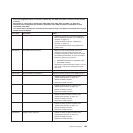
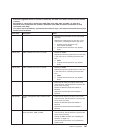
180-xxx-008 Failed I/O board LED test. (Trained service technician only) Replace the system
board.
180-xxx-009 Failed Active
™
PCI LED test. (Trained service technician only) Replace the system
board.
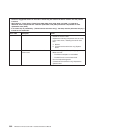
201-198-000 Memory Test Aborted: Could not run the
test; suspect system board error.
1. Restart the server.
2. Run the diagnostic test again.
3. Reinstall the diagnostic programs (see “Updating
the firmware” on page 15).
4. (Trained service technician only) Replace the
system board.
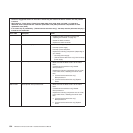
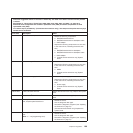
201-198-00n Memory Test Aborted: Could not run the
test.
Note: n = 1-9 (programming error).
1. Restart the server.
2. Run the diagnostic test again.
3. Reinstall the diagnostic programs (see “Updating
the firmware” on page 15).
Chapter 5. Diagnostics 199


