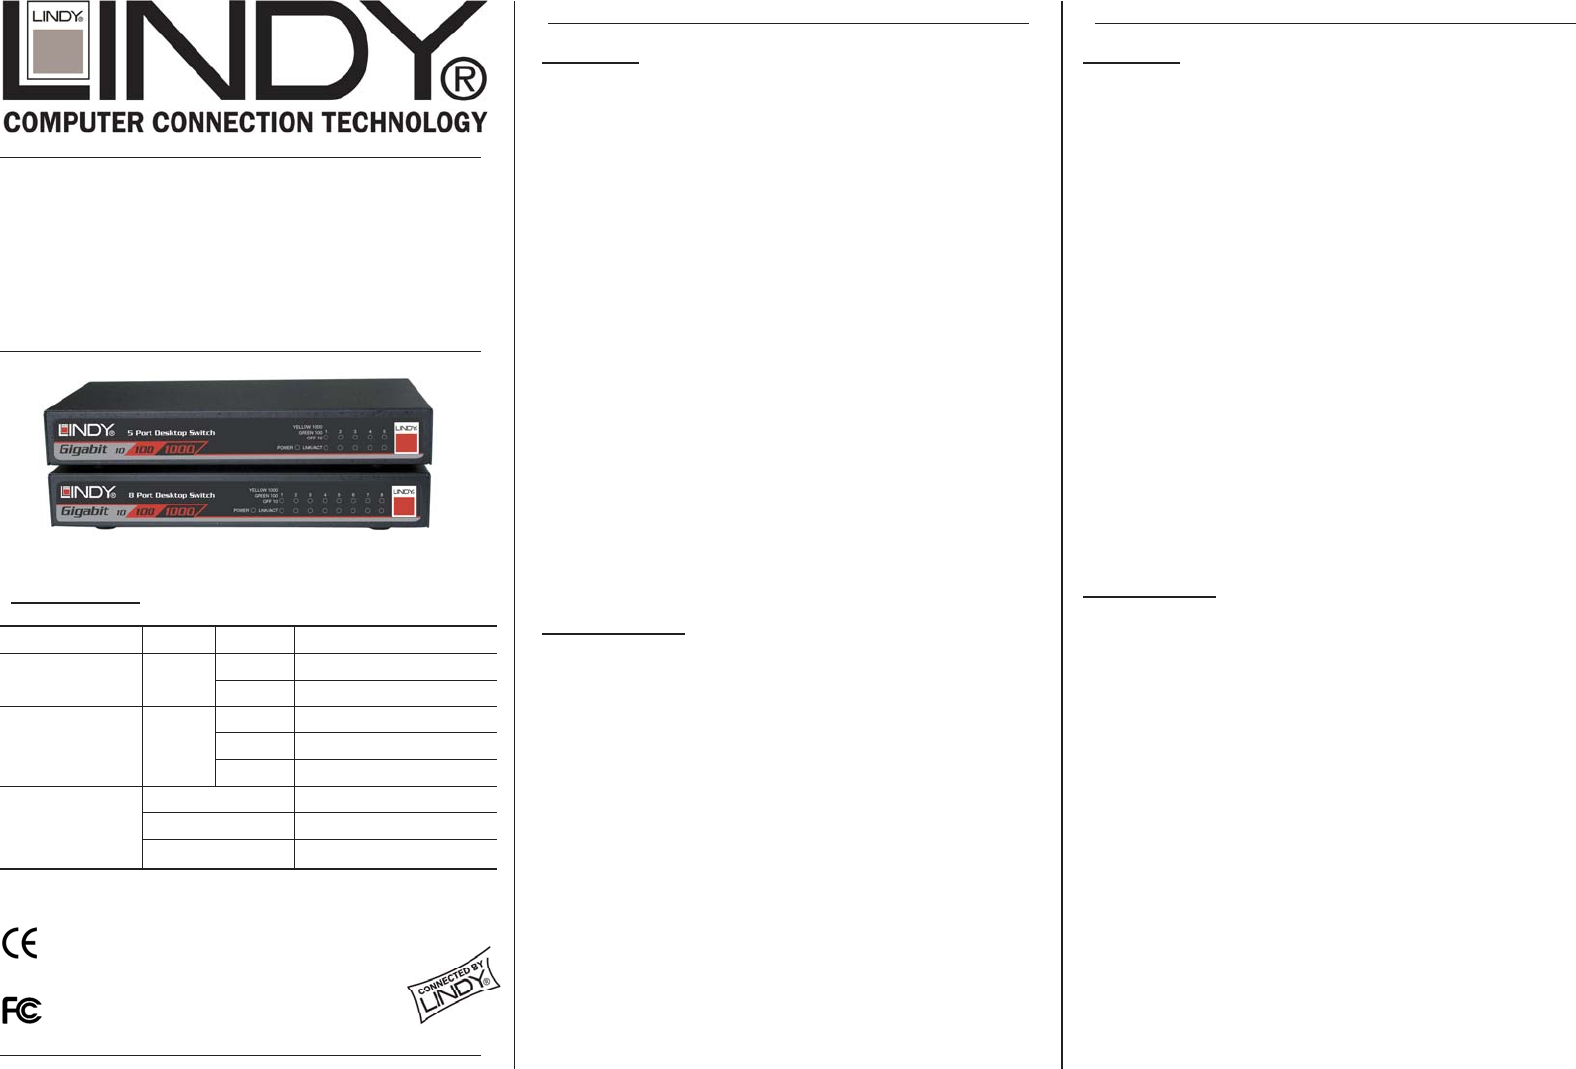
5/8 Port Gigabit
Desktop Switches
User Manual
English
Benutzerhandbuch
Deutsch
Manuale d’uso
Italiano
LINDY No. 25018, 25019
www.LINDY.com
© LINDY ELECTRONICS LIMITED & LINDY-ELEKTRONIK GMBH - FIRST EDITION (March - 2004)
English Manual
Deutsches Benutzerhandbuch
Installation
1. Installation und Einsatzhinweise
Der Switching Hub ist für den Betrieb in geschlossenen Räumen in
einem Temperaturbereich 10-55°C vorgesehen. Legen Sie keine
Gegenstände auf den Switch! Blockieren Sie die Luftzirkulations-
öffnungen an den Seiten des Gehäuses nicht! Platzieren Sie den
Switch nicht in direktem Sonnenlicht oder neben einer Heizung!
Schützen Sie den Switch vor Nässe.
2. Anschluss der Stromversorgung
Verbinden Sie den Ausgangsstecker des Netzteils mit der Eingangs-
buchse an der Rückseite des Switch. Stecken Sie das Netzteil in eine
Steckdose. Die grüne POWER LED leuchtet auf.
3. Anschluss der Netzwerkgeräte
Hinweis:
Die RJ-45 Ports des Switch unterstützen die Auto-MDI/-X
Funktion. Dies erlaubt den Einsatz von Standard 1:1 Patchkabel für
alle Verbindungen und macht Cross-Over-Kabel überflüssig.
Für Gigabit Ethernet 1000Base-T werden Netzwerkkabel der Cat.5e
oder höher benötigt. Die maximale Segmentlänge beträgt 100m mit
Installationskabel Cat.5e oder besser. Patchkabel verwenden einen
anderen Aufbau (Litze). Dies reduziert die maximale Segmentlänge;
sie ist abhängig von der Qualität des verwendeten Kabels sowie der
Qualität der angeschlossenen Geräte.
Verbinden Sie die Ports des Switches mit den RJ-45 Ports der
anzuschließenden Geräte. Sobald die Verbindung hergestellt ist und
die Geräte eingeschaltet sind leuchtet die grüne LINK/ACT LED.
Problemlösung
1. Power LED leuchtet nicht
Prüfen Sie ob das Netzteil korrekt am Switch und an der Steckdose
angeschlossen ist. Versuchen Sie ggf. ein anderes Netzteil mit 12V
DC 1,5A +Polarität in der Mitte. Falls dies das Problem nicht löst ist
der Switch vermutlich defekt. Kontaktieren Sie Ihren Händler.
2. LINK/ACT LED leuchtet nicht
• Stellen Sie sicher dass das andere Gerät eingeschaltet ist und
dessen LED leuchtet.
• Versuchen Sie einen anderen Port am Switch.
• Prüfen Sie das Netzwerkkabel. Versuchen Sie es mit einem
höherwertigen Kabel z.B. Cat.6
3. Die SPEED LED zeigt nicht 1000Mbps (Gigabit) an obwohl das
angeschlossene Gerät Gigabit 1000Base-T unterstützt
• Stellen Sie sicher, dass das Netzwerkkabel nicht länger als 100m
ist und mindestens Cat.5e oder höher entspricht. Bitte beachten
Sie obenstehende Anmerkungen. Prüfen Sie ob ein höherwertiges
Cat.6 Kabel und/oder einen anderer Port am Switch das Problem
lösen.
Für weitergehende Probleme kontaktieren Sie bitte Ihren Händler.
Installation
1. Operating Environment
This switching hub must be installed and operated within the limits of
the specified operating temperature 10-55°C (32-131°F) and humidity
(10-95% non-condensing). Do not place objects on top of the unit. Do
not obstruct any vents at the sides of the unit. Avoid placing the unit in
a location with direct exposure to the sun, or near a heat source such
as a radiator etc. Do not allow water and moisture to enter the unit.
2. Connecting the power
Connect the output jack of the power adaptor to the power connector at
the rear of the switch. Plug the adaptor into the mains. The green
POWER LED on the front panel will light up.
3. Connecting to Network Devices
Note:
The RJ-45 ports on this switch support Auto MDI/MDI-X. This
allows the use of straight-through cables to connect the switch to a
workstation or hub and eliminates the need for crossover cables.
For Gigabit Ethernet, network cables must, as a minimum, conform to
Cat.5e standards for 1000Mbps data transmission. When using Cat.5e
or higher, solid core twisted pair cable, the maximum distance between
the switch and the connected device is 100m (300 feet). For patch
cables (with stranded cores) the maximum distance is reduced to
below 100m and depends on the cable quality and Category level.
Connect one end of the network cable to a port on the rear panel of the
switch and connect the other end of the cable to the RJ-45 port on the
network device. Follow the same procedure to connect all ports. Once
the network cable is connected at both ends, and the attached network
device is powered on, the green LINK/ACT LED will be lit.
Troubleshooting
1. Power LED is not lit
• Check the power supply is properly connected to both the mains
and the switch. If this does not solve the problem try a different
mains socket and/or power supply (12V DC 1.5A + on center). If
problems persist please contact your supplier.
2. LINK/ACT is not lit when connected to a device
• Make sure the attached network device is switched ON and its
LED is lit.
• Try a different port on the switch.
• Check the network cable – make sure it is properly connected.
Try a different RJ-45 UTP/STP Cat.5e (or higher) cable.
3. SPEED LED does not show 1000Mbps (Gigabit) speed although
the connected device is Gigabit 1000Base-T compatible
• Make sure the RJ-45 UTP/STP connection cable is less than
100m in length and at least Cat. 5e or higher. See remarks
above! Check if a higher quality Category 6 cable and/or different
port solves the problem.
For any further assistance please contact your supplier.
For Home and Office Use
Tested to Comply with FCC Standards
LED Indicators
LED Colour Status Description
On Power is supplied
POWER Green
Off No power
On A valid link is established
Flashing Data packets received
LINK/ACT
(Link/Activity)
Green
Off No link is established
Off This port runs at 10Mbps
Green This port runs at 100Mbps
SPEED
(10/100/1000Mbps)
Yellow This port runs at 1000Mbps


