


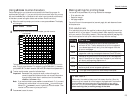

Reduction margin
Your fax machine’s reduction margin is measured in millimeters (mm). We’ll define
it by explaining how it’s used:
When a fax message enters your machine’s electronic brain, the machine measures
the message’s length and compares it to (a) the length of your selected paper plus
(b) the reduction margin you set. If the length of the incoming message is shorter
than the sum of (a) and (b), your machine prints the message on just one sheet;
otherwise, it prints the message on more than one sheet.
Note: An Auto reduction setting and a reduction margin setting of 24mm will
print most incoming faxes as single pages. Try this combination first and
then, only if you have problems with it, select different settings.
Half-page reception
Half-page reception is especially handy for saving paper if some of the faxes you
receive are half-page, “memo-sized” messages. When activated, this feature tells the
machine to combine two of these half-page receptions onto a single sheet. Half-page
reception combines separate half-page messages sent back-to-back during the same
transmission. If you have half-page reception turned on, your fax won’t hold a
standalone half-page reception in memory until a second half-page message follows.
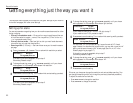
Making the printing settings
1
Press /
PROGRAM
,
J
, 0, 2,
ENTER
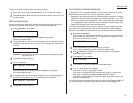
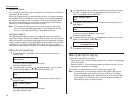
. The
LCD
shows the currently set print
reduction rate:
If the setting you see is acceptable, skip to step 3.
Otherwise, proceed to step 2.
2
To change the setting, press or /
PROGRAM
repeatedly until your chosen
reduction setting appears. In this example, we’ve chosen 91%.
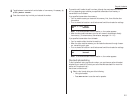
3
Press
ENTER
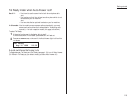
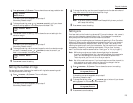
to save the setting. The
LCD
shows the current setting for the
reduction margin:
If the setting you see is acceptable, skip to step 5.
Otherwise, proceed to step 4.
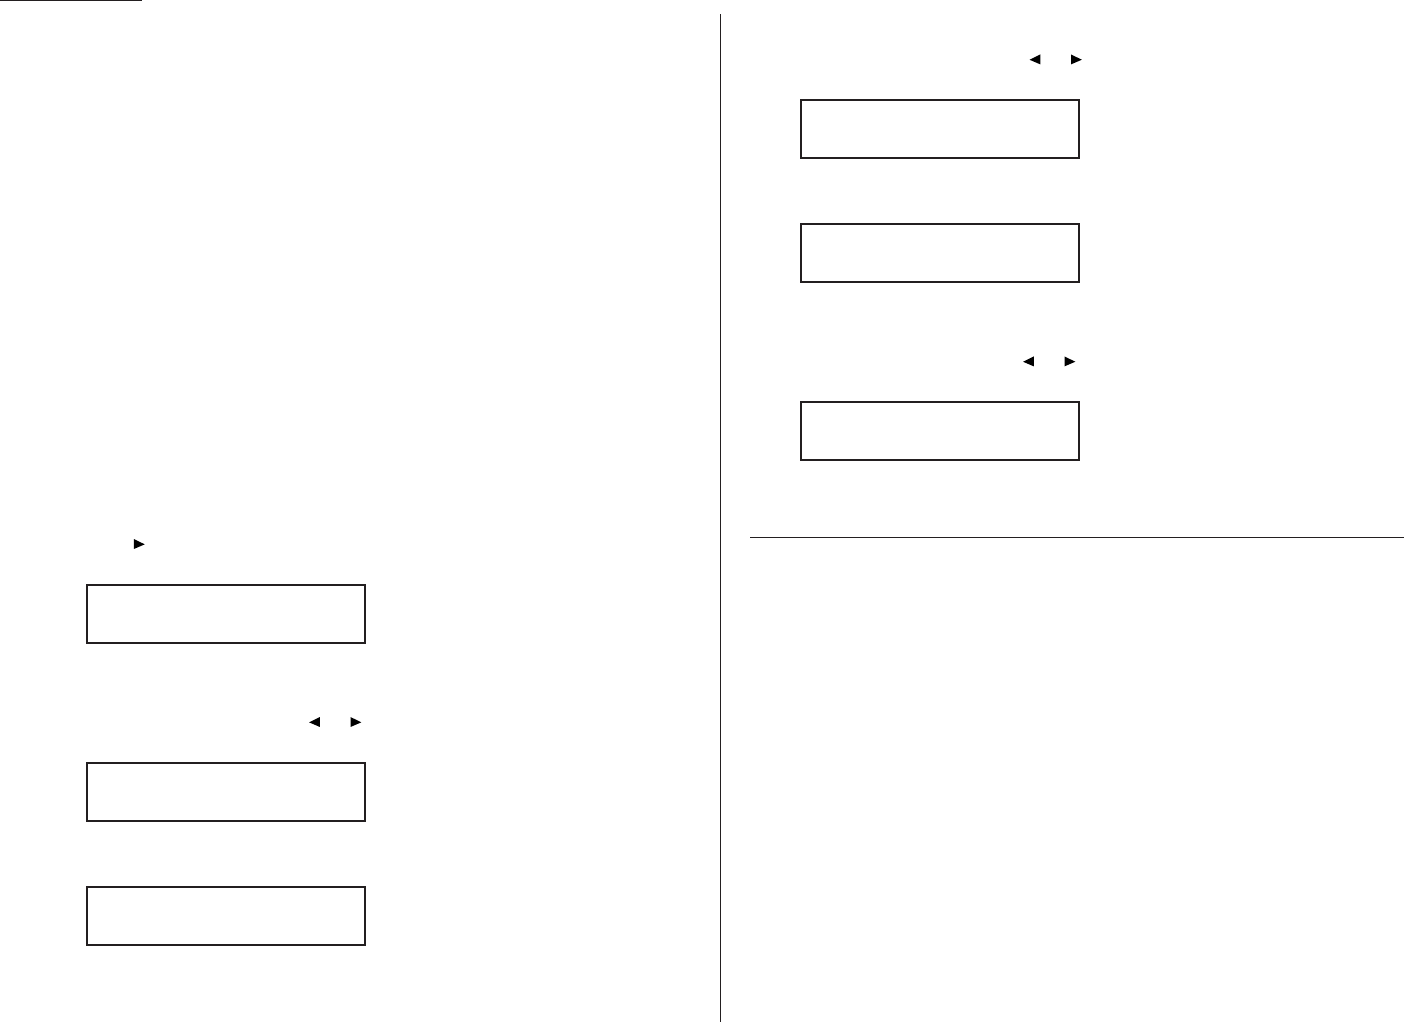
4
To change the setting, use the numeric keypad to enter the reduction margin
you want. If necessary, press or /
PROGRAM
to move the cursor if you
need. In this example, we’ve chosen 35mm.
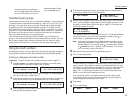
5
Press
ENTER
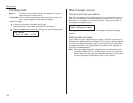
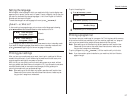
to save the setting. The
LCD
shows the current setting for half-
page reception:
If the setting you see is acceptable, skip to step 7.
Otherwise, proceed to step 6.
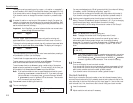
6
To change the setting, press or /
PROGRAM
once or twice until your choice
appears. In this example, we’ve chosen On.
7
Press
ENTER
to save the setting.
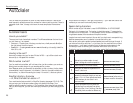
Making settings for copying
You can set two parameters for copying:
• Copy reduction rate — Works the same way as the print reduction rate (see page
2.3 for more details).
• Reduction margin — Serves the same purpose as the reduction margin for print-
ing (see earlier information on this page).
You set both in the same operation, as with the three printing settings.
Note: The same options, in terms of both reduction settings and reduction mar-
gins are available for copy reduction as for print reduction. (If necessary,
review the preceding discussion, “Making settings for printing faxes,” begin-
ning on page 2.3.) The difference, here, is that you probably are better off
with a setting of 00 on the reduction margin.
Half Page Recpt: On
Program/Enter
Half Page Recpt:
Off
Prnt Reduc Rate:
91%
Prnt Reduc Rate:
91%
Prnt Reduc Rate:
91%
Prnt Reduc
Rate:Auto
2.4
Beyond the basics