


Beyond the basics
characters (such as a long-distance
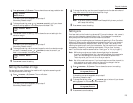
DIALING OPTIONS
(3 times),
carrier’s access code) which must be in
then /
PROGRAM
(once)
DTMF
tone. Do not use on a tone line.
Considering call groups
As we’ll explain more fully later, your fax machine can broadcast — send the same fax
to numerous remote machines (see “Broadcasting,” page 2.18). As you “train” your
autodialer, you may wish to set up call groups. These are sets of phone numbers,
arranged as you see fit, which make broadcasting simpler. For example, you may
wish to have one call group consisting of all your clients in a particular city, another
group with all of your field sales team members, another with all your vendors and
still another with the various financial institutions with which you do business.
Also, one number can belong to as many as 32 groups.
Your fax machine can store as many as 200 numbers in up to 32 different call
groups. In the following explanations of how to store autodialer numbers, you’ll see
that it’s easy to assign those numbers to call groups, for your maximum conve-
nience! Also, you can easily print a directory of your call groups (see page 2.15).
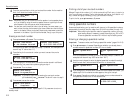
Using one-touch numbers
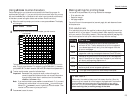
As indicated previously, your fax machine will store up to 60 one-touch numbers by
using the keys marked
A
–
Z
and
U
1–
U
4 (fliptab a) and a–z and
U
5–
U
8 (fliptab b).
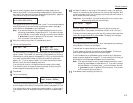
Entering or changing a one-touch number
Important: To erase a number, see “Erasing a one-touch number” (page 2.11).
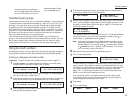
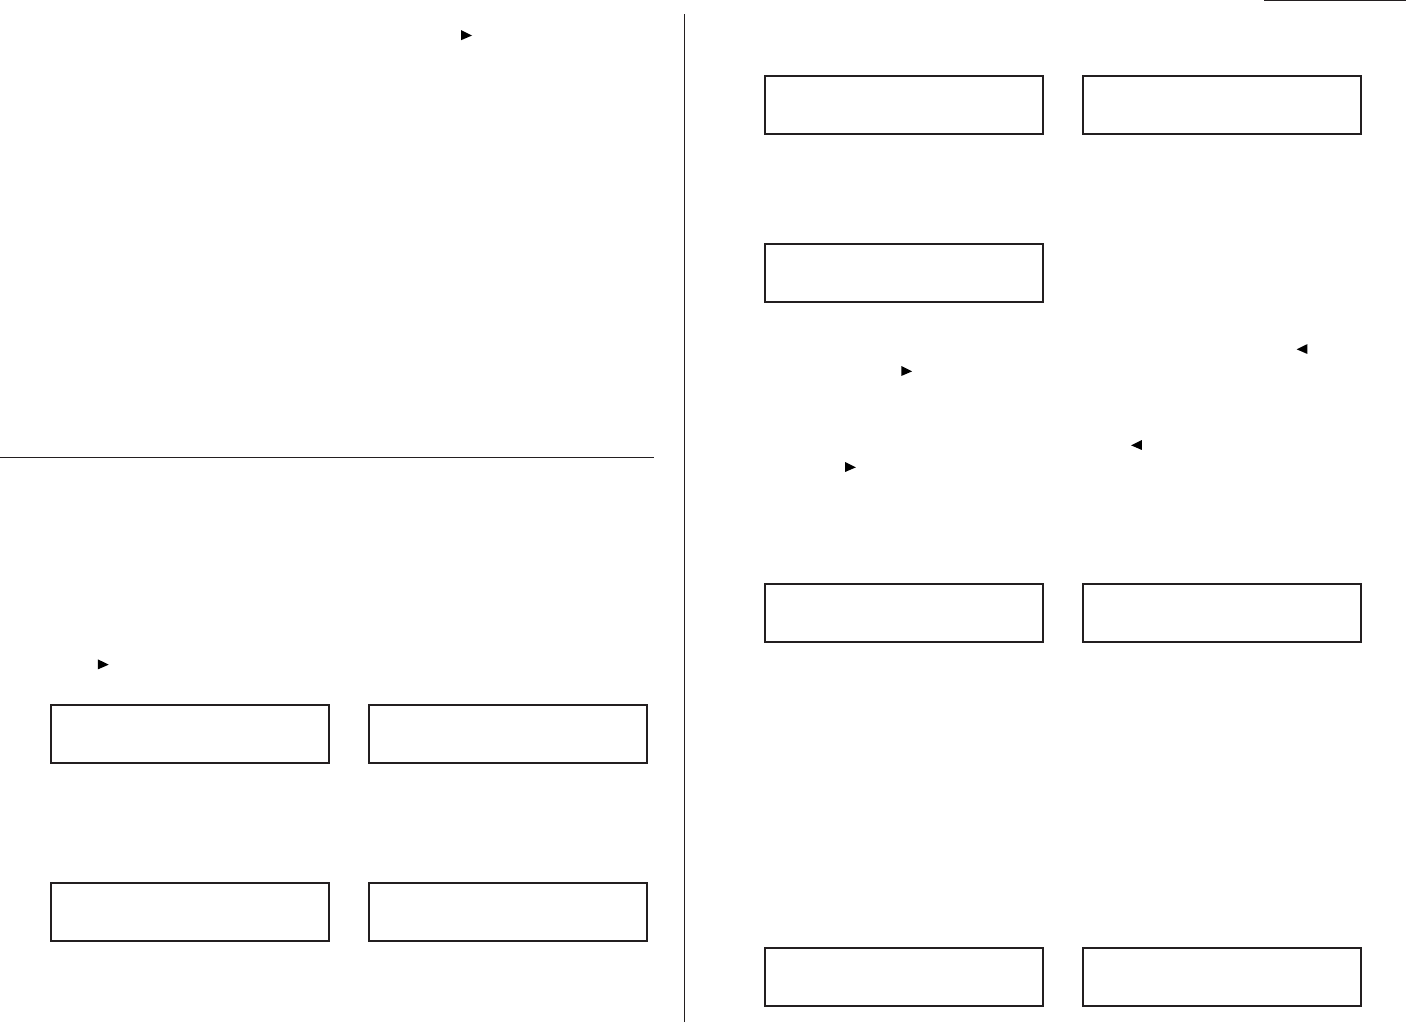
1
Press /
PROGRAM
,
A
, 1,
ENTER
. Depending on whether you already have a
number entered for one-touch number
A
, the
LCD
shows:
or
If
A
is the key you want to set, skip to step 3. (However, our sample displays
from here on will say “
B
” rather than “
A
.”)
2
Press the one-touch key in which you want to store a number or change a pre-
viously stored number. Here, we’ve selected
B
and the
LCD
shows either:
or
3
If you change your mind and wish to select a different one-touch key, just
press that key before going on step 4.
4
Press
ENTER
. Depending on whether you already have a number entered for
this one-touch number, the
LCD
now shows either:
or
5
Use the numeric keypad to enter the number exactly as your machine should
dial it, including whatever access codes your phone system may require. (You
may want to review “Special dialing characters,” page 2.8.) The number can
be up to 40 characters in length:
Your display can show only 20 characters at a time. To view characters beyond
those 20 (such as with an international long-distance number), press to
scroll leftward or /
PROGRAM
to scroll rightward.
Note: If you make a mistake or want to erase characters entered in a previ-
ous setting, press
CANCEL
to erase leftward. Or, if you want to change
just one character in the number, press to move the cursor leftward,
or /
PROGRAM
to move it rightward, to that character. Then re-enter
until the number is just as you want it.
6
When the number is as you want it, press
ENTER
to store it.
7
The
LCD
now displays either:
or
You may now enter (or change) an alternate number, just as you entered the
regular number. This number, too, can be up to 40 characters long. During a
transmission or polling operation (see pages 2.31–2.33), your fax machine will
try to reach this alternate number only after failing with all redials (see
pages 1.16–1.17) to the regular number. If all tries to the alternate number
also fail, the fax will sound a beeping alarm tone.
If you do not wish to enter or change an alternate number, skip to step 8.
If you do wish to enter or change an alternate number, do so by using the
numeric keypad the same way you did in step 5.
8
Press
ENTER
.
9
The
LCD
now displays:
or
B :Name :UpperB :Name :Upper
_
B :Alt. No.
9-1-555-987-6553_
B :Alt. No.
_
B :Fax Number
9-1-5559292039_
B :Fax Number
9-1-555-987-6543_
B :Fax Number
_
Select One-Touch
B :9-1-555-987-6543
Select One-Touch
B :No Number Stored
Select One-Touch
A :9-1-555-345-6789
Select One-Touch
A :No Number Stored
2.9