


Beyond the basics
6
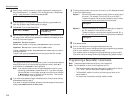
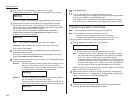
Now, while you still can see the fax number on the
LCD
, press
COMMUNICATION OPTIONS
four times and then press
ENTER
. The
LCD
shows:
If performing regular (not database) polling, press
ENTER
and skip to step 8.
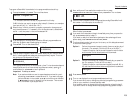
7
Use the numeric keypad to enter the one- or two-digit identifier for each
database file you want to poll. You can specify up to 10 files; between the
entry of each new file, press
COMMUNICATION OPTIONS
to insert a comma but
do not insert a comma after the last file number.
For example, here, we’ve entered 2, 6,
COMMUNICATION OPTIONS
, 2, 7,
COMMUNICATION OPTIONS
, 2, 8,
COMMUNICATION OPTIONS
(the latter in
preparation for another file number):
Note: The
LCD
shows only seven characters of the file numbers.
Important: Again, do not insert a comma after the last file number.
When finished, press
ENTER
.
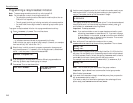
8
If you want the polling to begin immediately every time you press the key,
press
ENTER
and skip to step 11.
If you want to delay the polling (perhaps to take advantage of lower phone
rates), press
COMMUNICATION OPTIONS
,
ENTER
.
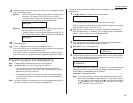
9
There’s a choice to make. Instruct your fax to carry out this delayed command
in one of the following ways:
Option 1: Perform the command once at a certain time on a certain day of
the month. (For example, “Do this at 5:05
PM
on the 30th.”)
To select this option, use the numeric keypad to enter the date
and time when the fax should perform the command:
Option 2: Perform the command at a certain time each day you press the
key. (For example, “Do this at 5:05
PM
today.”)
To select this option, use the numeric keypad to enter 0, 0 (i. e.,
00), and then the time when the fax could perform the command:
10
Press
ENTER
,
ENTER
.
11
The
LCD
now displays the next programmable one-touch key.
If you do not wish to enter or change any other key’s programming, press
STOP
to return your machine to its usual standby mode.
If you do wish to enter or change this key’s programming, go back to step 3.
If you wish to enter or change another key’s programming, go back to step 2.
Programming a batch transmission
Note: To erase a programmable one-touch key, refer to page 2.43.
Note: For this operation to work, two things must be true:
• The batch box you’re using must exist on your fax machine.
• You must know the batch box’s one-digit identifier number (1–5).
To program a batch transmission into a programmable one-touch key:
1
Press /
PROGRAM
,
C
, 1,
ENTER
. The
LCD
either shows:
… or indicates a command already is programmed into this key.
Note: To program a key into which a command other than batch transmis-
sion has already been programmed, you first erase the key (see page
2.43). Then, return to these instructions and select that key.
If a batch transmission is already programmed into this key, you can
change the batch box number, in step 6. (But you can’t change the key
to another kind of command. To do that, you must first erase the key
and then program that key as described elsewhere in this section.)
If
P
01 is the key you want to program, skip to step 3. (However, our examples
from here will say “
P
07” rather than “
P
01.”)
2
Select the key in which you want to program a command or change a previ-
ously stored command — if necessary, turn the fliptab to see it, as described
earlier — and then press it. Here, we’ve selected
P
07.
3
If you change your mind and wish to select a different programmable one-
touch key, go back to step 2 before going on to step 4.
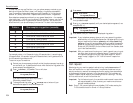
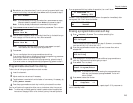
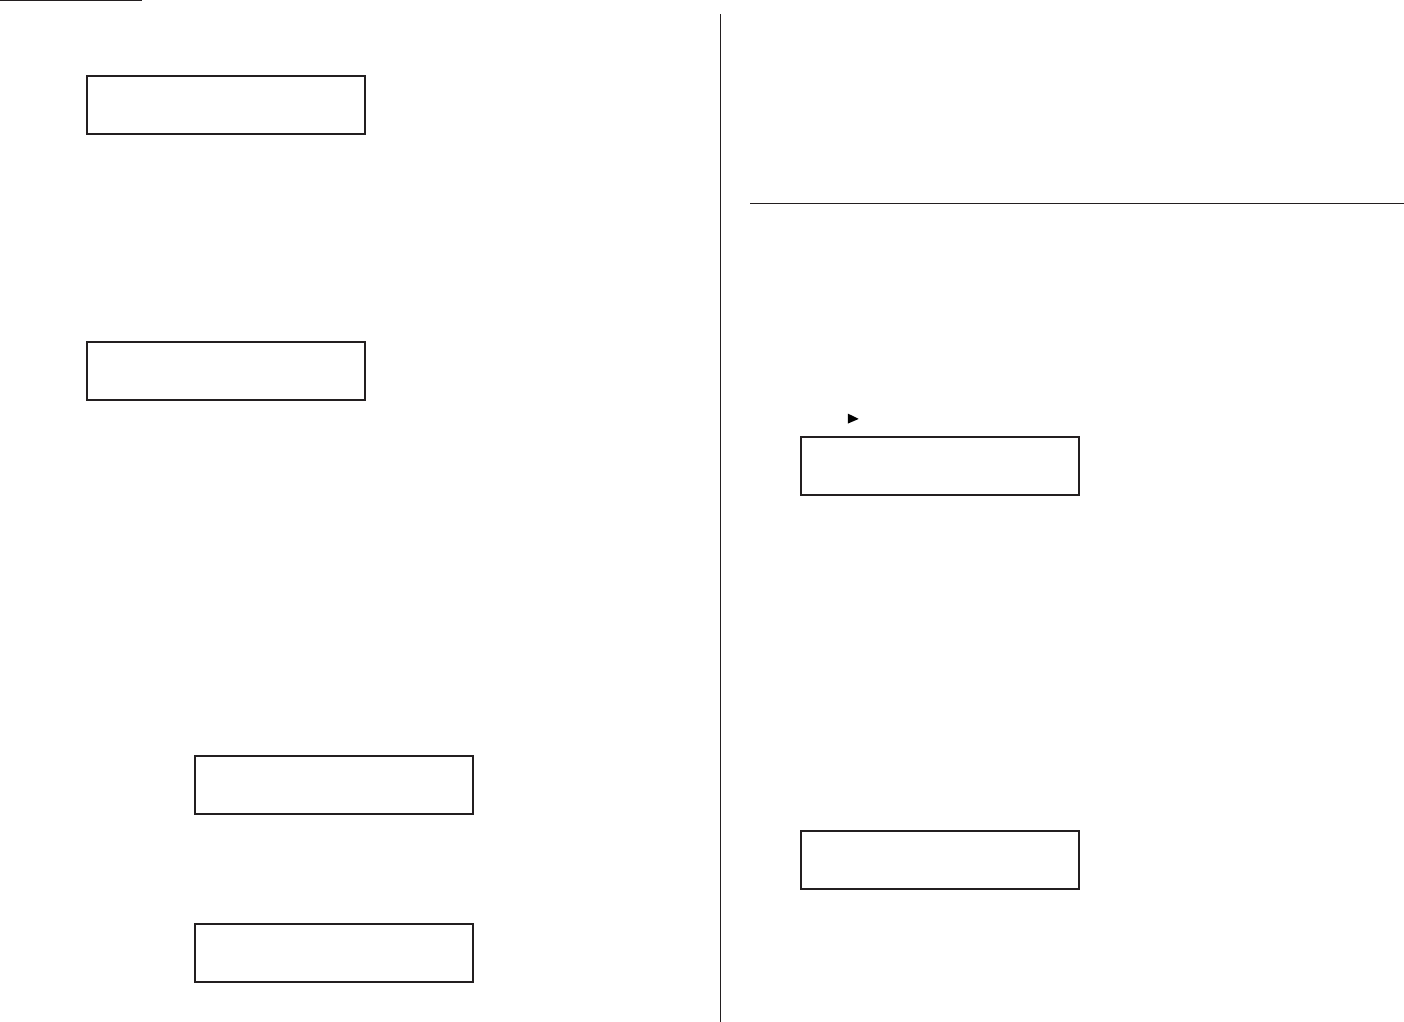
Select Program No.
Select Program No.
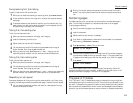
Delayed
Delayed
Polling
Polling
File No. _
2.42