


V-PSU
II
Power Supply Unit
Instructions
Introduction
Thank you for purchasing the V-PSU
II
power
supply unit. We sincerely hope that it will
bring you many years of outstanding
listening pleasure.
Installation Precautions
Your new V-PSU
II
is designed and built to
provide trouble-free performance, but as with
all electronic devices, it is necessary to
observe a few precautions:
Do not use the V-PSU
II
near water. The unit
must not be exposed to dripping or splashing
and no objects filled with liquids, such as
vases, must be placed on the unit.
Keep the V-PSU
II
away from heat such as
radiators. No naked flame sources, such as
lighted candles, should be placed on the
unit.
This product has been tested to ensure that
its operation is not adversely affected by
normal background levels of Radio
Frequency Interference (R.F.I.), and that it
does not itself generate excessive amounts
of interference. However, if a problem
persists, please contact your Musical Fidelity
agent.
Never open the case of the V-PSU
II
yourself, as this will invalidate the guarantee.
Place all connecting cables where they are
not likely to be walked on or trapped by
items placed on them.
The V-PSU
II
will operate in accordance with
its specifications within the following
environmental range:
Temperature 5 to 45 degrees Celsius
Humidity 10 to 90% non condensing
There are no user adjustments inside.
Please refer all service work to an
authorised Musical Fidelity agent.
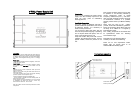
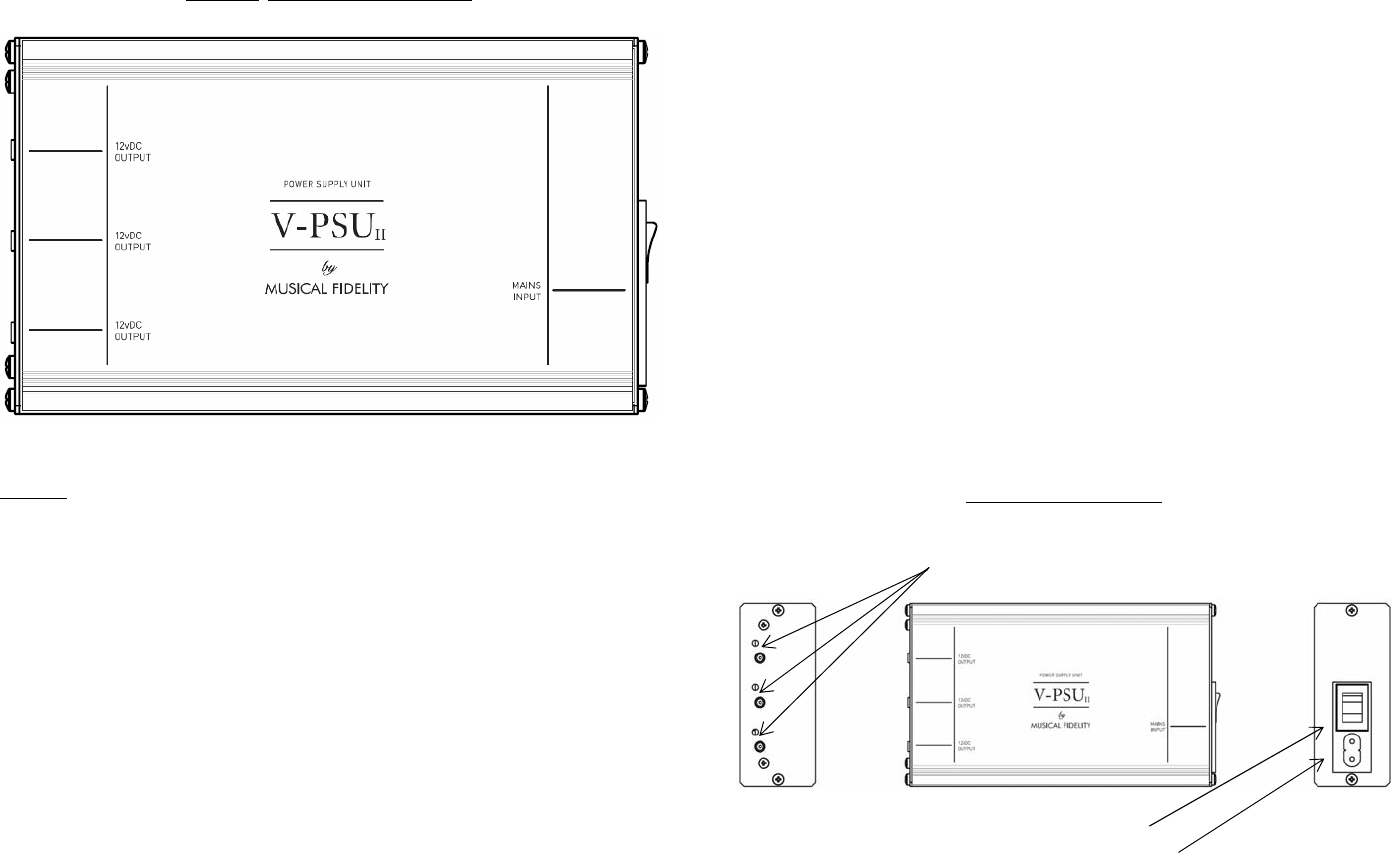
Front and back connections
Power output sockets
and indicator LEDs
Connections
All connections must be made before the mains adaptor is
plugged in, and before any amplifier connected is switched
on. Always switch off the V-PSU
II
(
and
connected amplifiers
etc) before connecting/disconnecting power, or changing
leads.
Power Inputs
Using figure-8 moulded mains lead (supplied), connect the
V-PSU
II
to a mains socket.
Power Outputs
Using 1.3mm DC plug to plug lead(s) (supplied), connect
the V-PSU
II
12VDC OUTPUTS to the V-series units as
required.
Use
Connect up the V-series components audio inputs and
outputs as required.
Switch on the V-PSU
II
using the rocker switch next to the
mains input socket.
The three individual output LEDs should light indicating
presence of power at the respective output.
Switch on attached components (amplifiers etc).
Turn the volume on amplifier to normal listening levels, sit
back and enjoy the music.
These products have been designed so that it may be left
on indefinitely, but please note that the V-PSU
II
may
become warm to the touch - this is normal.
Note: The V-PSU
II
can also be used to power older V-series
components.
Power switch
Power input socket