5-4 Chapter 5: Setup
Configuring a Hard Drive
Note: Primary Master, Secondary Master, Primary Slave and
Secondary Slave refer to the IDE drives.
After installing a hard drive, you need to configure the hard drive
using Setup. Perform the following steps:
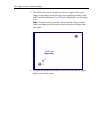
1. On the Setup Main menu, select the appropriate IDE Adapter (such
as, Primary Master) field and press Enter. A sub-menu displays for
the Primary Master drive that you selected.
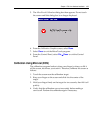
2. Press Enter on the Type field. The workstation automatically fills
out the remaining fields, depending on the installed drive.
3. Move the cursor to the Exit menu, select Exit Saving Changes and
press Enter.
Setting Memory Cache
The default setting enables memory cache. If your application requires
memory cache to be disabled, you can change it by performing the
following steps:
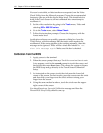
1. Move the cursor to the Cache Memory field on the Advanced menu
and press Enter. The Cache Memory menu displays.
2. Select Enabled in the Memory Cache field to enable the memory
cache.
3. Set the other fields on this menu as desired. Select Help for more
information.
4. Move the cursor to the Exit menu, select Exit Saving Changes and
press Enter.


