ENGLISH-4948-ENGLISH
TEXT DISPLAY
You can set text to be displayed at
the bottom of the projected image at
all times.
ON
“TEXT DISPLAY” is enabled.
OFF
“TEXT DISPLAY” is disabled.
TEXT CHANGE
The text which is displayed when
“TEXT DISPLAY” is set to “ON” can
be changed.
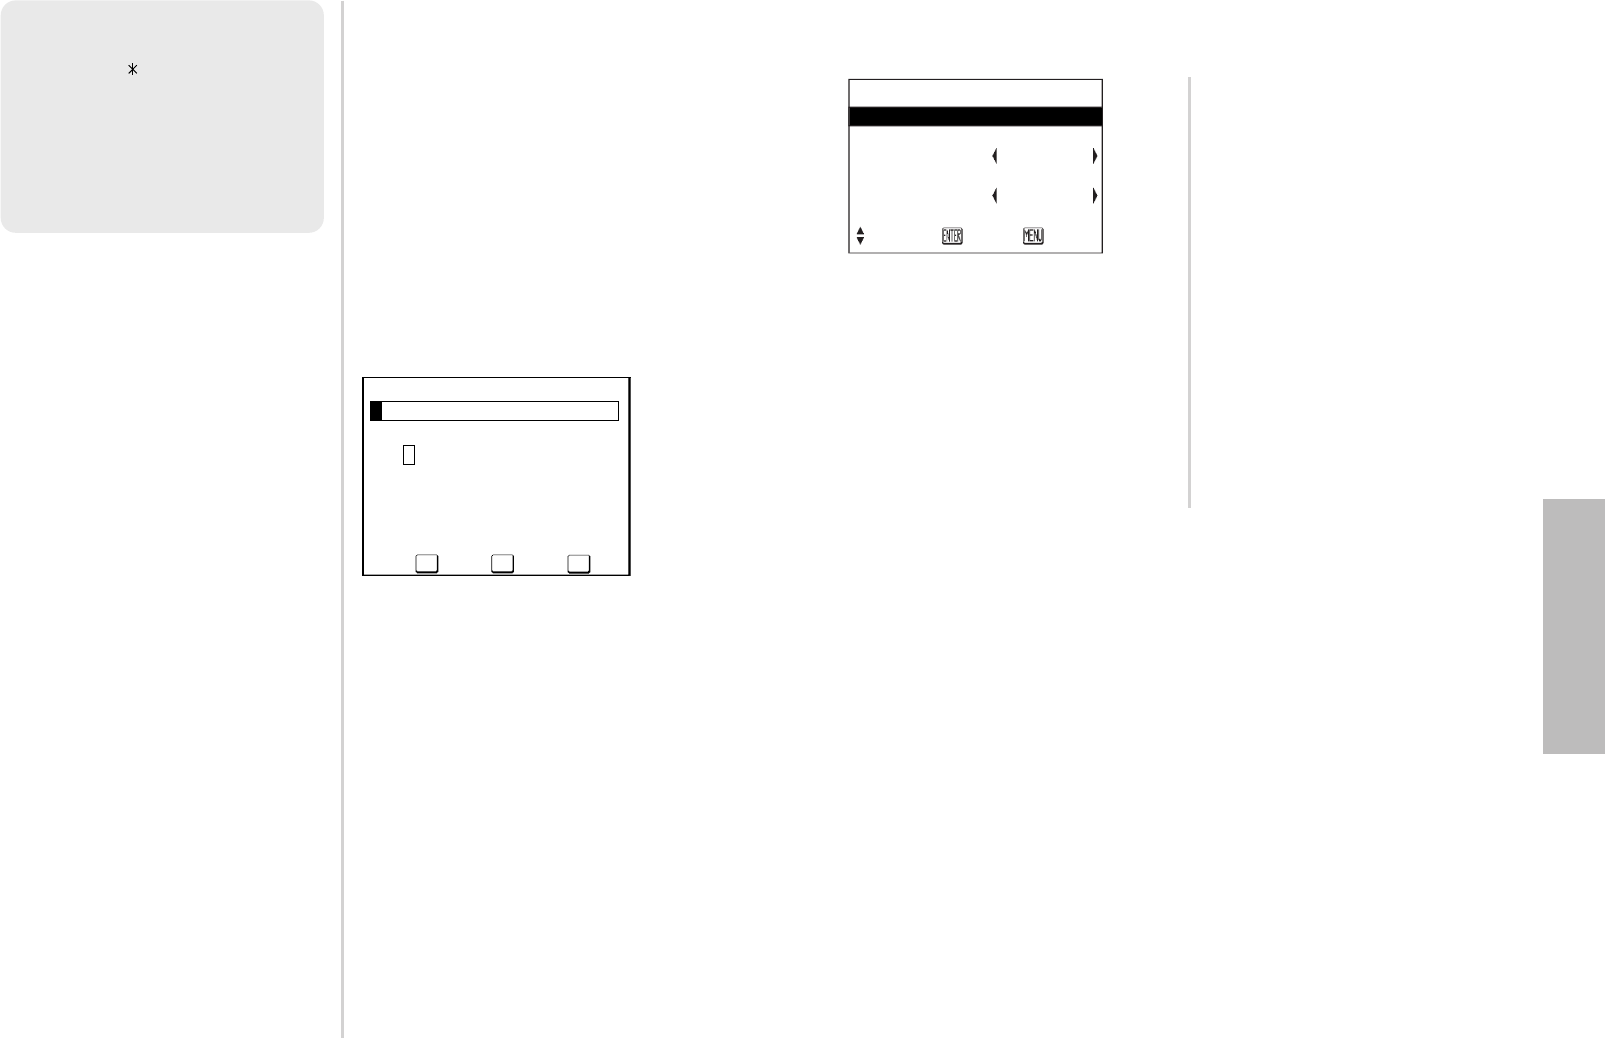
Press the ENTER button to display
the “TEXT CHANGE” screen.
#Press the F, G, I and H
buttons to select the characters,
then press the ENTER button.
(You can enter 22 characters
continuously.)
CSelect “BS” to delete a
character.
$Press the F, G, I and H
buttons to select “OK”, then press
the ENTER button.
CSelect “Cancel” to cancel the
change.
NOTE:
BThe entered password will
appear as . It will not be
displayed on the screen.
BIf you enter the wrong
password, the letters
“PASSWORD” and “NEW” will
become red. Enter the correct
password again.
BS OK
Cancel
Network setup (PT-LB10NTU only)
You need to make adjustments on some items when controlling the projector
with a personal computer by means of the wireless network. Refer to the
accessory CD-ROM for details.
INPUT PASSWD
Set to “ON” if you want password
confirmation to be used when
controlling the projector with a
personal computer by means of the
wireless network.
AMEND PASSWD
Passwords can be changed.
WEB CONTROL
To control the projector with a
personal computer by means of the
wireless network, set the “WEB
CONTROL” to “ON”.
DEFAULT
Network settings can be returned to
the factory default settings.
NETWORK
Select the network setting you want
to use.
NAME CHANGE
The name for this projector can be
set.
NETWORK
NETWORK 1
NAME CHANGE LB10NT
INPUT PASSWD OFF
AMEND PASSWD
WEB CONTROL ON
DEFAULT
SELECT ENTER RETRN
Adjustments and settings


