


‘
1 ∫
‘
‘
‘
‘
‘
‘
‘
‘
≥
%
‘
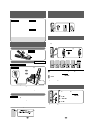
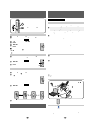
Setting the time
Illustration on page 4.
Insert battery and confirm year flashes.
Do each step within 10 seconds
1. Press [
:
,
9
] to change.
2. Press [
1
/
∫
] to confirm.
Repeat to change the year, month, day,
12 or 24 hour display, and time.
Recording
1.
Press
9
to select the folder to record into.
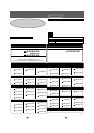
2. Changing recording mode.
1 While stopped, press and hold 9
until “HQ SP LP” appears.
2 Press [
1/∫
].
3 Press [
:
,
9
] to change.
HQ: High quality, SP: Standard, LP: Long
4 Press [
1/∫
] to confirm.
3. Press
7
to start recording.
4. Press
7
to stop recording.
To check available recording time
Press
9
while recording. Press again to
restore the display.
“FULL” is displayed:
If the memory or folder is full. To continue
recording, erase unneeded files or select
another folder.
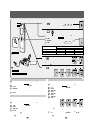
Changing microphone sensitivity
1. While stopped, press and hold 9 until
“HQ SP LP” appears.
2. Press [
:
,
9
] until “SEnS” appears
and press [
1/∫
].
3. Press [
:
,
9
] to select “HI SEnS”
or “LO SEnS” and press [
1/∫
].
Preventing unnecessary recording
1. While stopped, press and hold 9 until
“HQ SP LP” appears.
2. Press [
:
,
9
] until “ ” appears
and press [
1/∫
].
3. Press [
:
,
9
] to select “On” and
press [
1/∫
].
File play
1. Press 9 to select the folder the file is in.
2. Press [
:
,
9
] to select the file.
3. Press [
1/∫
].
4. Press [+] or [
-
] to adjust volume.
To check the remaining playback time
Press
9
during play. Press again to
restore the display.
To listen to the first few seconds of
each file (Intro-scan)
Press and hold [
1
/
∫
] while stopped.
To change playback speed
1 While stopped, press and hold 9 until
“HQ SP LP” appears.
2 Press [
:
,
9
] until “S--F” appears
and press [
1/∫
].
3 Press [:] (slower) or [
9
] (faster)
and press [
1/∫
].
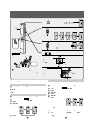
Timer recording and playback
Preparation : Select the folder to record
into and recording mode or the folder and
the file to play.
1. While stopped, press and hold 9 until
“HQ SP LP” appears.
2. Press [
:
,
9
] until “≥FrEC” or
“F…PLAy” appears and press [
1/∫
].
3. Press [
:
,
9
] to select “On” and
press [
1/∫
].
4. Press [
:
,
9
] to select the start
time and press [
1/∫
].
Timer recording only
5. Press [
:
,
9
] to select the end
time and press [
1/∫
].
Erasure prevention
Preparation : Select the folder.
1 While stopped, press and hold 9 until
“HQ SP LP” appears.
2 Press [
:
,
9
] until “ ” appears
and press [
1/∫
].
3 Press [
:
,
9
] to select the item you
want to lock and press [
1/∫
].
Repeat to unlock.
Moving a file to another folder
1. While playing the file, press and hold
9 until the display starts flashing.
2. Press [
:
,
9
] to select the new
folder and press [
1/∫
].
Erasing files
Preparation : Select the folder first to
erase individual files or folders.
1. Press and hold : to display “ ”.
2. Press [
:
,
9
] to select the file, all
files in the folders or all folders.
3. Press :.
Using the unit with a computer
1. Install Voice Editor 3 from the CD-ROM.
2. Connect the unit to a computer with the
included USB cable.
For details, read the PDF and installation
manual for Voice Editor 3.
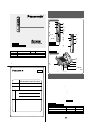
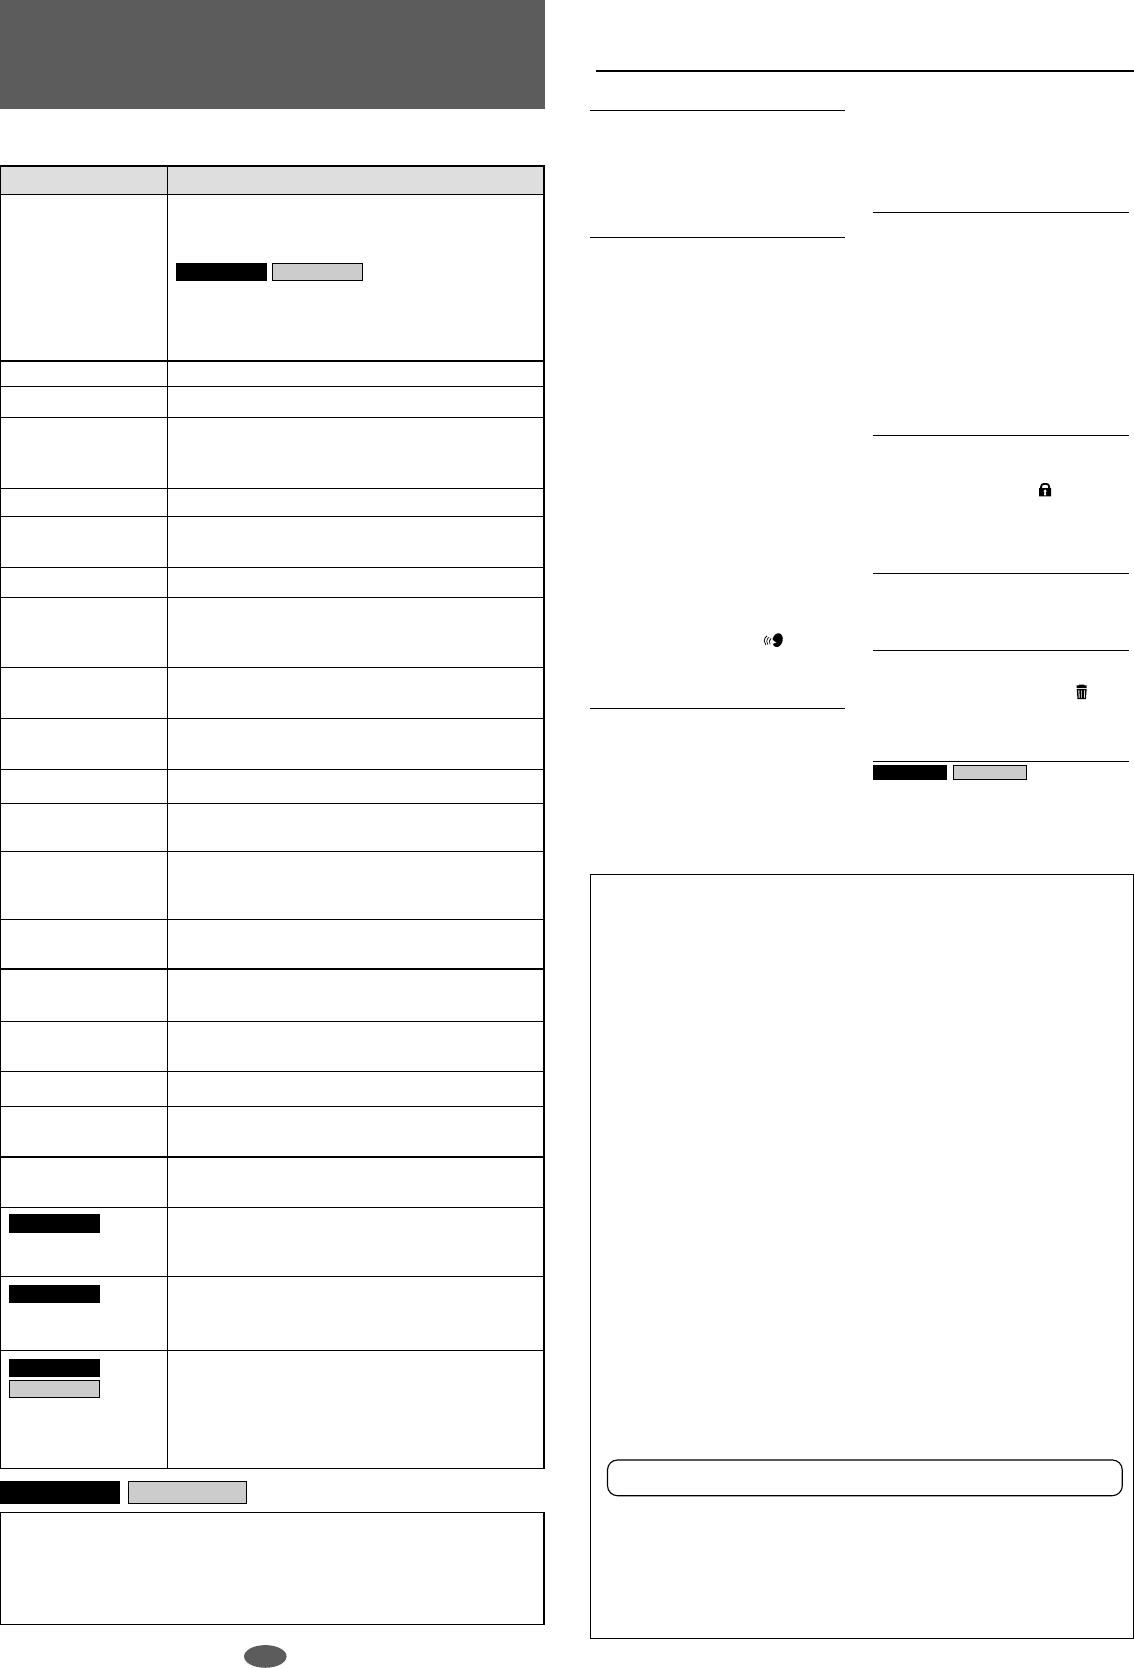
Operating Instructions
(Refer to the illustration on page 2 for the location of the controls.)
RR-US009 RR-US007