


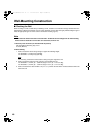
Assembling the unit
43
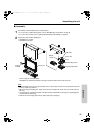
Installation
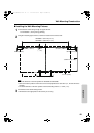
7
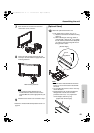
After unscrew the 4 screws from the lower
center frame cover, remove it.
8
Fasten the wall-mounting clasps of the unit
securely to the wall with the 4 appropriate wall-
mounting hardware.
Note
• The 4 wall-mounting hardware are not
included with the electronic board. Please
purchase M6-size screws appropriate for your
wall.
9
Attach the lower frame cover removed in step 7.
• Advance to “Electronic Board Operations Check” on
page 45.
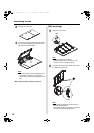
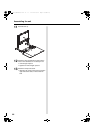
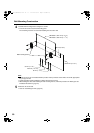
[Optional Stand]
10
Attach the optional stand to the unit.
• Each stands has four holes (A, B, C, D).
1) Attach the stand to the unit with the locking
caster up.
2) When attaching the unit to the stand at
normal height (1,830 mm [6'
2
/32"]), tighten
the two screws (included in the stand) with
1 washers using the hexagonal wrench
through holes A and C.
[Normal height]
Note
• Use the washer included with the electronic
board. Do not use the washer included with
the stand.
• Do not tighten the screw too much. This may
deform the stand.
• By tightening the two screws with washers
through holes A and B, the unit will be
positioned 100 mm (3
15
/16") higher than
normal height (1,930 mm [6' 4"]).
[higher than normal height]
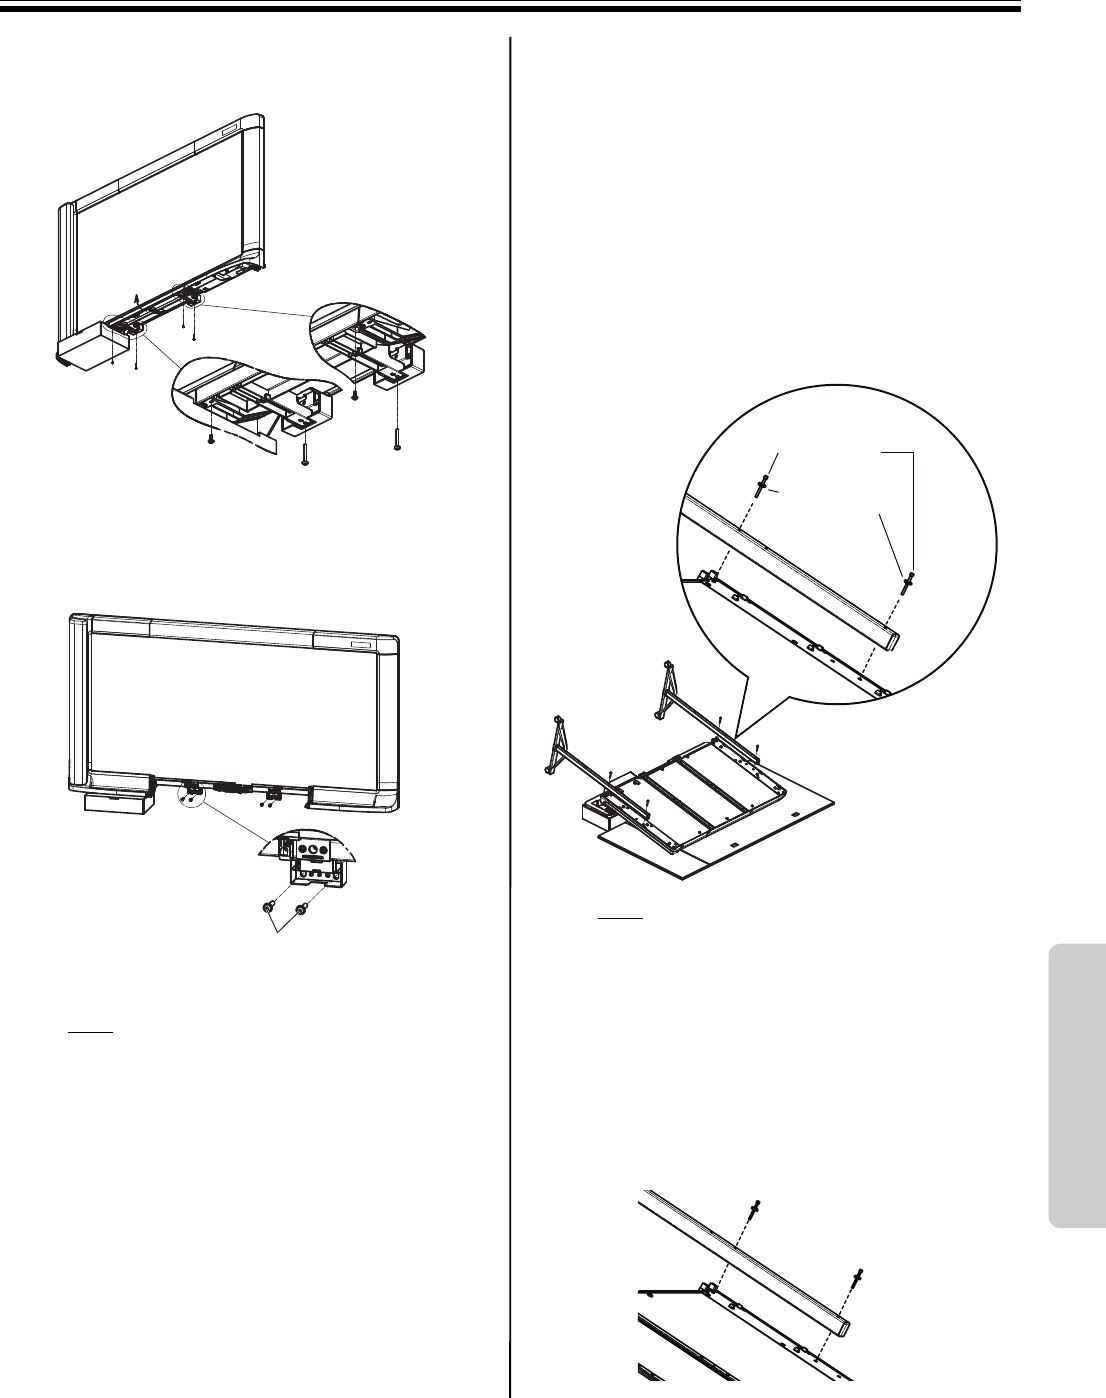
Wall-mounting hardware
A
B
C
1Washer
Screw
A
B
C
UB5838C-PJQXC0259ZA_mst.book 43 ページ 2009年5月26日 火曜日 午後2時59分