Configuration Methods 58
DeviceManager
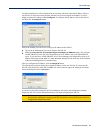
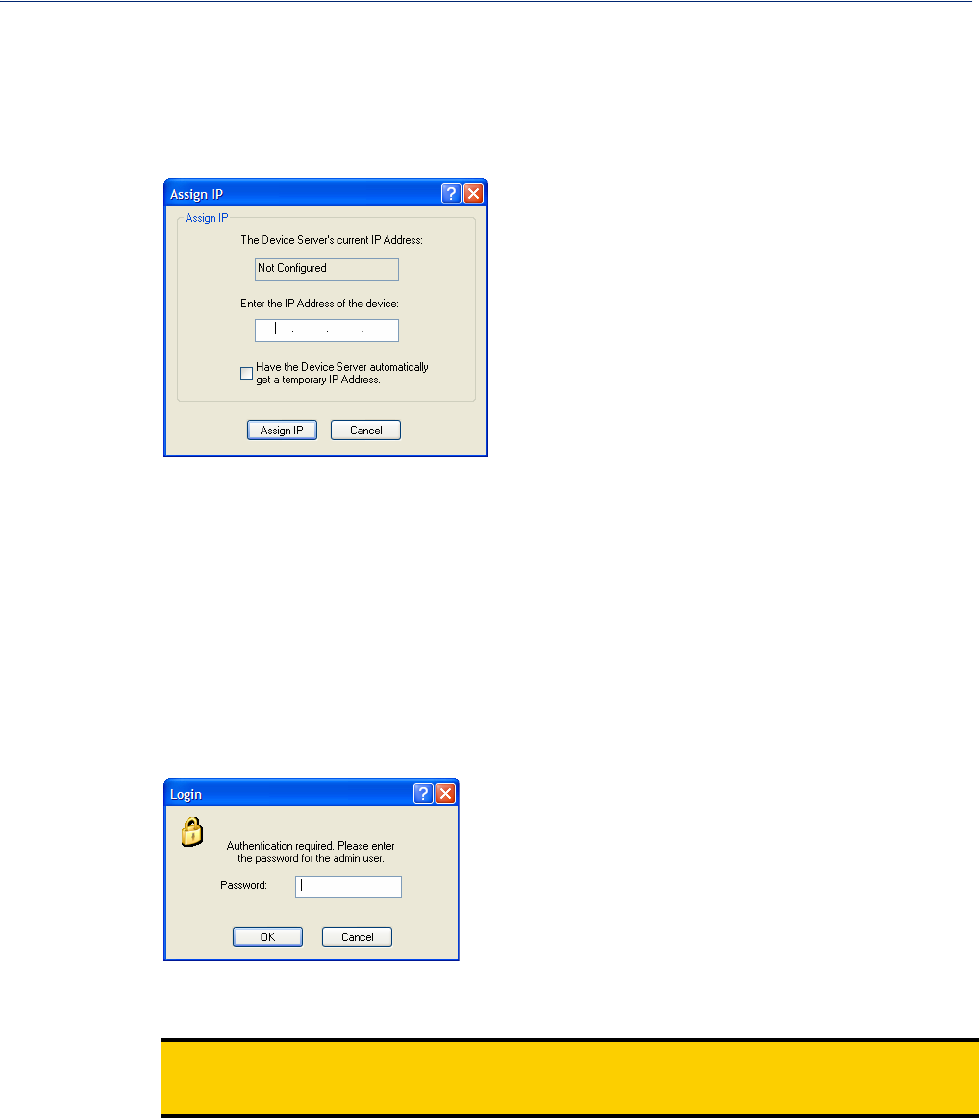
All discovered IOLANs will be displayed on the list along with their name and IP address. When a
new IOLAN is discovered on the network, that has not yet been assigned an IP address, it will be
displayed with an IP Address of Not Configured. To configure the IP address, click on the IOLAN
and then click the
Assign IP button.
Choose the method you want to use to assign an IP address to the IOLAN:
z Type in the IP address that you want to assign to this IOLAN.
z Enable the Have the IOLAN automatically get a temporary IP Address option. This will turn
on DHCP/BOOTP, so the IOLAN will attempt to get its IP address from your DHCP/BOOTP
server. If you don’t have a DHCP/BOOTP server, DeviceManager will temporarily assign an IP
address in the range of
169.254.0.1-169.254.255.255 that will be used only for the duration
of the DeviceManager/IOLAN communication.
After you configure the IP address, click the Assign IP button.
The refreshed list will now display the assigned IP address for the new IOLAN. To connect to the
IOLAN, click the IOLAN entry and click
OK. You will be asked to supply the admin password (the
factory default password is
superuser).
If you have a successful connection, the DeviceManager will retrieve the configuration and then
display the IOLAN’s System Information and you can begin configuring the IOLAN.
Note:
The DeviceManager does not automatically update the IOLAN’s configuration. You must
download the configuration changes to the IOLAN and then reboot the IOLAN to make the
configuration changes take effect.


