


DPM 9400 - User Manual
12
Chapter 4: Basic Operations
This chapter provides an introduction to the basic functions of the DPM 9400:
• Recording a dictation
• Recording mode (Insert/Overwrite)
• Playing back a dictation
• Fast Forward and Fast Rewind
• Deleting parts of a sound file and deleting entire sound files
• Finishing a dictation (EOL and Priority)
• Additional settings
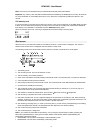
Recording - DPM 9400/00
DPM 9400/00 enables you to create high-quality digital recordings. To make a recording with DPM 9400/00, do
the following:
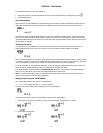
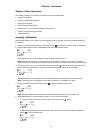
1. Make sure that the 4-Position Switch is in the Stop position (
) and that you have the memory card inserted.
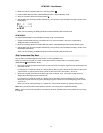
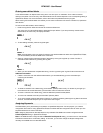
2. Press the REC (Record) button; DPM 9400/00 goes into Record Standby mode.
While DPM 9400/00 is in Record Standby mode, the Record LED blinks red.
Note:
Depending on the setting for the recording mode, the LED can be either red or green. In Overwrite
mode the LED is red; Overwrite is the default setting for the recording mode. In Insert mode, the LED is green.
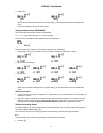
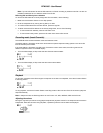
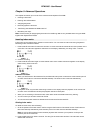
3. To start recording, move the 4-Position Switch to the Play position (
) and start dictating. Speak clearly and
keep a distance of approximately 4 inches (ten centimeters) between your mouth and the DPM.
While DPM 9400/00 is in Recording mode, the Record LED shines permanently red (if Overwrite mode).
Note: In Recording mode, the following buttons are not available: L/P, INS/OVR, DEL, REC
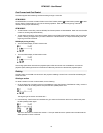
4. Move the 4-Position Switch to the Stop position (
) to return to Record Standby mode.
Note:
Pressing the REC button enables to switch between Record Standby mode and Stop mode.
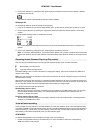
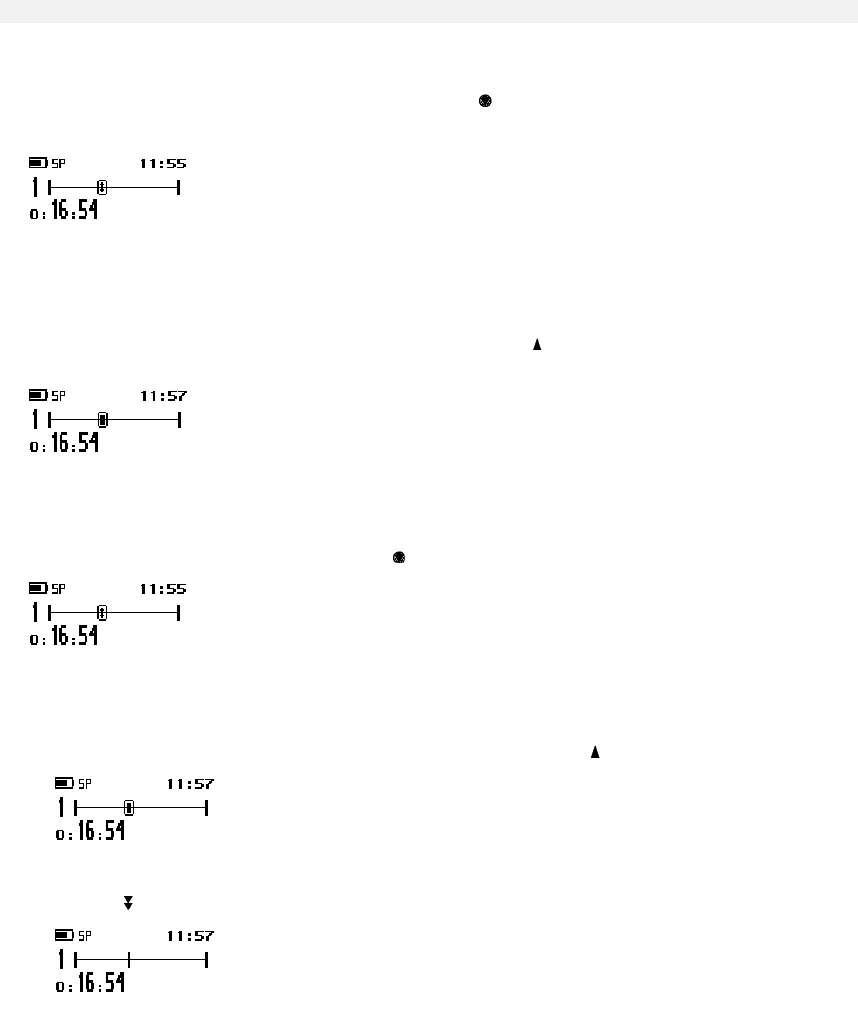
5. While DPM 9400/00 is in Record Standby mode, you can do one of the following:
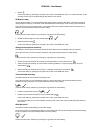
• To continue recording, move the 4-Position Switch to the Play position (
) again.
• To leave Record Standby and enter Stop mode, either move the 4-Position Switch to the Fast Rewind
position (
) or press the REC button.