SSD Notebook Installation
Quick Start Guide
IMORTANT CONSIDERATIONS –
Please read before you begin:
• Your new PNY SSDs is a 2.5” SATA II (Serial ATA 2
nd
generation) drive, and is backwards compatible with SATA I.
Please consult your system specifications for compatibility.
• If you are installing this SSD in a desktop system or server,
you may need a 3.5” drive bay adapter (not included with
the PNY SSD).
• PNY SSDs are intended as replacements for traditional
hard drives; please consult your system manual or
manufacturer for instructions on installing a new hard drive
or SSD. This procedure will vary by system manufacturer
and model. Sample instructions are available at
www.pny.com/SSD
• PNY SSDs are shipped without any operating system,
programs, or data installed.
• If you are replacing your boot drive, it is recommended that
you “clone” the existing hard disk onto your SSD before you
do anything else. This may require software and/or a
special cable or connector (not included with the PNY SSD).
NOTE: Most clone utilities will only work if the space used
on your current hard drive is less than or equal to the
available space on your new SSD.
• If you do not have a clone utility, or the amount of used
storage on your current HDD exceeds the available space
on your new SSD, you will need to backup your data from
your current hard drive, install your OS and applications
from scratch, and then restore your data onto your new
SSD. Please be sure that you have the necessary
installation disks for your OS and programs.
• As with any computer upgrade, please ensure you are
properly grounded and free of static electricity before
continuing.
• PNY is not responsible for lost or missing data or damage
to your system resulting from installation of this SSD.
• If you are not familiar or comfortable with the installation
process for your new drive, it is highly recommended that
you visit your local Computer Retailer or Service Center for
assistance.
What you will need:
• Your new PNY SSD
• Your notebook computer
• Your notebook computer’s user manual
• A Phillips screwdriver
• Your OS (Operating System) CD/DVD, or other
means by which to install your Operating
System and/or restore your OS, Programs and
Data
• Optional - 3.5” drive bay adapter for desktop or
server installation
Installation steps:
1. Turn off the notebook power.
2. Disconnect all notebook power cables.
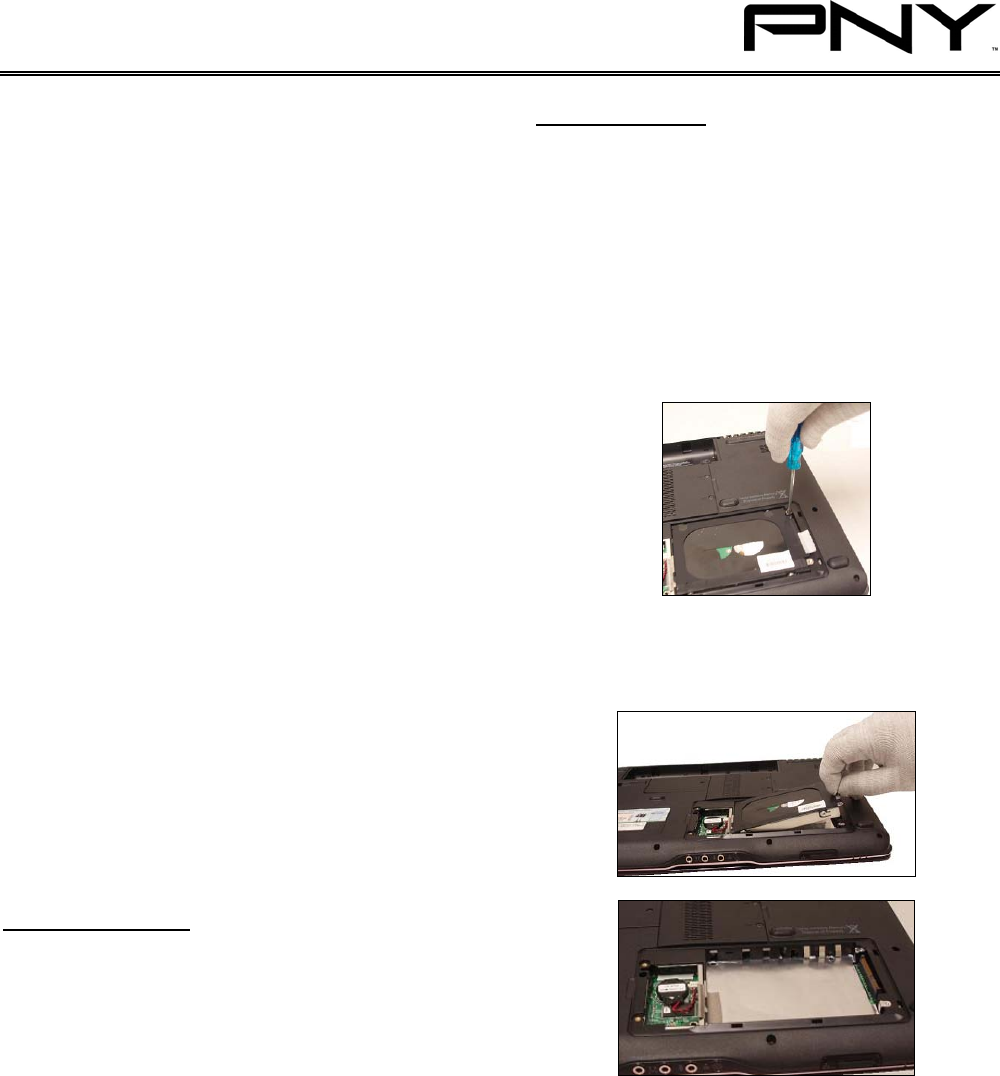
3. Turn the notebook upside down and remove the
battery.
4. Locate the hard drive panel on the bottom of
your notebook (Refer to your user manual).
5. Unscrew and remove the panel.
6. If there is a tab on the existing hard drive,
gently pull it up and then to the outside to
remove the hard drive from the bay.
7. If your hard drive attaches to your motherboard
via a cable, hold the cable's connector - not the
cable itself - and gently remove the drive from it.
