Please read this User’s Guide before
installing, setting up, and using your new product.
www.radioshack.com
Thank you for purchasing the RadioShack Home
Automation Wall Switch. Your Wall Switch is
designed to control incandescent lights only,
with rating between 40W and 500W. It replaces
your existing switch, and controls both indoor
and outdoor ceiling lights. A push button is
provided for local on/off control.
Turn the power back on at the circuit
breaker panel.
Push the button to turn your wall switch
on or off.
installing your wall switch
61-3005
home automation
wall switch
operating your wall switch
©2004. RadioShack Corporation.
All rights reserved. RadioShack and RadioShack.com are
trademarks used by RadioShack Corporation.
61-3005
06A04
Printed in China
Turn the power off at the circuit breaker
panel.
Remove your wall plate and unscrew
the existing switch from its box.
Disconnect the wiring from your
existing switch, and connect the two
wires on your new switch using the
wire nuts provided.
Screw the switch into its wall box.
WARNING: To reduce the risk of fire or shock hazard, do not expose this
product to rain or moisture.
RISK OF ELECTRIC SHOCK.
DO NOT OPEN.
CAUTION: TO REDUCE THE RISK OF ELECTRIC SHOCK, DO NOT REMOVE
COVER OR BACK. NO USER-SERVICEABLE PARTS INSIDE. REFER SERVICING
TO QUALIFIED PERSONNEL.
This symbol is intended to alert you to the presence of
uninsulated dangerous voltage within the product’s enclosure
that might be of sufficient magnitude to constitute a risk of
electric shock. Do not open the product’s case.
This symbol is intended to inform you that important
operating and maintenance instructions are included in the
literature accompanying this product.
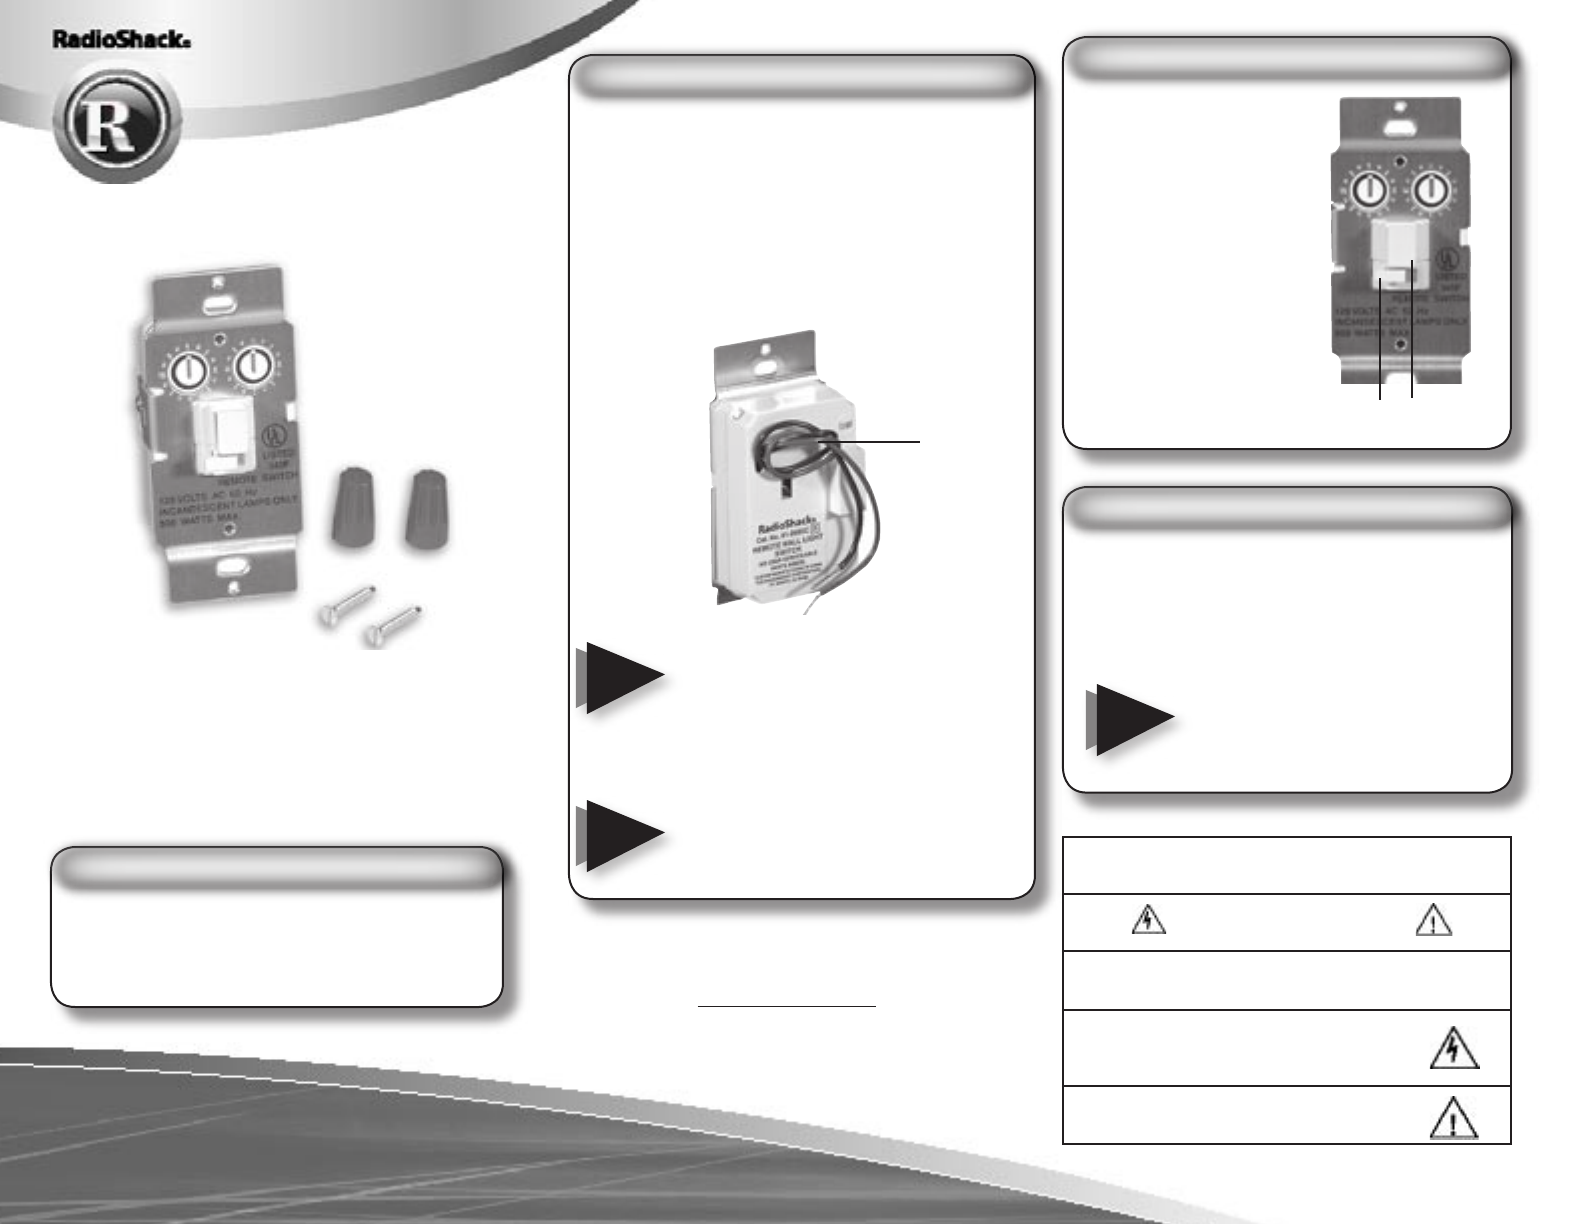
Set the House Code
dial to the same letter
that you set on your
Controller.
Set the Unit Code
dial to an unused code.
Turn the ON/OFF
switch beneath the
push button to ON
(center position).
Replace the wall plate
on your wall box.
setting up your wall switch
Note
Be sure no loose wires are protruding;
use insulating tape (not provided) to
cover the wire nuts, if necessary.
Warning
Wall switches must not be used to
control appliances, low voltage lamps
or fluorescent lamps!
2 screws 2 wire nuts
wall switch user’s guide
Note
When replacing a light bulb, turn
your wall switch to OFF
(left position).
Wire nuts
Screws
Wall Switch
Wires
Push
button
ON/OFF


